jQuery Logos Distort 插件
jQuery提供的LogosDistort插件有助于在用户浏览器中创建或动画化一个3D场景的视差环境。它使用全页面的矩阵3D透视logo扭曲,在鼠标移动的基础上进行转换。
你必须在工作文件夹中下载所需的文件,以便程序员能够在HTML结构页面的头部部分包含以下程序中实现的文件。
下载链接: https://github.com/hellsan631/LogosDistort
例子1:下面的例子显示了插件的基本logosDistort()方法。
<!DOCTYPE html>
<html>
<head>
    <title>jQuery Logos Distortion Plugin</title>
    <meta name="viewport"
          content="width=device-width, initial-scale=1.0">
    <link href="style.css" rel="stylesheet" />
    <link href="perspectiveRules.css" rel="stylesheet" />

    <script src=
"https://cdnjs.cloudflare.com/ajax/libs/jquery/2.1.4/jquery.min.js">
    </script>
    <script src="jquery.logosDistort.js"></script>
    <script src="jquery.particleground.min.js"></script>
</head>
<style>
  body{
    text-align:center;
    font-family:sans-serif;
    font-size:12px;
  }
</style>
<body>
  <h1 style="color:green">GeeksForGeeks</h1>
  <b>jQuery Logos Distortion Plugin </b>
  <p></p>
  <div id="imagesDivID">
      <img alt="bgImage" src="images/background1.jpg" />
      <img alt="" src="images/gfg1.png" />
      <img alt="" src="images/gfg3.png" />
  </div>
  <script>
      $("#imagesDivID").logosDistort();
  </script>

</body>
</html>
输出:

例子2:下面的例子显示了logosDistort()方法的几个选项设置。程序员可以根据应用程序对视觉效果的要求来设置这些选项。
<!DOCTYPE html>
<html>
<head>
    <title>jQuery Logos Perspective Distortion</title>
    <meta name="viewport"
          content="width=device-width, initial-scale=1.0">
    <link href="style.css" rel="stylesheet" />
    <link href="perspectiveRules.css" rel="stylesheet" />
</head>
<body>
    <h1 style="color:green;">GeeksForGeeks</h1>
    <b>jQuery Logos distortion</b>

<div id="imagesDivID">
    <img alt="background" src="images/background1.jpg" />
    <img alt="" src="images/gfg1.png" />
    <div></div>
    <img alt="" src="images/background2.jpg" />
    <img alt="" src="images/gfg2.jpg" />
    <div></div>
    <div></div>
    <img alt="" src="images/gfg5.jpg" />
</div>

<script src=
"https://cdnjs.cloudflare.com/ajax/libs/jquery/2.1.4/jquery.min.js">
</script>
<script src="jquery.logosDistort.js"></script>
<script src="jquery.particleground.min.js"></script>
<script>
     var options = {
        enable: true,
        effectWeight: 2.5,
        outerBuffer: 1.30,
        elementDepth: 140,
        enableSmoothing: true,
        smoothingMultiplier: 1.5,
        perspectiveMulti: 1,
        directions: [ 1, 1, 1, 1, -1, -1, 1, 1 ],
        weights: [0.0000310, 0.0001800, 0.0000164, 0.0000019, 0.0001200],
        depthOverride: false,
        mouseMode: 'container'
    };
    $("#imagesDivID").logosDistort(options);
</script>
</body>
</html>
输出:

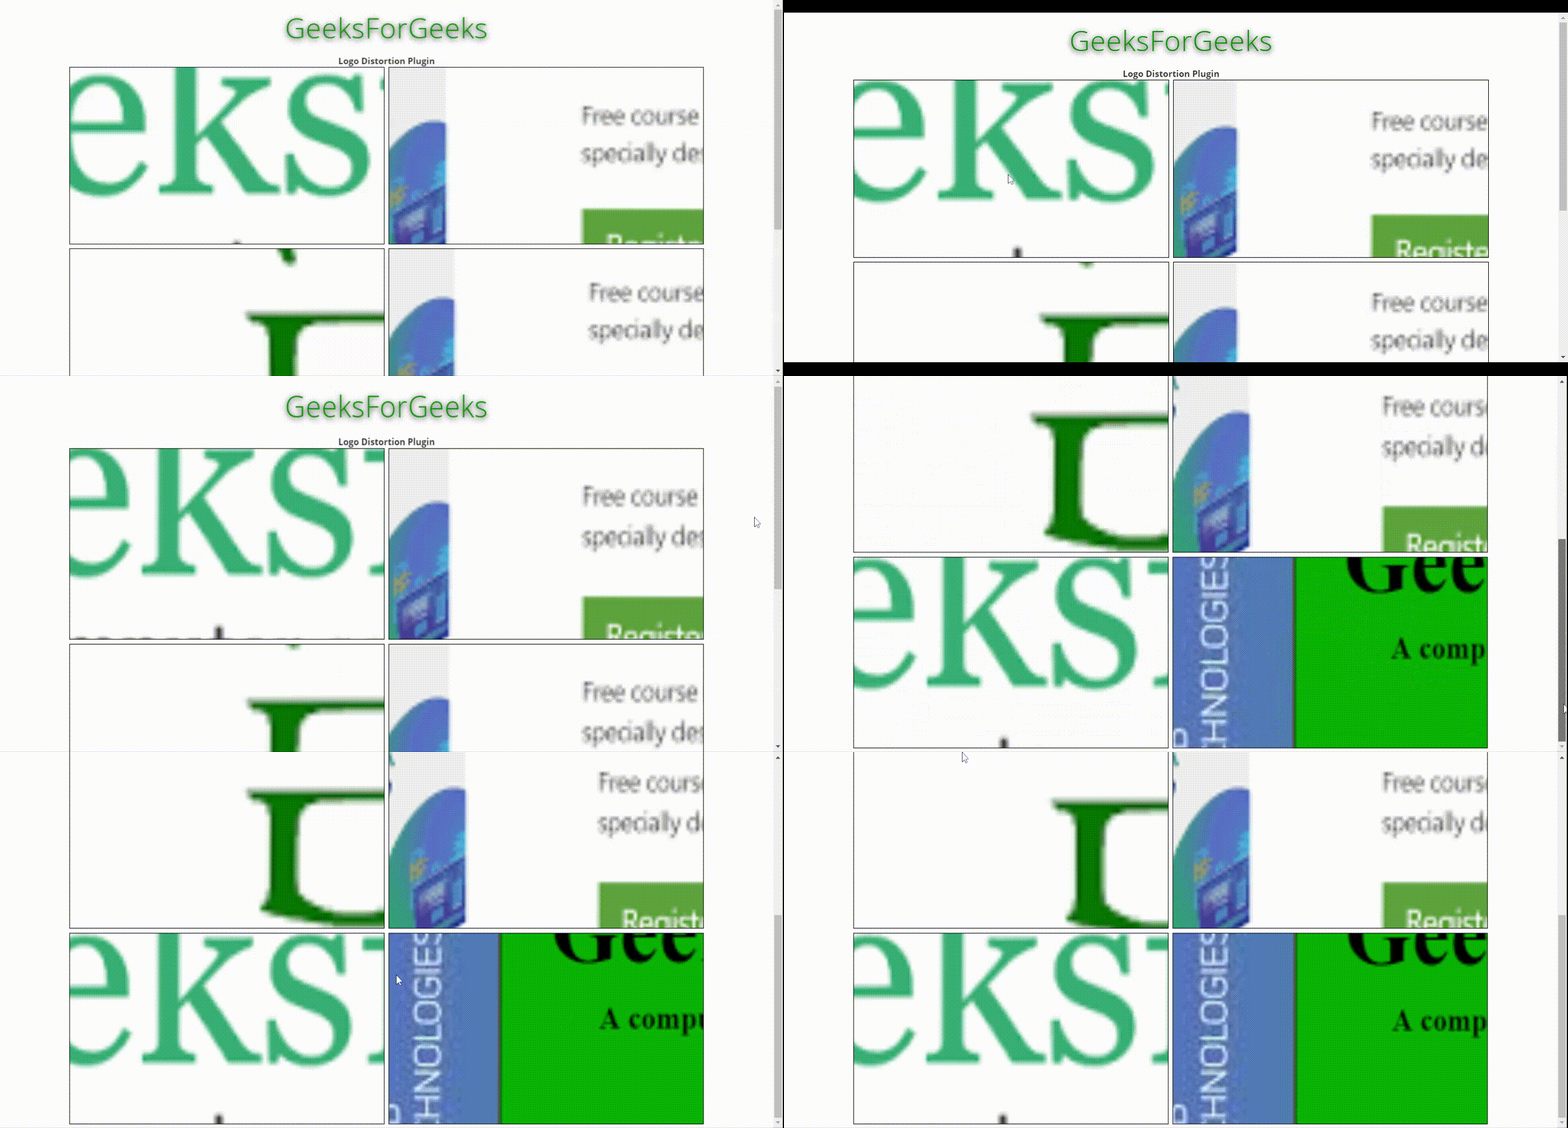
例子3:下面的例子显示了在同一页面中显示的多张卡片,具有logosDistort效果。
<!DOCTYPE html>
<html>
<head>
    <title>Logos Perspective Distortion </title>
    <meta name="viewport"
          content="width=device-width, initial-scale=1.0">
    <link href="style.css" rel="stylesheet" />
    <link href="perspectiveRules.css" rel="stylesheet" />

    <script src=
"https://cdnjs.cloudflare.com/ajax/libs/jquery/2.1.4/jquery.min.js">
    </script>
    <script src="jquery.logosDistort.js"></script>
    <script src="jquery.particleground.min.js"></script>
</head>
<style>
  body{
   text-align:center;
  }
  .containerDiv
  {
    width: 100%;
  }
  .section {
    width: 550px;
    height: 310px;
    margin: 2px;
    border: 1px solid black;
    position: relative;
    display: inline-block;
  }
</style>
<body>
  <h1 style="color:green">GeeksForGeeks</h1>
  <b>Logo Distortion Plugin</b>
  <p></p>
  <div class="containerDiv">
    <div class="section">
        <img alt="background" src="images/background1.jpg" />
        <img alt="ui" src="images/gfg1.png" />
    </div>
    <div class="section">
        <img alt="background" src="images/background2.jpg" />
        <img alt="ui" src="images/gfg3.png" />
    </div>

    <div class="section">
        <img alt="background" src="images/geeksimage1.png" />
        <img alt="ui" src="images/logo.png" />
    </div>
    <div class="section">
         <img alt="background" src="images/geeksimage2.png" />
         <img alt="ui" src="images/gfg3.png" />
    </div>

    <div class="section">
         <img alt="background" src="images/background2.jpg" />
        <img alt="ui" src="images/gfg1.png" />
    </div>
    <div class="section">
         <img alt="background" src="images/background3.jpg" />
         <img alt="ui" src="images/gfg6.png" />
    </div>


  </div>

  <script>
      new logosDistort(
        document.getElementsByClassName('section'),
        {
          container: 'self',
          //This is new option
          perspectiveMulti: 1.2,
          mouseMode: 'container',
          outerBuffer: 2,
          effectWeight: 4
        }
      );
  </script>

</body>
</html>
输出:

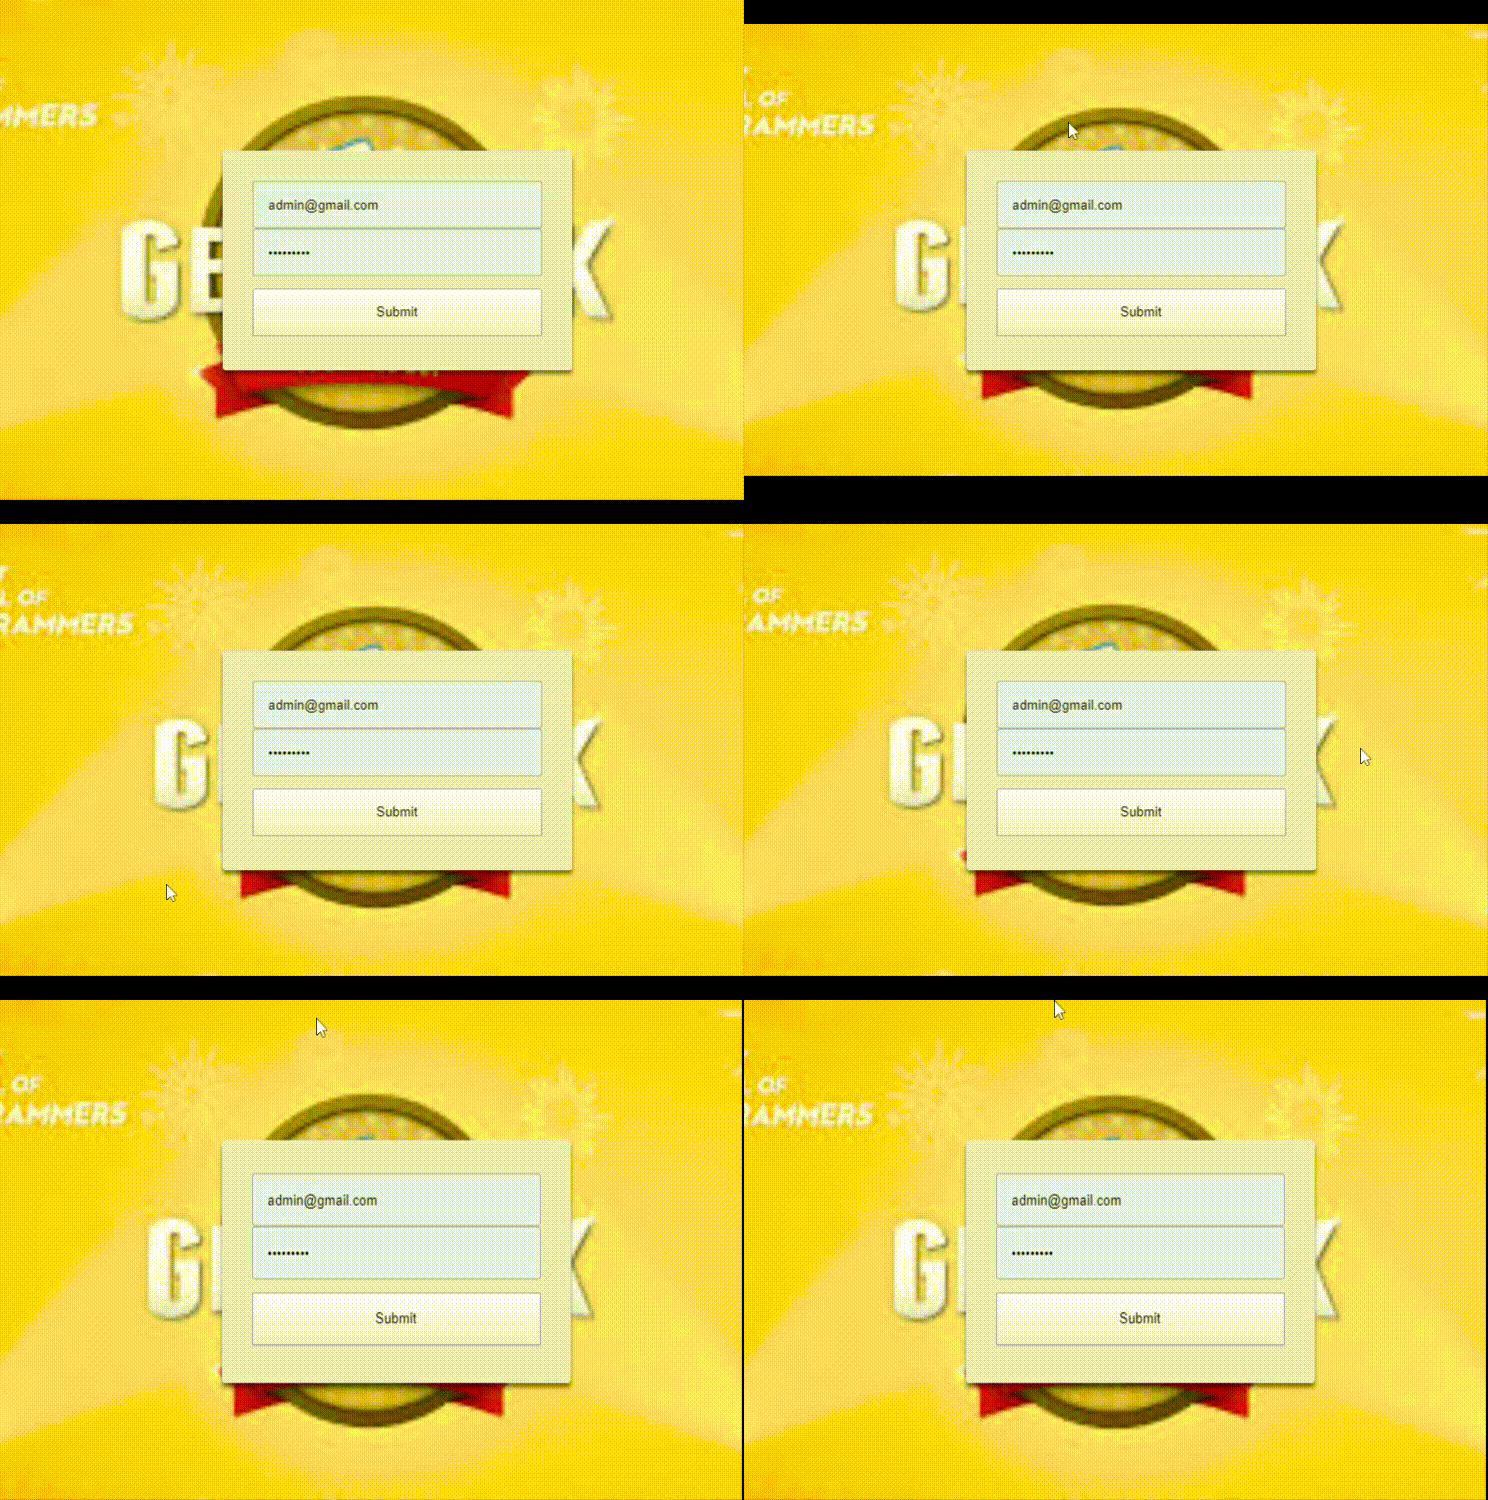
例子4:下面的例子显示了扭曲的背景与固定的用户登录屏幕。
<!DOCTYPE html>
<html>
<head>
    <title>Logos Perspective Distortion </title>
    <meta name="viewport"
          content="width=device-width, initial-scale=1.0">
    <link href="style.css" rel="stylesheet" />
    <link href="perspectiveRules.css" rel="stylesheet" />

   <script src=
"https://cdnjs.cloudflare.com/ajax/libs/jquery/2.1.4/jquery.min.js">
   </script>
   <script src="jquery.logosDistort.js"></script>
   <script src="jquery.particleground.min.js"></script>
</head>
<style>
  .loginClass
  {
    position:absolute;
    top:0;
    left:0;
    z-index:3;
    width:100%;
    height:100%;
  }
  .login-inputs
  {
    position: absolute;
    width: 350px;
    height: 220px;
    margin-top: -100px;
    margin-left: -150px;
    background:#e9e9e9;
    color:#333333;
    border-radius: 3px;
    box-shadow: 0px 4px 4px rgba(0,0,0,0.5);
    padding: 30px;
    display: inline-block;
  }
  input
  {
    width: 100%;
    height:30%
  }
  .login-controls
  {
    width:100%;
    position:absolute;
    top:50%;
    text-align:center;
    z-index:inherit;
  }


</style>
<body>

  <div class="loginClass">
    <div class="login-controls">
      <div class="login-inputs">
        <input type="text" placeholder="Email ID" /><br/>
        <input type="password" placeholder="Password" /><br/><br/>
    <input type="submit" placeholder="Login" />
      </div>
    </div>
  </div>

  <div id="logoDistortDivID">
       <img alt="bgImage" src="images/background1.jpg" />
      <img alt="" src="images/gfg2.jpg" />
  </div>
  <script>
      var distort = new logosDistort(
        document.getElementById('logoDistortDivID'),
        {
          perspectiveMulti: 1.5
        }
      );
  </script>
</body>
</html>
输出:

 极客教程
极客教程