jQuery jTippy Tooltip 插件
在这篇文章中,我们将学习如何使用jQuery jTippy Tooltip插件实现工具提示功能。
注意:请在工作文件夹中下载jQuery jTippy插件,并在HTML代码的head部分包含所需文件。
<link href=”https://stackpath.bootstrapcdn.com/bootstrap/4.1.3/css/bootstrap.min.css”
rel=”stylesheet” type=”text/css”/>
<link href=”https://stackpath.bootstrapcdn.com/font-awesome/4.7.0/css/font-awesome.min.css”
rel=”stylesheet” type=”text/css”/>
<link href=”https://cdnjs.cloudflare.com/ajax/libs/highlight.js/9.12.0/styles/darcula.min.css”
rel=”stylesheet” type=”text/css”/>
<link href=”jTippy.css” rel=”stylesheet” type=”text/css”/>
<script src=”https://code.jquery.com/jquery-3.5.1.min.js”></script>
<script src=”jTippy.min.js”></script>
例子1:下面的例子演示了jTippy Tooltip插件的基本功能。
<!DOCTYPE html>
<html>
    <head>
        <meta http-equiv="Content-Type"
              content="text/html; charset=UTF-8" />

        <title>jQuery jTippy Tooltip Plugin</title>

        <meta name="description"
              content="jQuery tooltip plugin" />
        <meta content="width=800, initial-scale=1"
              name="viewport" />

        <link
            rel="stylesheet"
            href=
"https://stackpath.bootstrapcdn.com/bootstrap/4.1.3/css/bootstrap.min.css"
            integrity=
"sha384-MCw98/SFnGE8fJT3GXwEOngsV7Zt27NXFoaoApmYm81iuXoPkFOJwJ8ERdknLPMO"
            crossorigin="anonymous"/>
        <link
            rel="stylesheet"
            href="https://stackpath.bootstrapcdn.com/font-awesome/4.7.0/
        css/font-awesome.min.css"/>
        <link
            rel="stylesheet"
            href=
"https://cdnjs.cloudflare.com/ajax/libs/highlight.js/9.12.0/styles/darcula.min.css"/>
        <link rel="stylesheet" href="jTippy.css" />
        <script src=
"https://code.jquery.com/jquery-3.5.1.min.js">
        </script>
        <script src="jTippy.min.js"></script>
        <style>
            body,
            html {
                height: 60%;
                width: 60%;
                margin: 0px;
                font-family: Arial;
            }
        </style>
    </head>
    <body class="body text-center">
        <h2 style="color: green;">GeeksForGeeks</h2>
        <b>jQuery jTippy tooltip plugin </b>

<p></p>


        <a href="#" data-toggle="tooltip" title="This is tooltip">
            This is a dummy link to show tooltip.
        </a>

        <script>
            (function () {
                ('[data-toggle="tooltip"]').jTippy();
            });
        </script>
    </body>
</html>
输出:

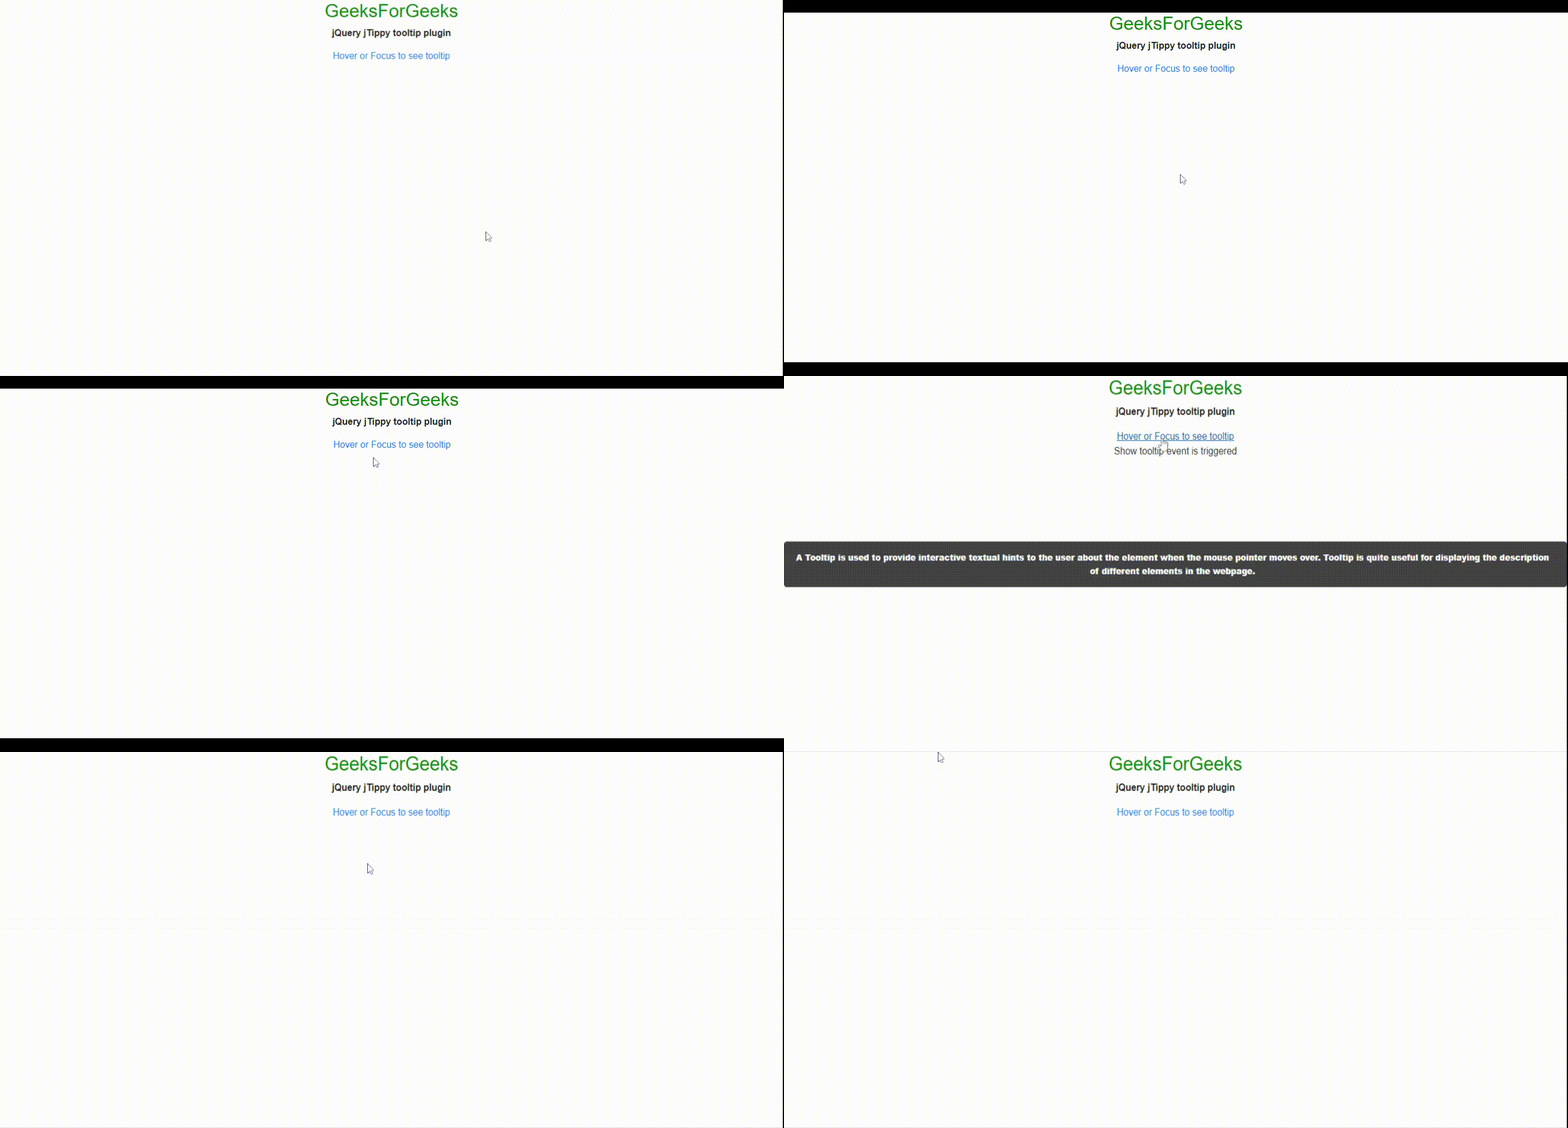
例子2:下面的例子演示了各种选项设置和事件触发功能的使用。下面只用了几个,开发者可以根据应用的需要来探索和使用它们。当工具提示显示给用户时,on(‘jt-show’)事件被触发,在HTML div中显示消息,其id”showDivID”。一旦on(‘jt-hide’)事件被触发,信息div就会被隐藏。
<!DOCTYPE html>
<html>
    <head>
        <meta http-equiv="Content-Type"
              content="text/html; charset=UTF-8" />

        <title>jQuery jTippy Tooltip Plugin</title>

        <meta name="description"
              content="jQuery tooltip plugin" />
        <meta content="width=800, initial-scale=1"
              name="viewport" />

        <link
            rel="stylesheet"
            href=
"https://stackpath.bootstrapcdn.com/bootstrap/4.1.3/css/bootstrap.min.css"
            integrity=
"sha384-MCw98/SFnGE8fJT3GXwEOngsV7Zt27NXFoaoApmYm81iuXoPkFOJwJ8ERdknLPMO"
            crossorigin="anonymous"/>
        <link
            rel="stylesheet"
            href=
"https://stackpath.bootstrapcdn.com/font-awesome/4.7.0/css/font-awesome.min.css"/>
        <link
            rel="stylesheet"
            href=
"https://cdnjs.cloudflare.com/ajax/libs/highlight.js/9.12.0/styles/darcula.min.css"/>
        <link rel="stylesheet" href="jTippy.css" />
        <script src=
"https://code.jquery.com/jquery-3.5.1.min.js">
        </script>
        <script src="jTippy.min.js"></script>
        <style>
            body,
            html {
                height: 100%;
                margin: 0px;
                font-family: Arial;
            }
        </style>
    </head>
    <body class="body text-center">
        <h2 style="color: green;">GeeksForGeeks</h2>
        <b>jQuery jTippy tooltip plugin </b>

<p></p>

        <a
            href="#"
            data-toggle="tooltip"
            title="A Tooltip is used to provide interactive
                   textual hints to the user about the element
                   when the mouse pointer moves over. Tooltip is
                   quite useful for displaying the description of
                   different elements in the webpage.">
            Hover or Focus to see tooltip
        </a>

        <div id="showDivID"></div>

        <!-- Option settings and  events trigger-->
        <script>
            (function () {
                ('[data-toggle="tooltip"]')
                    .jTippy({
                        title: "Trying out jTippy tooltips",
                        // The tooltip is displayed on mouse
                        // over and focus event
                        trigger: "hoverfocus",
                        size: "medium",
                        position: "auto",
                        backdrop: false,
                        theme: "black",
                        singleton: true,
                        close_on_outside_click: true,
                    })
                    .on("jt-show", function (e, tooltip, hide) {
                        // triggered on show tooltip ;
                        ("#showDivID").html("Show tooltip event is triggered");
                    })
                    .on("jt-hide", function (e) {
                        //triggered on tooltip hide
                        ("#showDivID").hide();
                    });
            });
        </script>
    </body>
</html>
输出:

显示事件触发器的输出:

 极客教程
极客教程