如何使用bootstrap在图片上添加黑色悬停
Bootstrap是一个流行的CSS框架,被前端开发者广泛用于为网络应用程序创建交互式UI。Bootstrap被广泛使用是因为它的简单性和易操作性。Bootstrap允许使用多种工具来使图像具有交互性。其中一个工具可以在图片被悬停时改变其颜色。悬停基本上就是将光标移到图片上。下面的代码片段演示了如何使用bootstrap为图片添加黑色悬停。
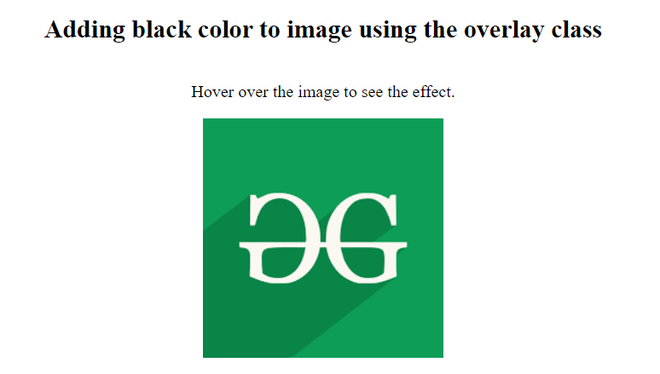
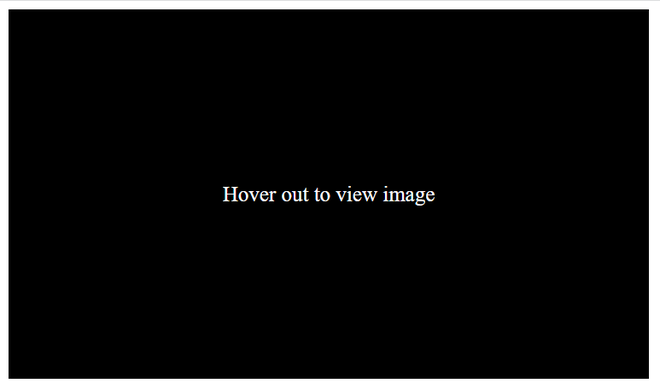
第一种方法:在这种方法中,content-overlay 类指定了鼠标悬停在图像上时的所需属性。content-overlay类中的background属性指定了用户悬停在图像上时的不透明度。content-details类指定了当鼠标悬停在图像上时显示在图像上面的内容的属性集。
示例:
<!DOCTYPE html>
<html>
<head>
    <title></title>
    <!-- importing bootstrap cdn-->
    <link rel="stylesheet" href=
"https://stackpath.bootstrapcdn.com/bootstrap/4.4.1/css/bootstrap.min.css"
        integrity=
"sha384-Vkoo8x4CGsO3+Hhxv8T/Q5PaXtkKtu6ug5TOeNV6gBiFeWPGFN9MuhOf23Q9Ifjh"
        crossorigin="anonymous">
    <style>
        /*setting the properties for container
        which contains the image */
        .container {
            margin-top: 5px;
        }
        /*setting the properties for title*/
        .title {
            color: #1a1a1a;
            text-align: center;
            margin-bottom: 10px;
        }
        /*setting the properties of
        content within the image*/
        .content {
            position: relative;
            width: 90%;
            max-width: 400px;
            margin: auto;
            overflow: hidden;
        }
        /* rgb(0,0,0) indicates black and
            the fourth parameter is the opacity */
        .content .content-overlay {
            /*setting 0.8 to 1 will turn the overlay opaque*/
            background: rgba(0, 0, 0, 0.8);
            position: absolute;
            height: 99%;
            width: 100%;
            left: 0;
            top: 0;
            bottom: 0;
            right: 0;
            opacity: 0;
            /*transition time and effect*/
            -webkit-transition: all 0.4s ease-in-out 0s;
            /*transition time and effect*/
            -moz-transition: all 0.4s ease-in-out 0s;
            /*transition time and effect*/
            transition: all 0.4s ease-in-out 0s;
        }
        /* setting hover properties */
        .content:hover .content-overlay {
            opacity: 1;
        }
        .content-image {
            width: 100%;
        }
        /*setting image properties*/
        img {
            box-shadow: 1px 1px 5px 1px rgba(0, 0, 0, 0.1);
            border-radius: 5px;
        }
        .content-details {
            position: absolute;
            text-align: center;
            padding-left: 1em;
            padding-right: 1em;
            width: 100%;
            top: 50%;
            left: 50%;
            opacity: 0;
            -webkit-transform: translate(-50%, -50%);
            -moz-transform: translate(-50%, -50%);
            transform: translate(-50%, -50%);
            /*transition time and effect*/
            -webkit-transition: all 0.3s ease-in-out 0s;
            /*transition time and effect*/
            -moz-transition: all 0.3s ease-in-out 0s;
            /*transition time and effect*/
            transition: all 0.3s ease-in-out 0s;
        }
        .content:hover .content-details {
            top: 50%;
            left: 50%;
            opacity: 1;
        }
        .content-details h3 {
            color: #fff;
            font-weight: 500;
            letter-spacing: 0.15em;
            margin-bottom: 0.5em;
            text-transform: uppercase;
        }
        .content-details p {
            color: #fff;
            font-size: 0.8em;
        }
    </style>
</head>
<body>
    <div class="container">
        <div class="content">
            <div class="content-overlay"></div>
            <img class="content-image" src="https://media.geeksforgeeks.org/wp-content/uploads/20200325132558/download311.png" height="300px">
            <div class="content-details">
                <h3 class="content-title">
                    GeeksforGeeks
                </h3>
                <p class="content-text">
                    Hover out to view image
                </p>


            </div>
        </div>
    </div>
</body>
</html>
输出:
- Before Hover:

- After Hover:

替代方法。第二种方法也是处理悬停效果,但这里的悬停不透明度被设置为1,这意味着底层图像变得完全隐藏。覆盖类包含了悬停时图像的一组规格。背景颜色被设置为黑色。过渡时间和性质也被设置。
示例:
<!DOCTYPE html>
<html>

<head>
    <!--helps in scaling the web page
        according to the device screen size-->
    <meta name="viewport" content="width=device-width, initial-scale=1">
    <style>
        .main-container {
            display: flex;
            flex-direction: column;
            position: relative;
            justify-content: center;
            align-items: center;
            width: 600px;
        }

        /*image class sets the properties of the
                image used*/
        .image {
            display: block;
            width: 100%;
            height: auto;
        }

        /*overlay class sets the properties
                of the overlay image*/
        .overlay {
            position: absolute;
            top: 0;
            bottom: 0;
            left: 0;
            right: 0;
            height: 100%;
            width: 100%;
            opacity: 0;
            /*the transition time between the
            actual image to overlay*/
            transition: 0.3s ease;
            /*ensures black hover on the image*/
            background-color: black;
        }

        /*hovering property is set*/
        .inner-container:hover .overlay {
            opacity: 1;
        }

        /*properties for the text on the overlay image*/
        .text {
            color: white;
            font-size: 20px;
            position: absolute;
            top: 50%;
            left: 50%;
            -webkit-transform: translate(-50%, -50%);
            -ms-transform: translate(-50%, -50%);
            transform: translate(-50%, -50%);
            text-align: center;
        }
    </style>
</head>

<body>
    <div class="main-container">
        <h2>
            Adding black color to image
            using the overlay class
        </h2>


<p>Hover over the image to see the effect.</p>


        <div class="inner-container">
            <img src=
             "https://media.geeksforgeeks.org/wp-content/uploads/20200325132558/download311.png">

              <div class="overlay">
                <div class="text">
                    Hover out to view image
                </div>
            </div>
        </div>
    </div>
</body>

</html>
输出:
- Before Hover:

- After Hover:

HTML是网页的基础,通过构建网站和网络应用程序来进行网页开发。你可以通过学习这个HTML教程和HTML例子,从基础开始学习HTML。
CSS是网页的基础,通过对网站和网络应用进行样式设计,用于网页开发。你可以通过学习这个CSS教程和CSS实例,从基础开始学习CSS。
 极客教程
极客教程