Android 用户界面布局
简介
安卓系统中的UI布局是用来定义用户界面的,当移动应用程序被使用时,它将被显示给用户。它通常用于显示用户在屏幕上看到的东西。每个安卓应用都由一个或多个UI布局组成。在安卓应用中创建的每个活动都由不同类型的UI布局组成。UI布局通常被用作一个父组件,它持有应用程序中的所有小部件,无论是文本视图、图像视图还是其他。Android中的布局也被称为视图组,它容纳了其中的所有视图。在这篇文章中,我们将看一下Android中不同类型的UI布局。
Android中不同类型的UI布局。
- Constraint Layout
-
RelativeLayout
-
LinearLayout
-
FrameLayout
-
TableLayout
-
绝对布局
我们将创建一个简单的项目来演示每个布局。
Constraint Layout
约束布局是任何android应用程序中最常用的UI布局之一。它被用来在视图组中以灵活的方式定位和调整小部件的大小。我们可以为这个视图组中的每个子项指定相对于其他视图的布局约束位置。
Constraint Layout的例子
导航到aactivity_main.xml并添加以下代码。
<?xml version="1.0" encoding="utf-8"?>
<androidx.constraintlayout.widget.ConstraintLayout xmlns:android="http://schemas.android.com/apk/res/android"
   xmlns:app="http://schemas.android.com/apk/res-auto"
   xmlns:tools="http://schemas.android.com/tools"
   android:layout_width="match_parent"
   android:layout_height="match_parent"
   tools:context=".MainActivity">

   <TextView
      android:id="@+id/textView"
      android:layout_width="match_parent"
      android:layout_height="wrap_content"
      android:text="Layouts in Android"
      android:textAlignment="center"
      android:textColor="#FF000000"
      android:textSize="20sp"
      android:textStyle="bold"
      app:layout_constraintBottom_toBottomOf="parent"
      app:layout_constraintTop_toTopOf="parent" />

   <TextView
      android:layout_width="match_parent"
      android:layout_height="wrap_content"
      android:id="@+id/idTVSubHeading"
      android:text="Constraint Layout in Android"
      android:textAlignment="center"
      android:textColor="#FF000000"
      app:layout_constraintBottom_toBottomOf="parent"
      app:layout_constraintTop_toBottomOf="@id/textView" />
</androidx.constraintlayout.widget.ConstraintLayout>
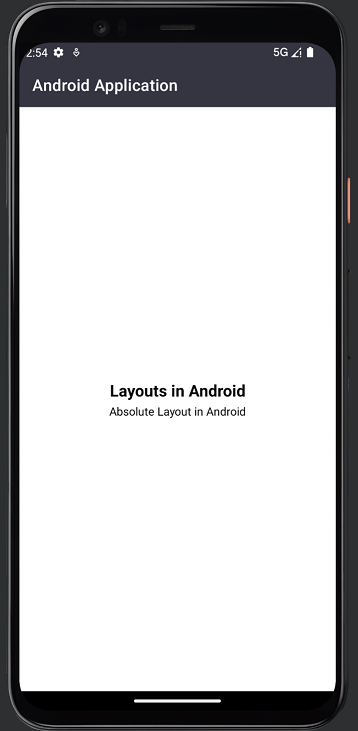
Constraint Layout的输出
RelativeLayout
RelativeLayout是一个布局,在这个视图组中存在的部件的位置可以被描述为相互之间或与父级的关系。在这种布局的帮助下,我们可以通过特定部件的ID来调整元素之间的关系。
RelativeLayout的例子
导航到aactivity_main.xml并添加以下代码。
<?xml version="1.0" encoding="utf-8"?>
<RelativeLayout xmlns:android="http://schemas.android.com/apk/res/android"
   xmlns:tools="http://schemas.android.com/tools"
   android:layout_width="match_parent"
   android:layout_height="match_parent"
   tools:context=".MainActivity">

   <TextView
      android:id="@+id/idTVHeading"
      android:layout_width="match_parent"
      android:layout_height="wrap_content"
      android:layout_centerInParent="true"
      android:text="Layouts in Android"
      android:textAlignment="center"
      android:textColor="#FF000000"
      android:textSize="20sp"
      android:textStyle="bold" />

   <TextView
      android:layout_width="match_parent"
      android:layout_height="wrap_content"
      android:layout_below="@id/idTVHeading"
      android:text="Relative Layout Example"
      android:textAlignment="center"
      android:textColor="#FF000000" />

</RelativeLayout>
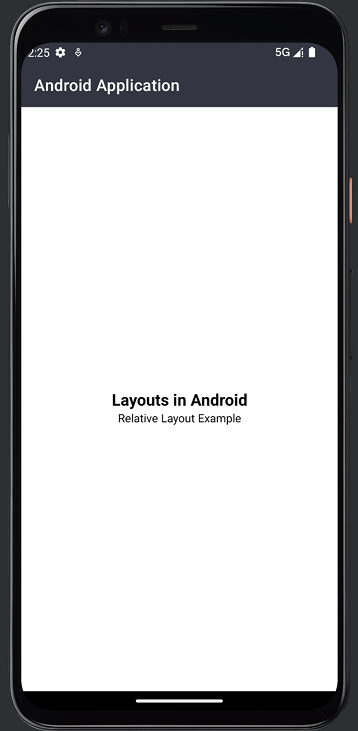
相对布局的输出
LinearLayout
LinearLayout是一种布局类型,在这种布局中,我们可以将显示在该视图中的部件或视图水平地安排在单一行中,或垂直地安排在单一列中。为了指定LinearLayout的方向,无论我们是水平还是垂直显示,我们都可以在LinearLayout中使用方向参数来设置它。
LinearLayout的例子
导航到aactivity_main.xml并添加以下代码。
<?xml version="1.0" encoding="utf-8"?>
<LinearLayout xmlns:android="http://schemas.android.com/apk/res/android"
   xmlns:app="http://schemas.android.com/apk/res-auto"
   xmlns:tools="http://schemas.android.com/tools"
   android:layout_width="match_parent"
   android:layout_height="match_parent"
   android:gravity="center"
   android:orientation="vertical"
   tools:context=".MainActivity">

   <TextView
      android:layout_width="match_parent"
      android:layout_height="wrap_content"
      android:text="Layouts in Android"
      android:textAlignment="center"
      android:textColor="#FF000000"
      android:textSize="20sp"
      android:textStyle="bold" />

   <TextView
      android:id="@+id/idTVSubHeading"
      android:layout_width="match_parent"
      android:layout_height="wrap_content"
      android:text="Vertical Linear Layout in Android"
      android:textAlignment="center"
      android:textColor="#FF000000" />

</LinearLayout>
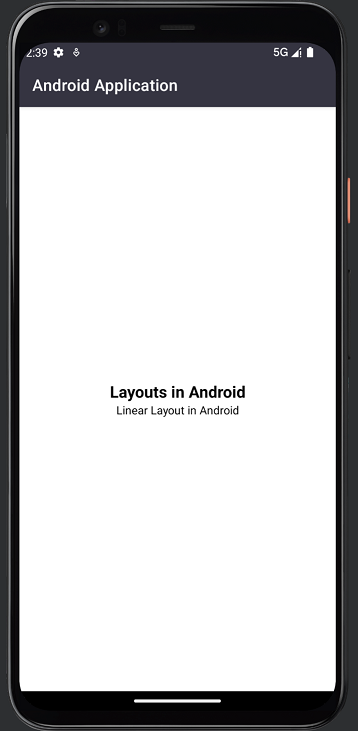
LinearLayout的输出
FrameLayout
FrameLayout是一种布局类型,它被设计用来封锁屏幕的特定区域以显示单一项目。在大多数情况下,FrameLayout被用来容纳一个单一的子视图。我们可以在FrameLayout中使用多个视图,我们可以通过给每个在FrameLayout中显示的部件分配重力来控制它们在FrameLayout中的位置。
FrameLayout的例子
导航到aactivity_main.xml并添加以下代码。
<?xml version="1.0" encoding="utf-8"?>
<FrameLayout xmlns:android="http://schemas.android.com/apk/res/android"
   xmlns:app="http://schemas.android.com/apk/res-auto"
   xmlns:tools="http://schemas.android.com/tools"
   android:layout_width="match_parent"
   android:layout_height="wrap_content"
   android:layout_gravity="center"
   tools:context=".MainActivity">

   <TextView
      android:layout_width="match_parent"
      android:layout_height="wrap_content"
      android:text="Layouts in Android"
      android:textAlignment="center"
      android:textColor="#FF000000"
      android:textSize="20sp"
      android:textStyle="bold" />

   <TextView
      android:id="@+id/idTVSubHeading"
      android:layout_width="match_parent"
      android:layout_height="wrap_content"
      android:layout_marginTop="30dp"
      android:text="Frame Layout in Android"
      android:textAlignment="center"
      android:textColor="#FF000000" />

</FrameLayout>
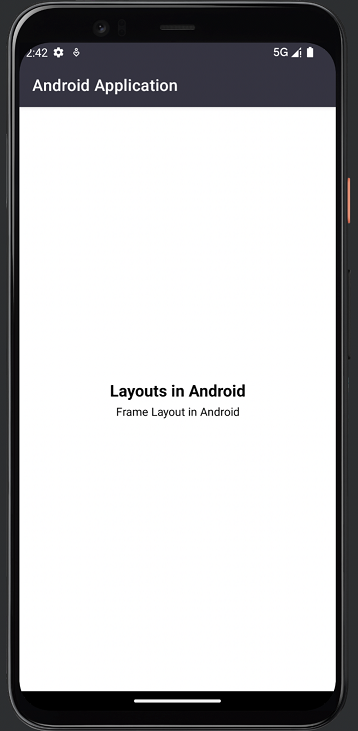
FrameLayout的输出
TableLayout
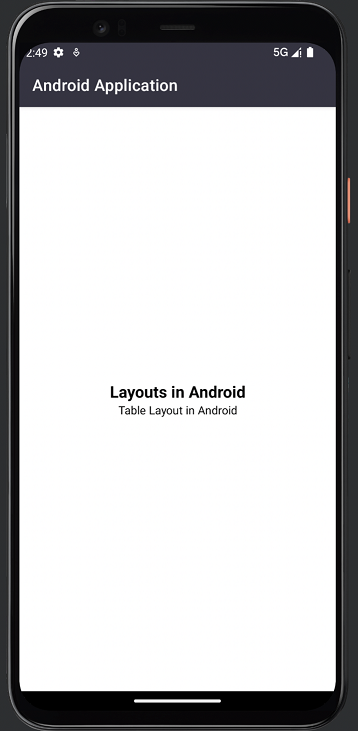
TableLayout的名字本身就表明,这个布局是用来将其中的部件以表格的形式对齐。这个视图组由表行组成,每个表行都定义了可以包含任何数量的单元格。同样地,TableLayout也由表列组成,每个表列都定义了可以包含任意数量的列。TableLayout的列宽是由该列中最宽的单元格定义的。
TableLayout的例子
导航到aactivity_main.xml并添加以下代码。
<?xml version="1.0" encoding="utf-8"?>
<TableLayout xmlns:android="http://schemas.android.com/apk/res/android"
   xmlns:app="http://schemas.android.com/apk/res-auto"
   xmlns:tools="http://schemas.android.com/tools"
   android:layout_width="match_parent"
   android:layout_height="wrap_content"
   android:layout_gravity="center"
   tools:context=".MainActivity">

   <TableRow
      android:layout_width="match_parent"
      android:layout_height="wrap_content"
      android:layout_gravity="center"
      android:gravity="center">

      <TextView
         android:layout_width="match_parent"
         android:layout_height="wrap_content"
         android:layout_gravity="center"
         android:text="Layouts in Android"
         android:textAlignment="center"
         android:textColor="#FF000000"
         android:textSize="20sp"
         android:textStyle="bold" />

   </TableRow>

   <TableRow
      android:layout_width="match_parent"
      android:layout_height="wrap_content"
      android:layout_gravity="center"
      android:gravity="center">

      <TextView
         android:id="@+id/idTVSubHeading"
         android:layout_width="match_parent"
         android:layout_height="wrap_content"
         android:text="Table Layout in Android"
         android:textAlignment="center"
         android:textColor="#FF000000" />

   </TableRow>
</TableLayout>
TableLayout的输出
总结
在上面的教程中,我们学习了什么是安卓的UI布局,以及安卓应用程序中存在的不同类型的安卓UI布局,我们可以使用。
 极客教程
极客教程