matplotlib.pyplot.figtext()函数
Matplotlib是一个广泛用于数据可视化的Python库。它是一个构建在NumPy数组上的多平台数据可视化库,也设计用于使用SciPy堆栈。
Matplotlib.pyplot.figtext () 函数
Figtext用于在图形上的任何位置添加文本。您甚至可以在axis之外添加文本。它使用完整的图形作为坐标,其中左下表示(0,0),右上表示(1,1)。图形的中心是(0.5,0.5)。
语法:
matplotlib.pyplot.figtext(x, y, s, *args, **kwargs)
| Parameter | Values | Use |
|---|---|---|
| x, y | Float | 放置文本的位置。默认为图形坐标[0,1]。 |
| s | String | 文本字符串 |
示例1
演示使用figtext的示例。
# importing required modules
import matplotlib.pyplot as plt
import numpy as np

# values of x and y axes
x = np.arange(0, 8, 0.1)
y = np.sin(x)
plt.plot(x, y)

# pyplot.figtext(x, y, string)
plt.figtext(0, 0, "This is a sample example \
explaining figtext", fontsize = 10)

plt.xlabel('x')
plt.ylabel('y')
plt.show()
输出:

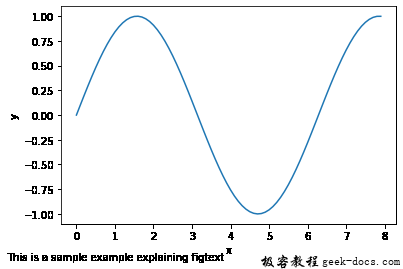
上面的示例将文本放在给定字体大小的图形的左下角。
示例2
我们还可以通过调整x和y的值将文本放置在图形中的相对位置。
# importing required modules
import matplotlib.pyplot as plt
import numpy as np

# values of x and y axes
x = np.arange(0, 8, 0.1)
y = np.sin(x)
plt.plot(x, y)

plt.figtext(0.55, 0.7,
            "Sin curve",
            horizontalalignment ="center",
            verticalalignment ="center",
            wrap = True, fontsize = 14,
            color ="green")

plt.xlabel('x')
plt.ylabel('y')
plt.show()
输出:

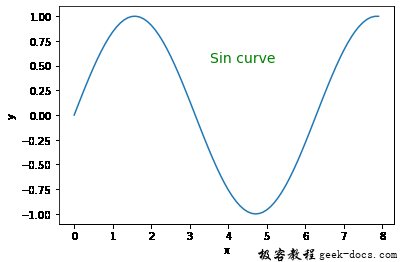
对齐参数——水平对齐和垂直对齐将文本放在中间,而wrap参数确保文本位于图形宽度内。color参数给出字体的颜色。
示例3
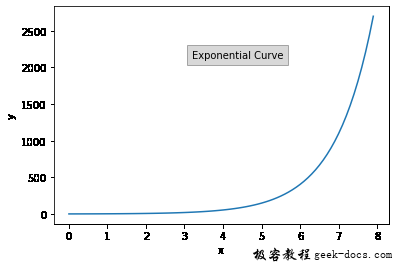
我们还可以使用bbox参数在文本周围添加边框。
# importing required modules
import matplotlib.pyplot as plt
import numpy as np

# values of x and y axes
x = np.arange(0, 8, 0.1)
y = np.exp(x)
plt.plot(x, y)

# pyplot.figtext(x, y, string)
plt.figtext(0.55, 0.7,
            "Exponential Curve",
            horizontalalignment ="center",
            wrap = True, fontsize = 10,
            bbox ={'facecolor':'grey',
                   'alpha':0.3, 'pad':5})

plt.xlabel('x')
plt.ylabel('y')
plt.show()
输出:

示例4
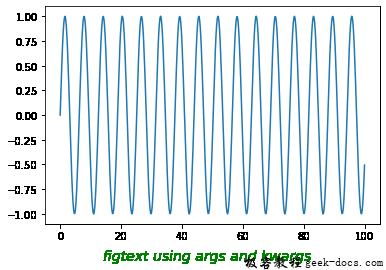
我们还可以使用*args和**kwargs向我们的情节添加文本属性。*args和**kwargs用于向函数传递多个参数或关键字参数。
# importing required properties
import numpy as np
import matplotlib.pyplot as plt

x = np.linspace(0, 100, 501)
y = np.sin(x)

figtext_args = (0.5, 0,
                "figtext using args and kwargs")

figtext_kwargs = dict(horizontalalignment ="center",
                      fontsize = 14, color ="green",
                      style ="italic", wrap = True)

plt.plot(x, y)
plt.figtext(*figtext_args, **figtext_kwargs)
plt.show()
输出:

 极客教程
极客教程