Matplotlib中Artist对象的get_url()方法详解与应用
参考:Matplotlib.artist.Artist.get_url() in Python
Matplotlib是Python中最流行的数据可视化库之一,它提供了丰富的绘图功能和灵活的自定义选项。在Matplotlib的架构中,Artist对象扮演着重要的角色,它是所有可视化元素的基类。本文将深入探讨Artist对象的get_url()方法,这是一个用于获取与Artist对象相关联的URL的重要函数。我们将详细介绍get_url()方法的用法、应用场景以及相关的示例代码,帮助读者全面理解并掌握这一功能。
1. Artist对象简介
在深入了解get_url()方法之前,我们首先需要了解Artist对象在Matplotlib中的角色和重要性。
Artist是Matplotlib中所有可视化元素的基类,包括图形、轴、线条、文本等。它们负责在画布上绘制各种图形元素。Artist对象可以分为两类:
- 基本Artist:如Line2D、Rectangle、Text等,用于绘制基本图形元素。
- 容器Artist:如Axis、Axes、Figure等,用于组织和管理其他Artist对象。
下面是一个简单的示例,展示了如何创建一个基本的Artist对象:
import matplotlib.pyplot as plt
import matplotlib.patches as patches

fig, ax = plt.subplots()
circle = patches.Circle((0.5, 0.5), 0.2, fill=False)
ax.add_patch(circle)
ax.set_title("How2matplotlib.com - Basic Artist Example")
plt.show()
Output:
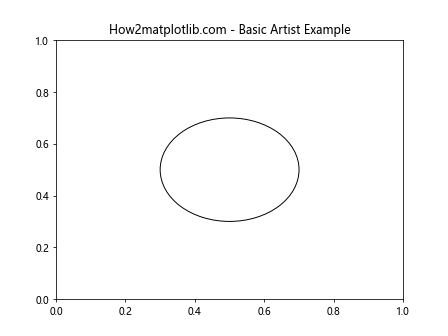
在这个例子中,我们创建了一个Circle对象,它是一个基本的Artist对象。我们将其添加到Axes对象中,Axes对象则是一个容器Artist。
2. get_url()方法概述
get_url()方法是Artist类的一个成员函数,用于获取与Artist对象相关联的URL。这个URL通常用于在交互式环境中为图形元素添加超链接,使用户可以通过点击图形元素跳转到指定的网页。
get_url()方法的基本语法如下:
url = artist.get_url()
其中,artist是一个Artist对象,返回值url是一个字符串,表示与该Artist对象关联的URL。
3. 设置和获取URL
在使用get_url()方法之前,我们需要先为Artist对象设置URL。这可以通过set_url()方法来实现。下面是一个示例,展示了如何为一个Line2D对象设置和获取URL:
import matplotlib.pyplot as plt

fig, ax = plt.subplots()
line, = ax.plot([0, 1, 2], [0, 1, 0], label='Line')
line.set_url('https://how2matplotlib.com')
url = line.get_url()
print(f"The URL associated with the line is: {url}")
ax.set_title("How2matplotlib.com - Set and Get URL Example")
plt.show()
Output:
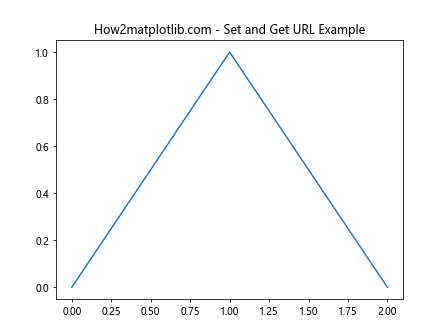
在这个例子中,我们首先创建了一个Line2D对象,然后使用set_url()方法为其设置了一个URL。接着,我们使用get_url()方法获取并打印了这个URL。
4. URL在交互式环境中的应用
get_url()方法的主要应用场景是在交互式环境中为图形元素添加超链接。这在创建可点击的图表或信息图时特别有用。以下是一个更复杂的示例,展示了如何创建一个带有可点击元素的散点图:
import matplotlib.pyplot as plt
import numpy as np

fig, ax = plt.subplots()

# 生成随机数据
np.random.seed(42)
x = np.random.rand(20)
y = np.random.rand(20)

# 创建散点图
scatter = ax.scatter(x, y)

# 为每个点设置不同的URL
urls = [f'https://how2matplotlib.com/point/{i}' for i in range(len(x))]
for i, (x_i, y_i) in enumerate(zip(x, y)):
    point = ax.annotate(f'Point {i}', (x_i, y_i), xytext=(5, 5), textcoords='offset points')
    point.set_url(urls[i])

ax.set_title("How2matplotlib.com - Interactive Scatter Plot with URLs")
plt.show()
Output:
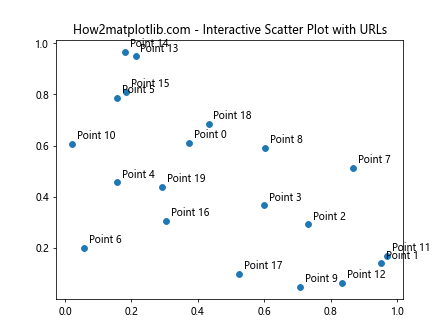
在这个例子中,我们创建了一个散点图,并为每个点添加了一个带有URL的注释。虽然在静态图像中无法直接点击这些链接,但在支持交互的环境(如Jupyter Notebook或某些GUI应用程序)中,用户可以通过点击这些注释来访问相应的URL。
5. 在不同类型的Artist对象中使用get_url()
get_url()方法可以应用于各种类型的Artist对象。以下是几个在不同类型的Artist对象中使用get_url()的示例:
5.1 Text对象
import matplotlib.pyplot as plt

fig, ax = plt.subplots()
text = ax.text(0.5, 0.5, 'Click me!', ha='center', va='center')
text.set_url('https://how2matplotlib.com/text')
url = text.get_url()
print(f"The URL associated with the text is: {url}")
ax.set_title("How2matplotlib.com - Text with URL")
plt.show()
Output:
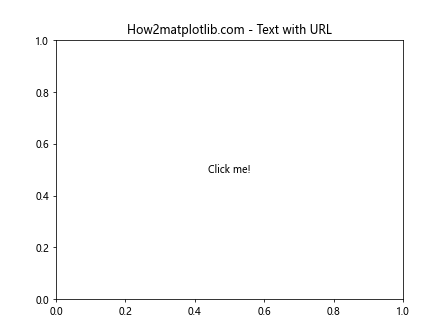
在这个例子中,我们创建了一个Text对象,并为其设置了URL。这在创建可点击的文本标签时非常有用。
5.2 Rectangle对象
import matplotlib.pyplot as plt
import matplotlib.patches as patches

fig, ax = plt.subplots()
rect = patches.Rectangle((0.2, 0.2), 0.6, 0.6, fill=False)
ax.add_patch(rect)
rect.set_url('https://how2matplotlib.com/rectangle')
url = rect.get_url()
print(f"The URL associated with the rectangle is: {url}")
ax.set_title("How2matplotlib.com - Rectangle with URL")
plt.show()
Output:
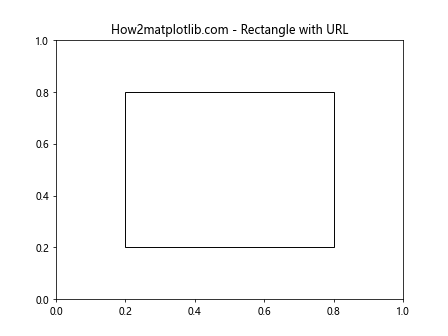
这个例子展示了如何为一个Rectangle对象设置和获取URL。这可以用于创建可点击的区域或按钮。
5.3 Circle对象
import matplotlib.pyplot as plt
import matplotlib.patches as patches

fig, ax = plt.subplots()
circle = patches.Circle((0.5, 0.5), 0.3, fill=False)
ax.add_patch(circle)
circle.set_url('https://how2matplotlib.com/circle')
url = circle.get_url()
print(f"The URL associated with the circle is: {url}")
ax.set_title("How2matplotlib.com - Circle with URL")
plt.show()
Output:
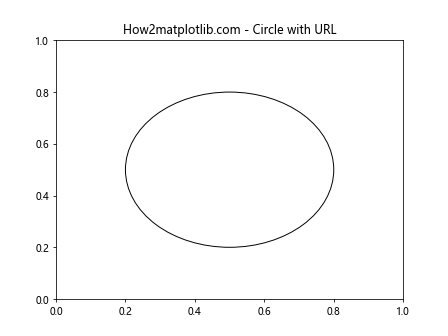
这个例子展示了如何为Circle对象设置和获取URL。这可以用于创建圆形的可点击区域。
6. 在图例中使用get_url()
get_url()方法也可以应用于图例中的元素。以下是一个在图例中使用get_url()的示例:
import matplotlib.pyplot as plt

fig, ax = plt.subplots()
line1, = ax.plot([0, 1, 2], [0, 1, 0], label='Line 1')
line2, = ax.plot([0, 1, 2], [1, 0, 1], label='Line 2')

line1.set_url('https://how2matplotlib.com/line1')
line2.set_url('https://how2matplotlib.com/line2')

legend = ax.legend()
for text in legend.get_texts():
    url = text.get_url()
    print(f"The URL associated with legend text '{text.get_text()}' is: {url}")

ax.set_title("How2matplotlib.com - Legend with URLs")
plt.show()
Output:
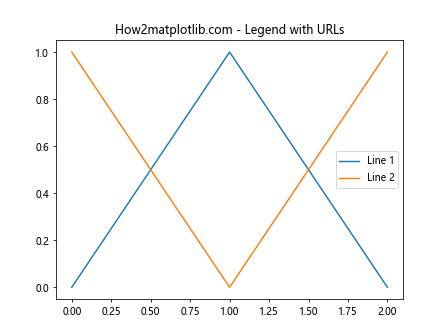
在这个例子中,我们为两条线设置了不同的URL,然后创建了一个图例。虽然图例文本本身没有直接设置URL,但它们会继承对应线条的URL。我们可以使用get_url()方法来获取这些URL。
7. 在子图中使用get_url()
get_url()方法也可以应用于子图中的元素。以下是一个在多个子图中使用get_url()的示例:
import matplotlib.pyplot as plt

fig, (ax1, ax2) = plt.subplots(1, 2, figsize=(10, 4))

line1, = ax1.plot([0, 1, 2], [0, 1, 0], label='Subplot 1')
line2, = ax2.plot([0, 1, 2], [1, 0, 1], label='Subplot 2')

line1.set_url('https://how2matplotlib.com/subplot1')
line2.set_url('https://how2matplotlib.com/subplot2')

url1 = line1.get_url()
url2 = line2.get_url()

print(f"The URL associated with the line in subplot 1 is: {url1}")
print(f"The URL associated with the line in subplot 2 is: {url2}")

fig.suptitle("How2matplotlib.com - Subplots with URLs")
plt.show()
Output:
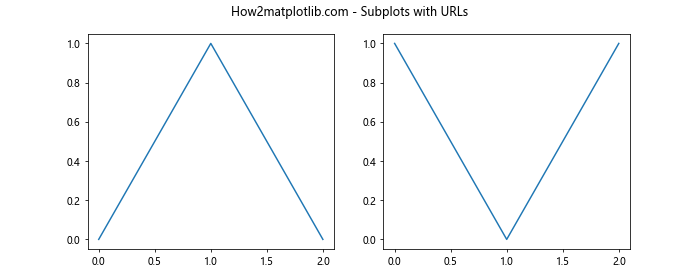
在这个例子中,我们创建了两个子图,并为每个子图中的线条设置了不同的URL。然后我们使用get_url()方法获取并打印这些URL。
8. 在3D图中使用get_url()
get_url()方法同样适用于3D图中的Artist对象。以下是一个在3D散点图中使用get_url()的示例:
import matplotlib.pyplot as plt
import numpy as np

fig = plt.figure()
ax = fig.add_subplot(111, projection='3d')

# 生成随机数据
np.random.seed(42)
x = np.random.rand(20)
y = np.random.rand(20)
z = np.random.rand(20)

# 创建3D散点图
scatter = ax.scatter(x, y, z)

# 为每个点设置不同的URL
urls = [f'https://how2matplotlib.com/3d_point/{i}' for i in range(len(x))]
for i, (x_i, y_i, z_i) in enumerate(zip(x, y, z)):
    point = ax.text(x_i, y_i, z_i, f'Point {i}')
    point.set_url(urls[i])
    url = point.get_url()
    print(f"The URL associated with Point {i} is: {url}")

ax.set_title("How2matplotlib.com - 3D Scatter Plot with URLs")
plt.show()
Output:
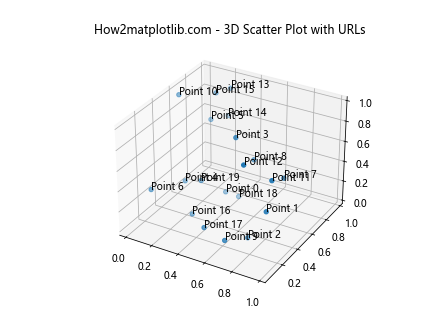
在这个例子中,我们创建了一个3D散点图,并为每个点添加了一个带有URL的文本标签。我们使用set_url()方法为每个点设置URL,然后使用get_url()方法获取并打印这些URL。
9. 在动画中使用get_url()
get_url()方法也可以在动画中使用。以下是一个在简单动画中使用get_url()的示例:
import matplotlib.pyplot as plt
import matplotlib.animation as animation
import numpy as np

fig, ax = plt.subplots()
line, = ax.plot([], [], lw=2)
ax.set_xlim(0, 2*np.pi)
ax.set_ylim(-1, 1)

def init():
    line.set_data([], [])
    return line,

def animate(i):
    x = np.linspace(0, 2*np.pi, 100)
    y = np.sin(x + i/10.0)
    line.set_data(x, y)
    line.set_url(f'https://how2matplotlib.com/animation_frame/{i}')
    url = line.get_url()
    print(f"The URL for frame {i} is: {url}")
    return line,

anim = animation.FuncAnimation(fig, animate, init_func=init,
                               frames=200, interval=20, blit=True)

ax.set_title("How2matplotlib.com - Animation with Changing URL")
plt.show()
Output:
在这个例子中,我们创建了一个简单的正弦波动画。在每一帧中,我们都为线条设置了一个新的URL,并使用get_url()方法获取并打印这个URL。这展示了如何在动态变化的图形中使用get_url()方法。
10. 使用get_url()进行调试
get_url()方法也可以用于调试目的,特别是在处理复杂图形时。以下是一个使用get_url()进行调试的示例:
import matplotlib.pyplot as plt
import numpy as np

fig, ax = plt.subplots()

# 创建多个Artist对象
line, = ax.plot([0, 1, 2], [0, 1, 0], label='Line')
scatter = ax.scatter(np.random.rand(10), np.random.rand(10), label='Scatter')
text = ax.text(0.5, 0.5, 'Text', ha='center', va='center')

# 设置URL
line.set_url('https://how2matplotlib.com/line')
scatter.set_url('https://how2matplotlib.com/scatter')
text.set_url('https://how2matplotlib.com/text')

# 获取并打印所有Artist对象的URL
for artist in ax.get_children():
    url = artist.get_url()
    if url:
        print(f"Artist type: {type(artist).__name__}, URL: {url}")

ax.set_title("How2matplotlib.com - Debugging with get_url()")
plt.show()
Output:
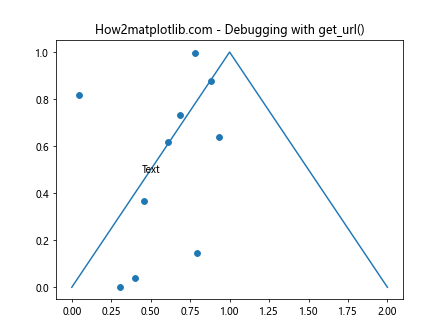
在这个例子中,我们创建了多个不同类型的Artist对象,并为它们设置了不同的URL。然后,我们遍历Axes对象的所有子对象,使用get_url()方法获取它们的URL(如果有的话),并打印出来。这种方法可以帮助我们快速检查图形中各个元素的URL设置是否正确。
11. 结合其他方法使用get_url()
get_url()方法可以与其他Artist方法结合使用,以创建更复杂和信息丰富的可视化。以下是一个结合get_url()和其他方法的示例:
import matplotlib.pyplot as plt
import numpy as np

fig, ax = plt.subplots()

# 创建一个柱状图
x = np.arange(5)
y = np.random.rand(5)
bars = ax.bar(x, y)

# 为每个柱子设置不同的颜色、标签和URL
colors = ['r', 'g', 'b', 'c', 'm']
labels = ['A', 'B', 'C', 'D', 'E']
urls = [f'https://how2matplotlib.com/bar/{label}' for label in labels]

for bar, color, label, url in zip(bars, colors, labels, urls):
    bar.set_color(color)
    bar.set_label(label)
    bar.set_url(url)

    # 在柱子上方添加文本标签
    height = bar.get_height()
    ax.text(bar.get_x() + bar.get_width()/2., height,
            f'{label}: {height:.2f}',
            ha='center', va='bottom')

    # 打印每个柱子的信息
    print(f"Bar {label}: Color = {color}, URL = {bar.get_url()}")

ax.set_xlabel('Categories')
ax.set_ylabel('Values')
ax.set_title('How2matplotlib.com - Advanced Bar Chart with URLs')
ax.legend()

plt.show()
Output:
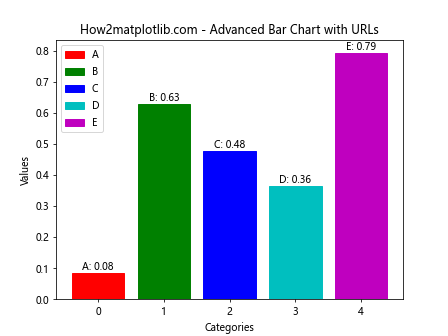
在这个例子中,我们创建了一个柱状图,并为每个柱子设置了不同的颜色、标签和URL。我们还在每个柱子上方添加了文本标签。通过结合使用set_color()、set_label()、set_url()等方法,我们创建了一个信息丰富的可视化图表。最后,我们使用get_url()方法获取并打印每个柱子的URL。
12. 在自定义Artist类中使用get_url()
如果你创建了自定义的Artist类,你也可以在其中实现get_url()方法。以下是一个简单的示例:
import matplotlib.pyplot as plt
from matplotlib.artist import Artist

class CustomArtist(Artist):
    def __init__(self):
        super().__init__()
        self._url = None

    def set_url(self, url):
        self._url = url

    def get_url(self):
        return self._url

    def draw(self, renderer):
        # 在这里实现绘制逻辑
        pass

# 使用自定义Artist
fig, ax = plt.subplots()
custom_artist = CustomArtist()
custom_artist.set_url('https://how2matplotlib.com/custom')
ax.add_artist(custom_artist)

url = custom_artist.get_url()
print(f"The URL of the custom artist is: {url}")

ax.set_title("How2matplotlib.com - Custom Artist with URL")
plt.show()
Output:
在这个例子中,我们创建了一个名为CustomArtist的自定义Artist类。我们在这个类中实现了set_url()和get_url()方法,使其能够设置和获取URL。虽然这个例子中的CustomArtist没有实际的绘制逻辑,但它展示了如何在自定义Artist中集成URL功能。
13. 在交互式环境中使用get_url()
在某些交互式环境中,如Jupyter Notebook,你可以创建可点击的图形元素,点击后会打开相应的URL。以下是一个在Jupyter Notebook中使用get_url()的示例:
import matplotlib.pyplot as plt
from IPython.display import display, HTML

fig, ax = plt.subplots()
circle = plt.Circle((0.5, 0.5), 0.2, fill=False)
ax.add_artist(circle)
circle.set_url('https://how2matplotlib.com/interactive')

ax.set_title("How2matplotlib.com - Interactive Circle")
plt.close(fig)  # 不显示图形,我们将使用HTML显示

# 将图形转换为SVG
svg = fig.savefig(None, format='svg')
svg_str = svg.getvalue().decode()

# 创建可点击的HTML
html = f"""
<div onclick="window.open('{circle.get_url()}', '_blank');" style="cursor: pointer;">
    {svg_str}
</div>
"""

display(HTML(html))
在这个例子中,我们创建了一个带有URL的圆形,然后将图形转换为SVG格式。我们使用circle.get_url()获取URL,并将其嵌入到HTML中,创建一个可点击的图形。当在Jupyter Notebook中运行这段代码时,用户可以点击圆形来打开相应的URL。
14. 使用get_url()创建图像地图
get_url()方法可以用来创建图像地图,即在图像的特定区域添加可点击的链接。以下是一个创建简单图像地图的示例:
import matplotlib.pyplot as plt
import matplotlib.patches as patches

fig, ax = plt.subplots()

# 创建几个矩形区域
rect1 = patches.Rectangle((0.1, 0.1), 0.3, 0.3, fill=False)
rect2 = patches.Rectangle((0.5, 0.5), 0.3, 0.3, fill=False)
rect3 = patches.Rectangle((0.1, 0.5), 0.3, 0.3, fill=False)

# 添加矩形到图形中
ax.add_patch(rect1)
ax.add_patch(rect2)
ax.add_patch(rect3)

# 设置URL
rect1.set_url('https://how2matplotlib.com/area1')
rect2.set_url('https://how2matplotlib.com/area2')
rect3.set_url('https://how2matplotlib.com/area3')

# 添加文本标签
ax.text(0.25, 0.25, 'Area 1', ha='center', va='center')
ax.text(0.65, 0.65, 'Area 2', ha='center', va='center')
ax.text(0.25, 0.65, 'Area 3', ha='center', va='center')

ax.set_title("How2matplotlib.com - Image Map Example")

# 获取并打印URL
for patch in ax.patches:
    print(f"Area: {patch.get_label()}, URL: {patch.get_url()}")

plt.show()
Output:
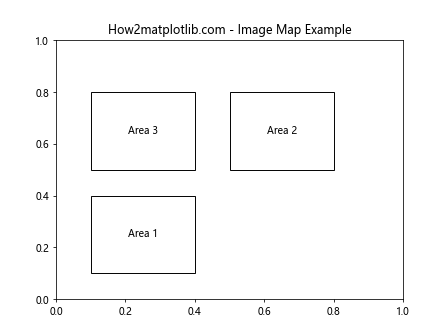
在这个例子中,我们创建了三个矩形区域,每个区域都设置了不同的URL。虽然在静态图像中这些区域不是可点击的,但在支持交互的环境中,这种方法可以用来创建可点击的图像地图。
15. 在动态更新的图表中使用get_url()
在一些实时更新的图表中,我们可能需要动态地更新Artist对象的URL。以下是一个示例,展示了如何在动态更新的折线图中使用get_url():
import matplotlib.pyplot as plt
import numpy as np
from matplotlib.animation import FuncAnimation

fig, ax = plt.subplots()
line, = ax.plot([], [])
ax.set_xlim(0, 100)
ax.set_ylim(-1, 1)

x_data = []
y_data = []

def update(frame):
    x_data.append(frame)
    y_data.append(np.sin(frame * 0.1))
    line.set_data(x_data, y_data)

    # 更新URL
    new_url = f'https://how2matplotlib.com/frame/{frame}'
    line.set_url(new_url)

    # 获取并打印当前URL
    current_url = line.get_url()
    print(f"Frame {frame}: Current URL = {current_url}")

    return line,

ani = FuncAnimation(fig, update, frames=range(100), interval=50, blit=True)

ax.set_title("How2matplotlib.com - Dynamic Line Plot with Changing URL")
plt.show()
Output:
在这个例子中,我们创建了一个动态更新的正弦波图表。在每一帧更新时,我们不仅更新了线条的数据,还更新了其URL。我们使用set_url()方法设置新的URL,然后使用get_url()方法获取并打印当前的URL。这展示了如何在动态变化的图表中实时更新和获取URL。
总结
通过本文的详细介绍和丰富的示例,我们深入探讨了Matplotlib中Artist对象的get_url()方法。我们了解了这个方法的基本用法、在不同类型Artist对象中的应用、在交互式环境中的使用,以及如何将其与其他功能结合使用来创建更复杂的可视化效果。
get_url()方法为Matplotlib图形添加了一层交互性,使得创建可点击的图表元素成为可能。这在制作信息图、交互式数据可视化和Web应用程序中特别有用。虽然在静态图像中,URL功能可能不那么明显,但在支持交互的环境中,如Jupyter Notebook或Web应用,这个功能可以大大增强用户体验。
通过掌握get_url()方法,开发者可以创建更加丰富和交互的数据可视化,为用户提供更多的信息和更好的体验。无论是用于调试目的,还是创建复杂的交互式图表,get_url()方法都是Matplotlib工具箱中的一个有力工具。
 极客教程
极客教程