Matplotlib自定义图例:全面指南与实用技巧
参考:Custom Legends with Matplotlib
Matplotlib是Python中最流行的数据可视化库之一,它提供了强大而灵活的工具来创建各种类型的图表。在数据可视化中,图例是一个非常重要的元素,它帮助读者理解图表中不同元素的含义。Matplotlib允许用户自定义图例,以满足各种复杂的可视化需求。本文将深入探讨如何使用Matplotlib创建自定义图例,包括基本概念、常用技巧和高级应用。
1. 图例的基本概念
图例是图表中用于解释各种元素含义的组件。在Matplotlib中,我们可以使用legend()方法来添加图例。默认情况下,Matplotlib会自动为图表中的每个数据系列创建一个图例条目。
让我们从一个简单的例子开始:
import matplotlib.pyplot as plt
import numpy as np

x = np.linspace(0, 10, 100)
y1 = np.sin(x)
y2 = np.cos(x)

plt.figure(figsize=(10, 6))
plt.plot(x, y1, label='Sin(x) - how2matplotlib.com')
plt.plot(x, y2, label='Cos(x) - how2matplotlib.com')
plt.legend()
plt.title('Basic Legend Example')
plt.xlabel('X-axis')
plt.ylabel('Y-axis')
plt.show()
Output:
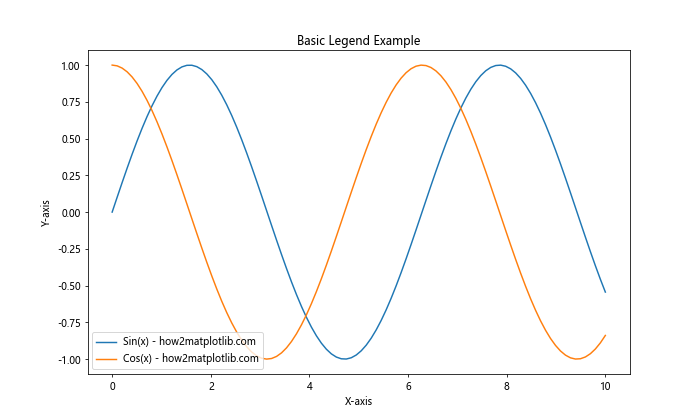
在这个例子中,我们绘制了正弦和余弦函数的图像。通过在plot()函数中使用label参数,我们为每条线指定了一个标签。然后,调用plt.legend()会自动创建一个包含这些标签的图例。
2. 自定义图例位置
Matplotlib允许我们自定义图例的位置。我们可以使用loc参数来指定图例的位置。
import matplotlib.pyplot as plt
import numpy as np

x = np.linspace(0, 10, 100)
y1 = np.sin(x)
y2 = np.cos(x)

plt.figure(figsize=(10, 6))
plt.plot(x, y1, label='Sin(x) - how2matplotlib.com')
plt.plot(x, y2, label='Cos(x) - how2matplotlib.com')
plt.legend(loc='upper left')
plt.title('Legend at Upper Left')
plt.xlabel('X-axis')
plt.ylabel('Y-axis')
plt.show()
Output:
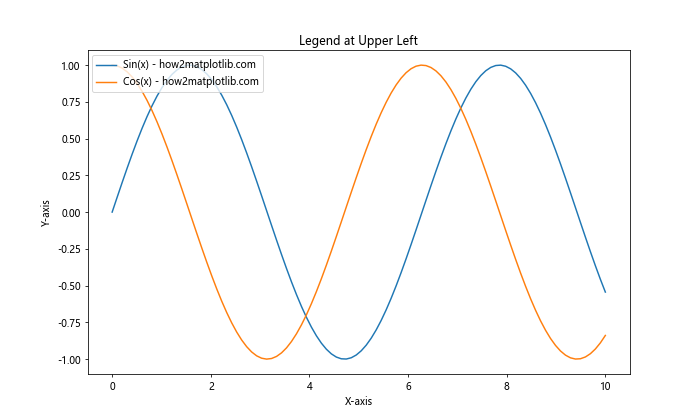
在这个例子中,我们将图例放置在图表的左上角。loc参数可以接受多种值,如’upper right’、’center’、’lower left’等。
3. 自定义图例样式
我们可以自定义图例的各种视觉属性,如边框、背景色、透明度等。
import matplotlib.pyplot as plt
import numpy as np

x = np.linspace(0, 10, 100)
y1 = np.sin(x)
y2 = np.cos(x)

plt.figure(figsize=(10, 6))
plt.plot(x, y1, label='Sin(x) - how2matplotlib.com')
plt.plot(x, y2, label='Cos(x) - how2matplotlib.com')
plt.legend(fancybox=True, framealpha=0.5, shadow=True, borderpad=1)
plt.title('Customized Legend Style')
plt.xlabel('X-axis')
plt.ylabel('Y-axis')
plt.show()
Output:
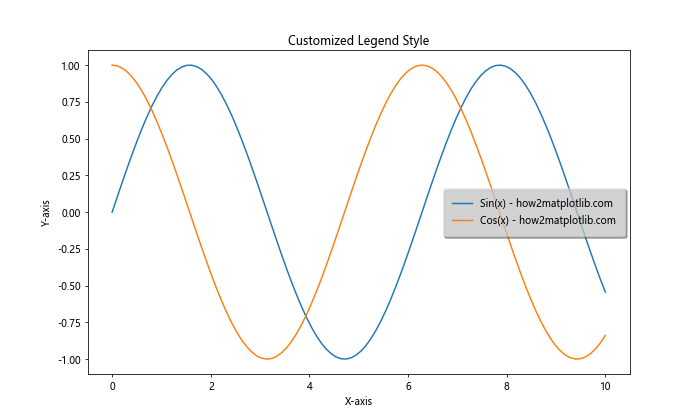
在这个例子中,我们使用了圆角边框(fancybox=True),设置了半透明背景(framealpha=0.5),添加了阴影效果(shadow=True),并增加了内边距(borderpad=1)。
4. 多列图例
当图例项目较多时,我们可能希望将图例排列成多列以节省空间。
import matplotlib.pyplot as plt
import numpy as np

x = np.linspace(0, 10, 100)
plt.figure(figsize=(12, 6))

for i in range(5):
    plt.plot(x, np.sin(x + i), label=f'Sin(x + {i}) - how2matplotlib.com')

plt.legend(ncol=3, loc='upper center', bbox_to_anchor=(0.5, -0.05))
plt.title('Multi-column Legend')
plt.tight_layout()
plt.show()
Output:
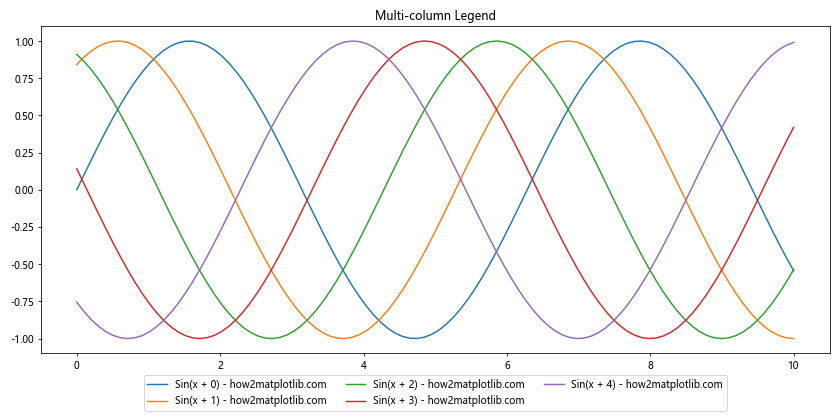
在这个例子中,我们使用ncol参数将图例排列成3列。bbox_to_anchor参数用于精确定位图例的位置,这里我们将图例放在图表下方的中央。
5. 自定义图例标记
有时我们可能想要自定义图例中的标记样式,而不是使用默认的线条样式。
import matplotlib.pyplot as plt
import numpy as np

x = np.linspace(0, 10, 100)
y1 = np.sin(x)
y2 = np.cos(x)

plt.figure(figsize=(10, 6))
plt.plot(x, y1, 'b-')
plt.plot(x, y2, 'r--')

plt.legend([plt.Line2D([0], [0], color='blue', lw=4),
            plt.Line2D([0], [0], color='red', lw=4, ls='--')],
           ['Sin(x) - how2matplotlib.com', 'Cos(x) - how2matplotlib.com'])

plt.title('Custom Legend Markers')
plt.show()
Output:
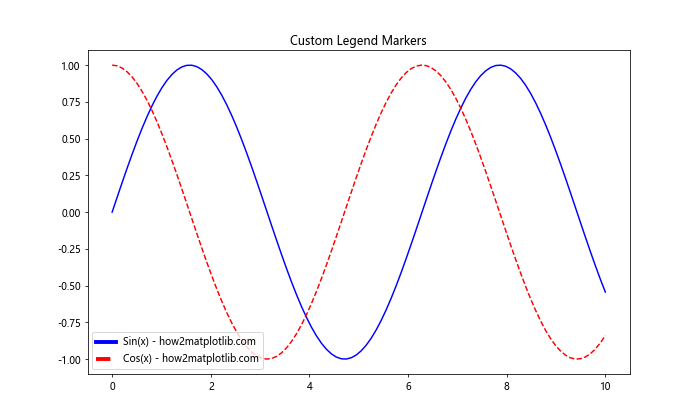
在这个例子中,我们手动创建了Line2D对象来自定义图例中的标记样式。这允许我们精确控制图例中每个项目的外观。
6. 图例中添加额外信息
我们可以在图例中添加额外的信息,比如数据的统计信息。
import matplotlib.pyplot as plt
import numpy as np

x = np.linspace(0, 10, 100)
y1 = np.sin(x)
y2 = np.cos(x)

plt.figure(figsize=(10, 6))
line1, = plt.plot(x, y1, label='Sin(x)')
line2, = plt.plot(x, y2, label='Cos(x)')

legend1 = plt.legend(handles=[line1, line2], loc='upper right')

plt.gca().add_artist(legend1)

plt.legend(['Mean: {:.2f}'.format(np.mean(y1)),
            'Mean: {:.2f}'.format(np.mean(y2))],
           loc='lower left',
           title='Statistics - how2matplotlib.com')

plt.title('Legend with Extra Information')
plt.show()
Output:
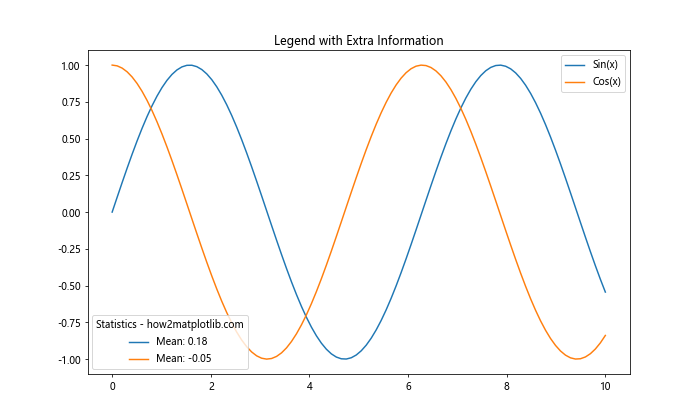
在这个例子中,我们创建了两个图例。第一个图例显示了常规的线条标签,第二个图例显示了每条线的平均值。
7. 自定义图例顺序
默认情况下,图例项目的顺序与它们在图表中出现的顺序相同。但有时我们可能想要自定义这个顺序。
import matplotlib.pyplot as plt
import numpy as np

x = np.linspace(0, 10, 100)
y1 = np.sin(x)
y2 = np.cos(x)
y3 = np.tan(x)

plt.figure(figsize=(10, 6))
line1, = plt.plot(x, y1, label='Sin(x) - how2matplotlib.com')
line2, = plt.plot(x, y2, label='Cos(x) - how2matplotlib.com')
line3, = plt.plot(x, y3, label='Tan(x) - how2matplotlib.com')

plt.legend([line3, line1, line2])
plt.title('Custom Legend Order')
plt.show()
在这个例子中,我们通过在legend()函数中指定线条对象的顺序来自定义图例的顺序。
8. 图例中使用数学公式
Matplotlib支持在图例中使用LaTeX风格的数学公式,这对于科学和工程可视化非常有用。
import matplotlib.pyplot as plt
import numpy as np

x = np.linspace(0, 2*np.pi, 100)
y1 = np.sin(x)
y2 = np.cos(x)

plt.figure(figsize=(10, 6))
plt.plot(x, y1, label=r'\sin(x) - how2matplotlib.com')
plt.plot(x, y2, label=r'\cos(x) - how2matplotlib.com')

plt.legend(fontsize=12)
plt.title('Legend with Math Formulas')
plt.show()
Output:
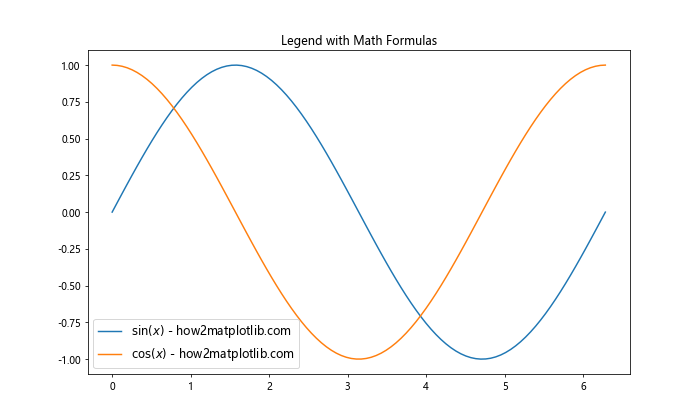
在这个例子中,我们在标签中使用了LaTeX风格的数学公式。注意标签字符串前的r,它表示这是一个原始字符串,防止反斜杠被解释为转义字符。
9. 自定义图例字体和颜色
我们可以自定义图例中文本的字体、大小和颜色。
import matplotlib.pyplot as plt
import numpy as np

x = np.linspace(0, 10, 100)
y1 = np.sin(x)
y2 = np.cos(x)

plt.figure(figsize=(10, 6))
plt.plot(x, y1, label='Sin(x) - how2matplotlib.com')
plt.plot(x, y2, label='Cos(x) - how2matplotlib.com')

plt.legend(prop={'family': 'serif', 'size': 14, 'weight': 'bold'},
           facecolor='lightgray',
           edgecolor='black')

plt.title('Custom Legend Font and Color')
plt.show()
Output:
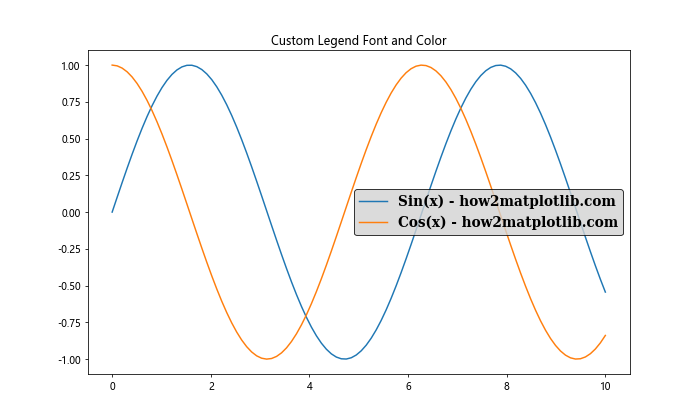
在这个例子中,我们使用prop参数来设置字体属性,包括字体系列、大小和粗细。我们还设置了图例的背景色和边框颜色。
10. 图例中使用自定义图标
有时,我们可能想在图例中使用自定义的图标,而不是默认的线条或标记。
import matplotlib.pyplot as plt
import numpy as np
from matplotlib.patches import Circle, Rectangle

fig, ax = plt.subplots(figsize=(10, 6))

circle = Circle((0.5, 0.5), 0.1, facecolor="red", edgecolor="none")
square = Rectangle((0.4, 0.4), 0.2, 0.2, facecolor="green", edgecolor="none")

ax.add_patch(circle)
ax.add_patch(square)

ax.legend([circle, square], ['Circle - how2matplotlib.com', 'Square - how2matplotlib.com'])
ax.set_xlim(0, 1)
ax.set_ylim(0, 1)
ax.set_title('Legend with Custom Icons')
plt.show()
Output:
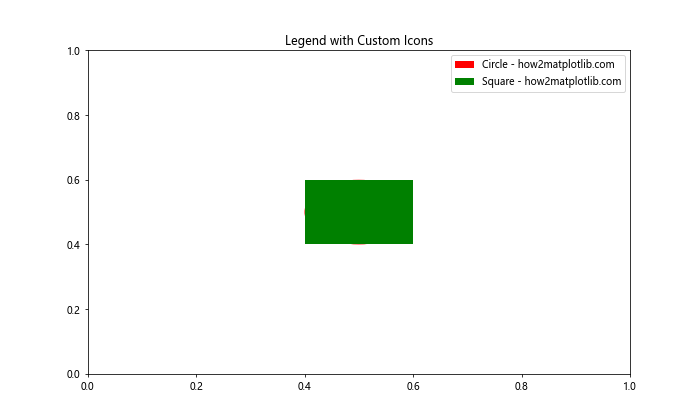
在这个例子中,我们创建了自定义的圆形和方形图标,并将它们添加到图例中。
11. 图例中的分组
当我们有多个相关的数据系列时,可能希望在图例中将它们分组。
import matplotlib.pyplot as plt
import numpy as np

x = np.linspace(0, 10, 100)
y1 = np.sin(x)
y2 = np.sin(2*x)
y3 = np.cos(x)
y4 = np.cos(2*x)

fig, ax = plt.subplots(figsize=(12, 6))

line1, = ax.plot(x, y1, 'b-', label='Sin(x) - how2matplotlib.com')
line2, = ax.plot(x, y2, 'b--', label='Sin(2x) - how2matplotlib.com')
line3, = ax.plot(x, y3, 'r-', label='Cos(x) - how2matplotlib.com')
line4, = ax.plot(x, y4, 'r--', label='Cos(2x) - how2matplotlib.com')

first_legend = ax.legend(handles=[line1, line2], loc='upper right', title='Sine Functions')
ax.add_artist(first_legend)

ax.legend(handles=[line3, line4], loc='lower right', title='Cosine Functions')

ax.set_title('Grouped Legend')
plt.show()
Output:
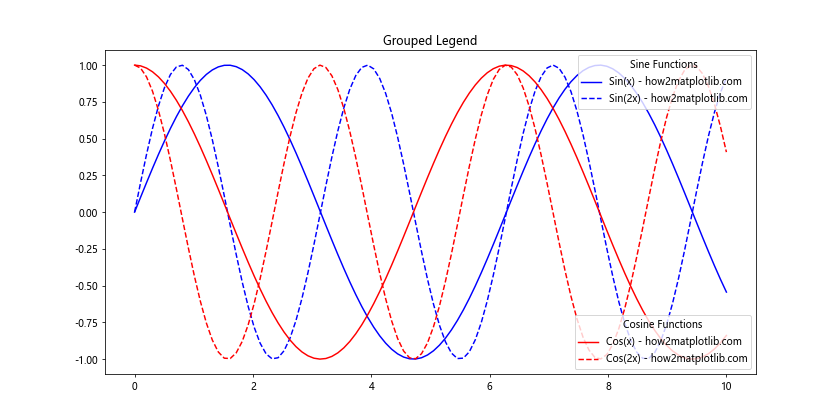
在这个例子中,我们创建了两个独立的图例,一个用于正弦函数,另一个用于余弦函数。我们使用add_artist()方法来确保两个图例都能显示。
12. 图例中的复杂布局
有时,我们可能需要在图例中创建更复杂的布局,比如在一个图例中混合使用不同类型的元素。
import matplotlib.pyplot as plt
import numpy as np
from matplotlib.patches import Patch
from matplotlib.lines import Line2D

fig, ax = plt.subplots(figsize=(10, 6))

x = np.linspace(0, 10, 100)
ax.plot(x, np.sin(x), 'b-')
ax.plot(x, np.cos(x), 'r--')
ax.fill_between(x, 0, np.sin(x), alpha=0.2)

legend_elements = [Line2D([0], [0], color='b', lw=2, label='Line'),
                   Line2D([0], [0], color='r', lw=2, linestyle='--', label='Dashed line'),
                   Patch(facecolor='blue', edgecolor='b', alpha=0.2, label='Filled region')]

ax.legend(handles=legend_elements, title='Legend - how2matplotlib.com')
ax.set_title('Complex Legend Layout')
plt.show()
Output:
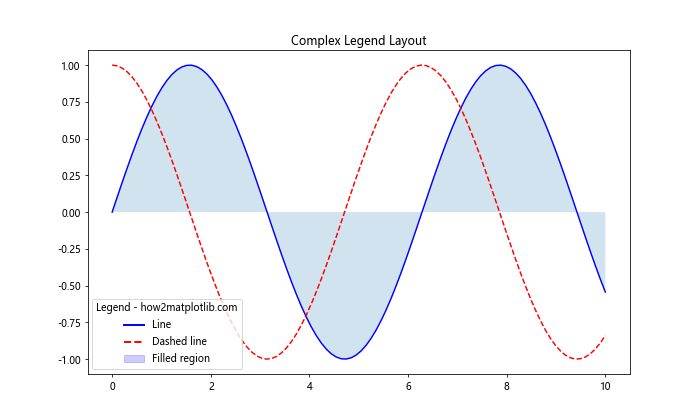
在这个例子中,我们创建了一个包含不同类型元素的图例:实线、虚线和填充区域。我们使用Line2D和Patch对象来自定义每个图例元素的外观。
13. 动态更新图例
在某些情况下,我们可能需要根据数据的变化动态更新图例。
import matplotlib.pyplot as plt
import numpy as np

fig, ax = plt.subplots(figsize=(10, 6))

x = np.linspace(0, 10, 100)
line, = ax.plot(x, np.sin(x), label='Initial - how2matplotlib.com')

ax.legend()
ax.set_title('Dynamic Legend Update')

for i in range(5):
    y = np.sin(x + i)
    line.set_ydata(y)
    line.set_label(f'Sin(x + {i}) - how2matplotlib.com')
    ax.legend()
    plt.pause(1)

plt.show()
Output:
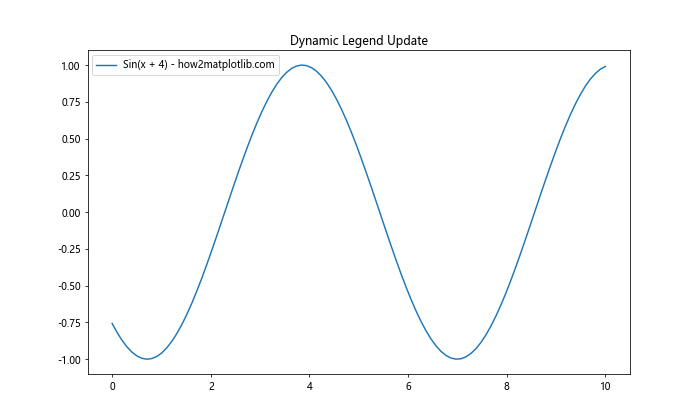
这个例子展示了如何动态更新图例。我们创建了一个初始的正弦曲线,然后在一个循环中不断更新数据和标签。每次更新后,我们重新调用legend()方法来刷新图例。
14. 图例中使用颜色条
在某些可视化中,我们可能想在图例中包含一个颜色条来表示连续的数值范围。
import matplotlib.pyplot as plt
import numpy as np
from matplotlib.cm import ScalarMappable
from matplotlib.colors import Normalize

fig, ax = plt.subplots(figsize=(10, 6))

x = np.linspace(0, 10, 100)
y = np.sin(x)

scatter = ax.scatter(x, y, c=y, cmap='viridis')

norm = Normalize(vmin=y.min(), vmax=y.max())
sm = ScalarMappable(cmap='viridis', norm=norm)
sm.set_array([])

cbar = fig.colorbar(sm)
cbar.set_label('Value - how2matplotlib.com')

ax.set_title('Legend with Color Bar')
plt.show()
在这个例子中,我们创建了一个散点图,点的颜色根据y值变化。然后我们添加了一个颜色条来解释颜色的含义。
15. 图例中的透明度
有时我们可能想在图例中表示数据的透明度。
import matplotlib.pyplot as plt
import numpy as np

fig, ax = plt.subplots(figsize=(10, 6))

x = np.linspace(0, 10, 100)
y1 = np.sin(x)
y2 = np.cos(x)

ax.plot(x, y1, 'b-', label='Sin(x) - how2matplotlib.com', alpha=0.5)
ax.plot(x, y2, 'r-', label='Cos(x) - how2matplotlib.com', alpha=0.5)

leg = ax.legend()
for lh in leg.legendHandles:
    lh.set_alpha(0.5)

ax.set_title('Legend with Transparency')
plt.show()
Output:
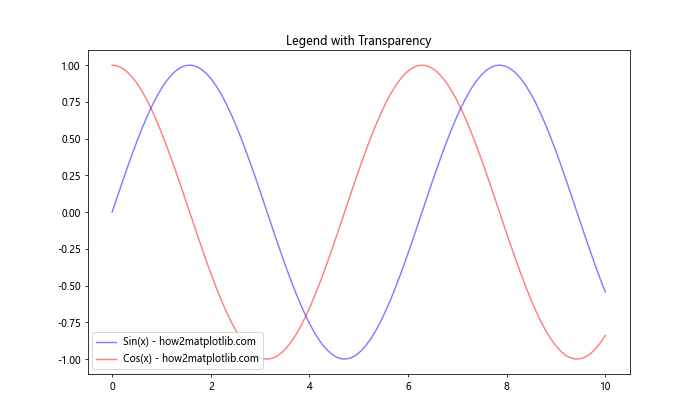
在这个例子中,我们绘制了两条半透明的线,并确保图例中的线条也保持相同的透明度。
16. 图例中的误差条
在科学可视化中,我们经常需要在图例中表示误差条。
import matplotlib.pyplot as plt
import numpy as np

x = np.linspace(0, 10, 50)
y = np.sin(x)
yerr = 0.1 + 0.2 * np.random.rand(len(x))

fig, ax = plt.subplots(figsize=(10, 6))

ax.errorbar(x, y, yerr=yerr, fmt='o', label='Data with error - how2matplotlib.com')

ax.legend()
ax.set_title('Legend with Error Bars')
plt.show()
Output:
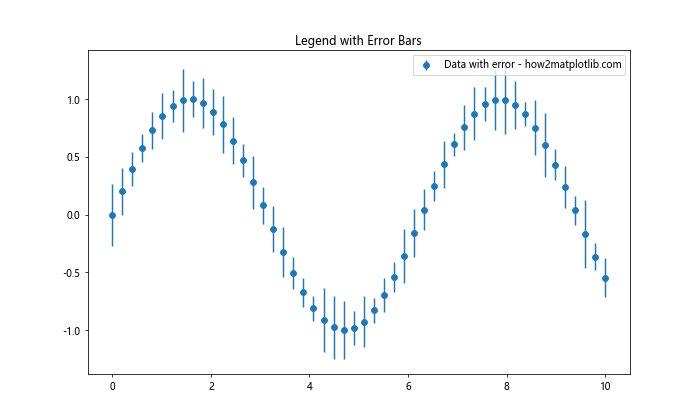
这个例子展示了如何在图中添加误差条,并在图例中正确显示。
17. 多子图的图例
当我们有多个子图时,可能需要为每个子图创建单独的图例,或者创建一个共享的图例。
import matplotlib.pyplot as plt
import numpy as np

fig, (ax1, ax2) = plt.subplots(1, 2, figsize=(12, 5))

x = np.linspace(0, 10, 100)
ax1.plot(x, np.sin(x), label='Sin(x) - how2matplotlib.com')
ax1.legend(loc='upper left')
ax1.set_title('Subplot 1')

ax2.plot(x, np.cos(x), label='Cos(x) - how2matplotlib.com')
ax2.legend(loc='upper right')
ax2.set_title('Subplot 2')

plt.tight_layout()
plt.show()
Output:
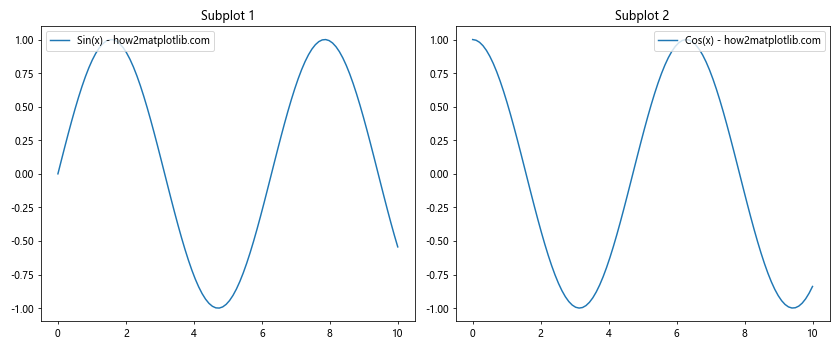
这个例子展示了如何为多个子图创建单独的图例。
18. 图例中的标记大小
有时我们可能想要控制图例中标记的大小。
import matplotlib.pyplot as plt
import numpy as np

fig, ax = plt.subplots(figsize=(10, 6))

x = np.linspace(0, 10, 10)
y1 = np.sin(x)
y2 = np.cos(x)

ax.scatter(x, y1, s=100, label='Sin(x) - how2matplotlib.com')
ax.scatter(x, y2, s=200, label='Cos(x) - how2matplotlib.com')

leg = ax.legend()
for handle in leg.legendHandles:
    handle.set_sizes([50.0])

ax.set_title('Legend with Custom Marker Sizes')
plt.show()
Output:

在这个例子中,我们创建了两个散点图,并自定义了图例中标记的大小。
19. 图例中的自定义线型
我们可以在图例中使用自定义的线型来区分不同的数据系列。
import matplotlib.pyplot as plt
import numpy as np

x = np.linspace(0, 10, 100)
y1 = np.sin(x)
y2 = np.cos(x)

fig, ax = plt.subplots(figsize=(10, 6))

ax.plot(x, y1, linestyle='-', label='Solid - how2matplotlib.com')
ax.plot(x, y2, linestyle='--', label='Dashed - how2matplotlib.com')

custom_lines = [plt.Line2D([0], [0], color='blue', lw=2, linestyle='-'),
                plt.Line2D([0], [0], color='orange', lw=2, linestyle='--')]

ax.legend(custom_lines, ['Solid', 'Dashed'])
ax.set_title('Legend with Custom Line Styles')
plt.show()
Output:
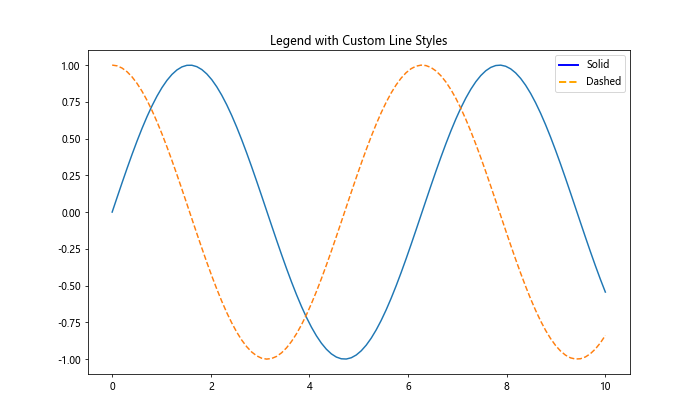
这个例子展示了如何在图例中使用自定义的线型。
20. 图例中的渐变色
最后,我们来看一个更高级的例子,在图例中使用渐变色。
import matplotlib.pyplot as plt
import numpy as np
from matplotlib.patches import Rectangle
from matplotlib.collections import LineCollection

fig, ax = plt.subplots(figsize=(10, 6))

x = np.linspace(0, 10, 100)
y = np.sin(x)

points = np.array([x, y]).T.reshape(-1, 1, 2)
segments = np.concatenate([points[:-1], points[1:]], axis=1)

norm = plt.Normalize(y.min(), y.max())
lc = LineCollection(segments, cmap='viridis', norm=norm)
lc.set_array(y)
line = ax.add_collection(lc)

cbar = fig.colorbar(line, ax=ax)
cbar.set_label('Value - how2matplotlib.com')

gradient = np.linspace(0, 1, 256).reshape(1, -1)
gradient = np.repeat(gradient, 10, axis=0)
gradient_im = ax.imshow(gradient, aspect='auto', cmap='viridis',
                        extent=[0, 0.2, 0, 1])

ax.legend([gradient_im], ['Gradient - how2matplotlib.com'],
          loc='center left', bbox_to_anchor=(1, 0.5))

ax.set_title('Legend with Gradient Color')
plt.tight_layout()
plt.show()
Output:
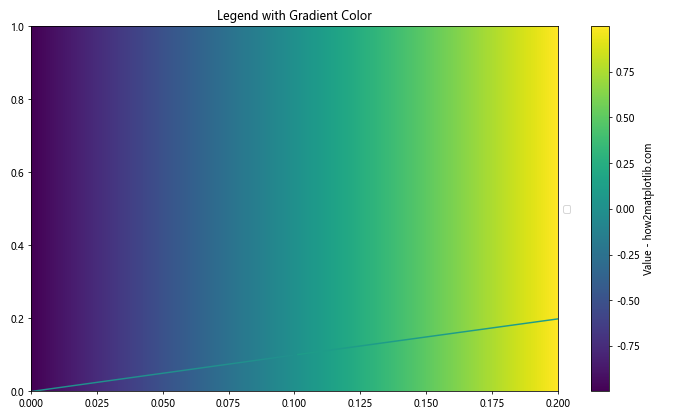
这个例子展示了如何在图例中使用渐变色。我们创建了一个颜色随y值变化的线条,并在图例中添加了一个相应的渐变色条目。
总结起来,Matplotlib提供了丰富的工具来自定义图例,使我们能够创建既美观又信息丰富的可视化。通过调整图例的位置、样式、内容和布局,我们可以大大提高图表的可读性和表现力。无论是简单的线图还是复杂的多元数据可视化,合理使用自定义图例都能让我们的图表更加清晰、专业和富有洞察力。
 极客教程
极客教程