Matplotlib中使用axis.Axis.add_callback()方法实现动态图表更新
参考:Matplotlib.axis.Axis.add_callback() in Python
Matplotlib是Python中最流行的数据可视化库之一,它提供了丰富的绘图功能和灵活的自定义选项。在Matplotlib中,axis.Axis.add_callback()方法是一个强大的工具,可以帮助我们实现图表的动态更新和交互式功能。本文将深入探讨这个方法的使用,并通过多个示例来展示其在实际应用中的潜力。
1. axis.Axis.add_callback()方法简介
axis.Axis.add_callback()方法属于Matplotlib库中的Axis类,它允许我们为坐标轴添加回调函数。这些回调函数会在坐标轴的属性发生变化时被自动调用,使得我们可以动态地更新图表或执行其他操作。
1.1 方法语法
Axis.add_callback(func)
其中,func是一个回调函数,它接受一个参数(通常是坐标轴对象本身)。
1.2 基本用法示例
让我们从一个简单的例子开始,了解add_callback()方法的基本用法:
import matplotlib.pyplot as plt

def on_xlim_change(axis):
    print(f"X轴范围已更改: {axis.get_view_interval()} - how2matplotlib.com")

fig, ax = plt.subplots()
ax.plot([1, 2, 3, 4], [1, 4, 2, 3])
ax.xaxis.add_callback(on_xlim_change)

plt.show()
Output:
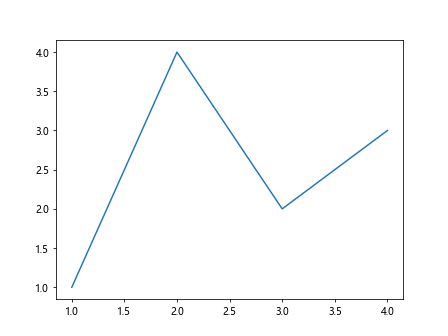
在这个例子中,我们定义了一个回调函数on_xlim_change,它会在X轴范围发生变化时被调用。通过ax.xaxis.add_callback(on_xlim_change),我们将这个函数添加为X轴的回调。当你使用matplotlib的交互式工具(如平移或缩放)改变X轴范围时,控制台会打印出新的范围。
2. 回调函数的设计
设计好的回调函数是使用add_callback()方法的关键。回调函数应该是轻量级的,执行速度快,以确保图表的响应性。
2.1 回调函数参数
回调函数通常接受一个参数,即触发回调的坐标轴对象。通过这个对象,我们可以访问坐标轴的各种属性和方法。
import matplotlib.pyplot as plt

def axis_info_callback(axis):
    print(f"坐标轴信息 - how2matplotlib.com:")
    print(f"  类型: {'X轴' if axis.axis_name == 'x' else 'Y轴'}")
    print(f"  范围: {axis.get_view_interval()}")
    print(f"  刻度位置: {axis.get_ticklocs()}")

fig, ax = plt.subplots()
ax.plot([1, 2, 3, 4], [1, 4, 2, 3])
ax.xaxis.add_callback(axis_info_callback)
ax.yaxis.add_callback(axis_info_callback)

plt.show()
Output:
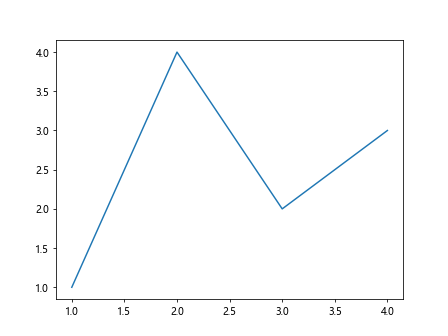
这个例子展示了如何在回调函数中获取和打印坐标轴的详细信息。
2.2 多个回调函数
我们可以为同一个坐标轴添加多个回调函数,它们会按照添加的顺序依次执行。
import matplotlib.pyplot as plt

def callback1(axis):
    print(f"回调1: {axis.get_view_interval()} - how2matplotlib.com")

def callback2(axis):
    print(f"回调2: {axis.get_ticklocs()} - how2matplotlib.com")

fig, ax = plt.subplots()
ax.plot([1, 2, 3, 4], [1, 4, 2, 3])
ax.xaxis.add_callback(callback1)
ax.xaxis.add_callback(callback2)

plt.show()
Output:
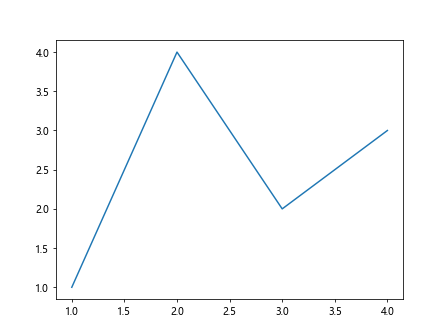
在这个例子中,我们为X轴添加了两个不同的回调函数。当X轴属性发生变化时,这两个函数会依次被调用。
3. 动态更新图表
add_callback()方法的一个常见应用是动态更新图表。我们可以在回调函数中修改图表的各种属性,从而实现实时的视觉效果。
3.1 更新标题
import matplotlib.pyplot as plt

def update_title(axis):
    ax.set_title(f"X轴范围: {axis.get_view_interval()} - how2matplotlib.com")
    fig.canvas.draw_idle()

fig, ax = plt.subplots()
ax.plot([1, 2, 3, 4], [1, 4, 2, 3])
ax.xaxis.add_callback(update_title)

plt.show()
Output:
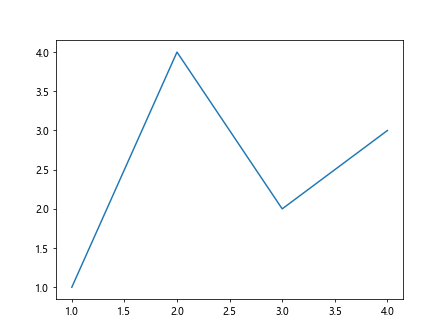
这个例子展示了如何在X轴范围变化时动态更新图表的标题。fig.canvas.draw_idle()用于重绘图表。
3.2 动态调整Y轴范围
import matplotlib.pyplot as plt
import numpy as np

def adjust_y_range(axis):
    x_min, x_max = axis.get_view_interval()
    y = np.sin(np.linspace(x_min, x_max, 100))
    ax.set_ylim(y.min(), y.max())
    fig.canvas.draw_idle()

fig, ax = plt.subplots()
x = np.linspace(0, 10, 100)
ax.plot(x, np.sin(x), label="sin(x) - how2matplotlib.com")
ax.xaxis.add_callback(adjust_y_range)

plt.legend()
plt.show()
Output:
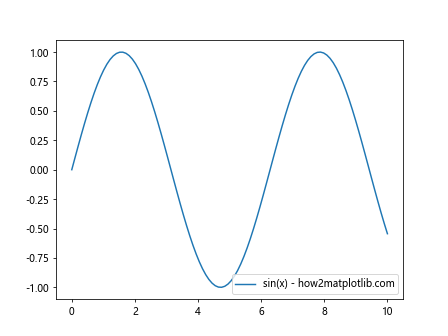
这个例子演示了如何根据X轴的可见范围动态调整Y轴的范围,以始终显示正弦函数的完整波形。
4. 交互式功能实现
add_callback()方法还可以用于实现各种交互式功能,增强用户体验。
4.1 动态网格线
import matplotlib.pyplot as plt

def toggle_grid(axis):
    ax.grid(not ax.get_xgridlines()[0].get_visible())
    fig.canvas.draw_idle()

fig, ax = plt.subplots()
ax.plot([1, 2, 3, 4], [1, 4, 2, 3])
ax.xaxis.add_callback(toggle_grid)

plt.title("缩放或平移来切换网格 - how2matplotlib.com")
plt.show()
Output:
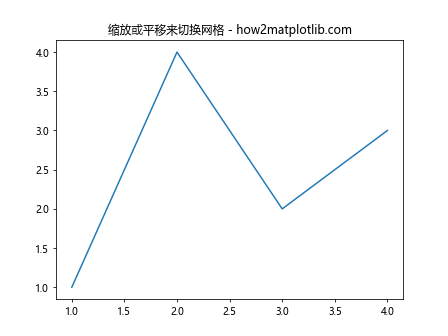
这个例子展示了如何在用户交互时切换网格线的显示状态。
4.2 动态添加注释
import matplotlib.pyplot as plt
import numpy as np

def add_annotation(axis):
    x_min, x_max = axis.get_view_interval()
    x_mid = (x_min + x_max) / 2
    y_mid = np.sin(x_mid)
    ax.annotate(f"中点: ({x_mid:.2f}, {y_mid:.2f})",
                xy=(x_mid, y_mid),
                xytext=(0, 20),
                textcoords="offset points",
                ha="center",
                bbox=dict(boxstyle="round", fc="w"),
                arrowprops=dict(arrowstyle="->"))
    fig.canvas.draw_idle()

fig, ax = plt.subplots()
x = np.linspace(0, 10, 100)
ax.plot(x, np.sin(x), label="sin(x) - how2matplotlib.com")
ax.xaxis.add_callback(add_annotation)

plt.legend()
plt.title("缩放或平移来添加注释")
plt.show()
Output:
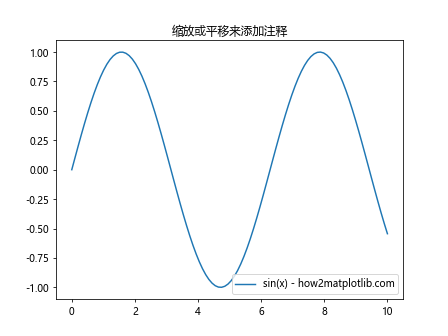
这个例子演示了如何在用户交互时动态添加注释,标注当前可见范围的中点。
5. 数据分析应用
add_callback()方法在数据分析中也有广泛的应用,可以帮助我们实时计算和显示统计信息。
5.1 动态计算平均值
import matplotlib.pyplot as plt
import numpy as np

def update_mean(axis):
    x_min, x_max = axis.get_view_interval()
    visible_data = data[(x >= x_min) & (x <= x_max)]
    mean = visible_data.mean()
    mean_line.set_ydata([mean, mean])
    ax.set_title(f"可见数据平均值: {mean:.2f} - how2matplotlib.com")
    fig.canvas.draw_idle()

fig, ax = plt.subplots()
x = np.linspace(0, 10, 100)
data = np.sin(x) + np.random.normal(0, 0.1, 100)
ax.plot(x, data, label="数据")
mean_line, = ax.plot([0, 10], [0, 0], 'r--', label="平均值")
ax.xaxis.add_callback(update_mean)

plt.legend()
plt.show()
Output:
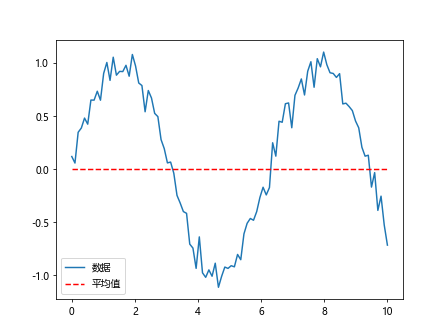
这个例子展示了如何动态计算和显示当前可见数据的平均值。
5.2 实时直方图更新
import matplotlib.pyplot as plt
import numpy as np

def update_histogram(axis):
    x_min, x_max = axis.get_view_interval()
    visible_data = data[(x >= x_min) & (x <= x_max)]
    ax_hist.clear()
    ax_hist.hist(visible_data, bins=20, alpha=0.7)
    ax_hist.set_title(f"可见数据直方图 - how2matplotlib.com")
    fig.canvas.draw_idle()

fig, (ax, ax_hist) = plt.subplots(2, 1, figsize=(8, 10))
x = np.linspace(0, 10, 1000)
data = np.sin(x) + np.random.normal(0, 0.2, 1000)
ax.plot(x, data)
ax.xaxis.add_callback(update_histogram)

plt.tight_layout()
plt.show()
Output:
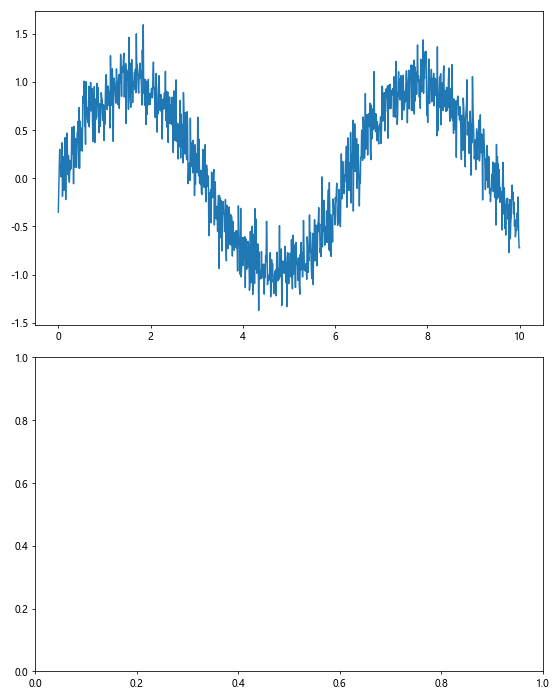
这个例子演示了如何根据主图中可见的数据实时更新直方图。
6. 高级应用
add_callback()方法还可以用于一些更高级的应用,如多图联动和自定义交互工具。
6.1 多图联动
import matplotlib.pyplot as plt
import numpy as np

def sync_xlim(axis):
    xlim = axis.get_view_interval()
    for a in axes:
        if a != axis.axes:
            a.set_xlim(xlim)
    fig.canvas.draw_idle()

fig, axes = plt.subplots(3, 1, figsize=(8, 10), sharex=True)
x = np.linspace(0, 10, 100)

for i, ax in enumerate(axes):
    ax.plot(x, np.sin(x + i), label=f"sin(x + {i}) - how2matplotlib.com")
    ax.legend()
    ax.xaxis.add_callback(sync_xlim)

plt.tight_layout()
plt.show()
Output:
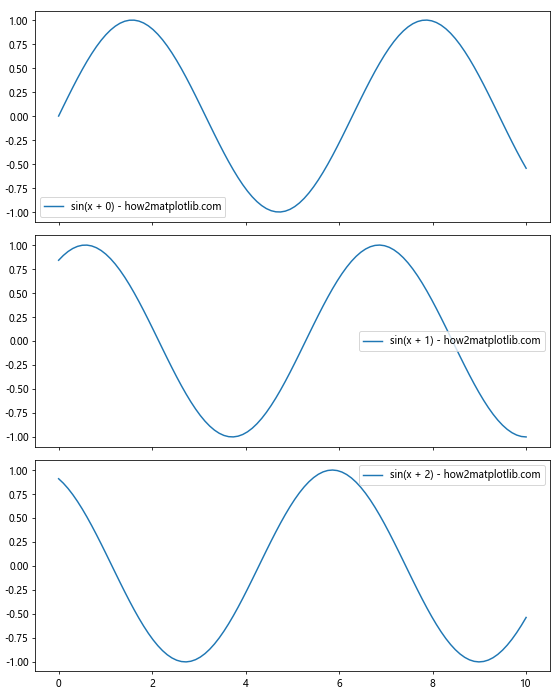
这个例子展示了如何使用add_callback()实现多个子图的X轴同步。
6.2 自定义缩放工具
import matplotlib.pyplot as plt
from matplotlib.widgets import RectangleSelector
import numpy as np

def onselect(eclick, erelease):
    x1, y1 = eclick.xdata, eclick.ydata
    x2, y2 = erelease.xdata, erelease.ydata
    ax.set_xlim(min(x1, x2), max(x1, x2))
    ax.set_ylim(min(y1, y2), max(y1, y2))
    fig.canvas.draw_idle()

def update_title(axis):
    ax.set_title(f"X范围: {axis.get_view_interval()} - how2matplotlib.com")

fig, ax = plt.subplots()
x = np.linspace(0, 10, 100)
ax.plot(x, np.sin(x))

ax.xaxis.add_callback(update_title)
rs = RectangleSelector(ax, onselect, interactive=True)

plt.show()
Output:
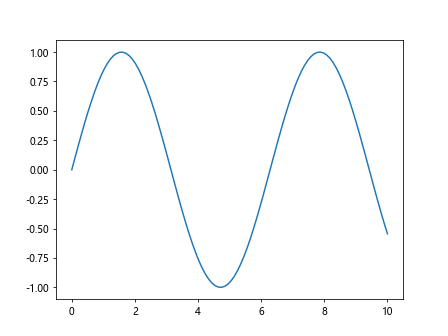
这个例子演示了如何结合RectangleSelector和add_callback()创建自定义的缩放工具。
7. 性能考虑
在使用add_callback()方法时,需要注意性能问题,特别是在处理大量数据或复杂图表时。
7.1 延迟执行
import matplotlib.pyplot as plt
import numpy as np
from functools import partial

def delayed_update(axis, delay=500):
    if hasattr(axis, '_timer'):
        axis._timer.stop()
    axis._timer = fig.canvas.new_timer(interval=delay)
    axis._timer.add_callback(partial(real_update, axis))
    axis._timer.start()

def real_update(axis):
    x_min, x_max = axis.get_view_interval()
    ax.set_title(f"X范围: {x_min:.2f} to {x_max:.2f} - how2matplotlib.com")
    fig.canvas.draw_idle()

fig, ax = plt.subplots()
x = np.linspace(0, 10, 1000)
ax.plot(x, np.sin(x))

ax.xaxis.add_callback(delayed_update)

plt.show()
Output:
这个例子展示了如何使用定时器来延迟执行回调函数,避免频繁更新导致的性能问题。
7.2 条件执行
import matplotlib.pyplot as plt
import numpy as np

last_update = [0, 0]  # [x_min, x_max]

def conditional_update(axis):
    global last_update
    x_min, x_max = axis.get_view_interval()
    if abs(x_min - last_update[0]) > 0.1 or abs(x_max - last_update[1]) > 0.1:
        ax.set_title(f"X范围: {x_min:.2f} to {x_max:.2f} - how2matplotlib.com")
        fig.canvas.draw_idle()
        last_update = [x_min, x_max]

fig, ax = plt.subplots()
x = np.linspace(0, 10, 1000)
ax.plot(x, np.sin(x))

ax.xaxis.add_callback(conditional_update)

plt.show()
Output:
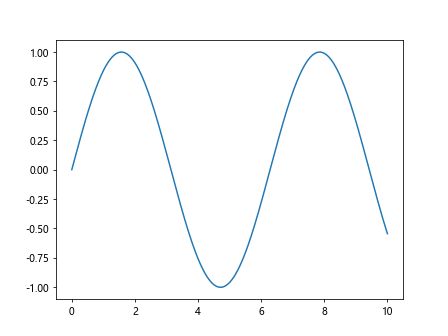
这个例子演示了如何在回调函数中添加条件判断,只有当变化足够大时才执行更新操作,从而减少不必要的重绘。
8. 错误处理和调试
在使用add_callback()方法时,适当的错误处理和调试技巧可以帮助我们更好地管理回调函数。
8.1 异常捕获
import matplotlib.pyplot as plt
import numpy as np

def safe_callback(axis):
    try:
        x_min, x_max = axis.get_view_interval()
        y = np.sin(np.linspace(x_min, x_max, 100))
        ax.set_ylim(y.min(), y.max())
        ax.set_title(f"X范围: {x_min:.2f} to {x_max:.2f} - how2matplotlib.com")
        fig.canvas.draw_idle()
    except Exception as e:
        print(f"回调函数出错: {e}")

fig, ax = plt.subplots()
x = np.linspace(0, 10, 100)
ax.plot(x, np.sin(x))

ax.xaxis.add_callback(safe_callback)

plt.show()
Output:
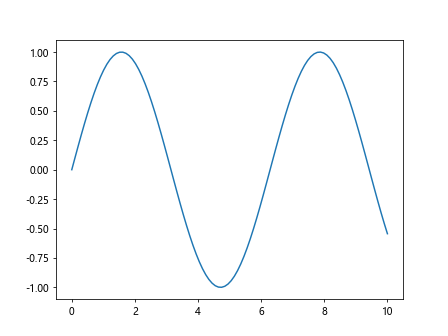
这个例子展示了如何在回调函数中使用try-except语句捕获可能的异常,提高代码的健壮性。
8.2 日志记录
import matplotlib.pyplot as plt
import numpy as np
import logging

logging.basicConfig(level=logging.INFO)
logger = logging.getLogger(__name__)

def logged_callback(axis):
    x_min, x_max = axis.get_view_interval()
    logger.info(f"X轴范围更新: {x_min:.2f} to {x_max:.2f} - how2matplotlib.com")
    ax.set_title(f"X范围: {x_min:.2f} to {x_max:.2f}")
    fig.canvas.draw_idle()

fig, ax = plt.subplots()
x = np.linspace(0, 10, 100)
ax.plot(x, np.sin(x))

ax.xaxis.add_callback(logged_callback)

plt.show()
Output:
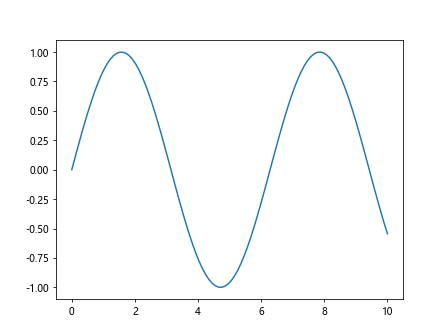
这个例子演示了如何在回调函数中使用日志记录,便于跟踪和调试。
9. 与其他Matplotlib功能的集成
add_callback()方法可以与Matplotlib的其他功能无缝集成,创造出更丰富的交互式可视化效果。
9.1 与动画结合
import matplotlib.pyplot as plt
import numpy as np
from matplotlib.animation import FuncAnimation

def update(frame):
    ax.clear()
    ax.plot(x, np.sin(x + frame / 10))
    ax.set_title(f"Frame: {frame} - how2matplotlib.com")

def on_xlim_change(axis):
    global ani
    ani.event_source.stop()
    x_min, x_max = axis.get_view_interval()
    ax.set_xlim(x_min, x_max)
    ani.event_source.start()

fig, ax = plt.subplots()
x = np.linspace(0, 10, 100)
ani = FuncAnimation(fig, update, frames=100, interval=50)

ax.xaxis.add_callback(on_xlim_change)

plt.show()
Output:
这个例子展示了如何将add_callback()方法与动画功能结合,实现在缩放或平移时暂停动画的效果。
9.2 与交互式工具结合
import matplotlib.pyplot as plt
import numpy as np
from matplotlib.widgets import Slider

def update(val):
    freq = slider.val
    y = np.sin(freq * x)
    line.set_ydata(y)
    fig.canvas.draw_idle()

def on_xlim_change(axis):
    x_min, x_max = axis.get_view_interval()
    visible_x = x[(x >= x_min) & (x <= x_max)]
    if len(visible_x) > 0:
        max_freq = np.pi / (visible_x[1] - visible_x[0])
        slider.valmax = max_freq
        slider.ax.set_xlim(0, max_freq)
        slider.valtext.set_text(f"{slider.val:.2f}")

fig, (ax, ax_slider) = plt.subplots(2, 1, figsize=(8, 6))
x = np.linspace(0, 10, 1000)
line, = ax.plot(x, np.sin(x))

ax.set_title("正弦波 - how2matplotlib.com")
ax.xaxis.add_callback(on_xlim_change)

slider = Slider(ax_slider, "频率", 0.1, 30.0, valinit=1.0)
slider.on_changed(update)

plt.tight_layout()
plt.show()
Output:
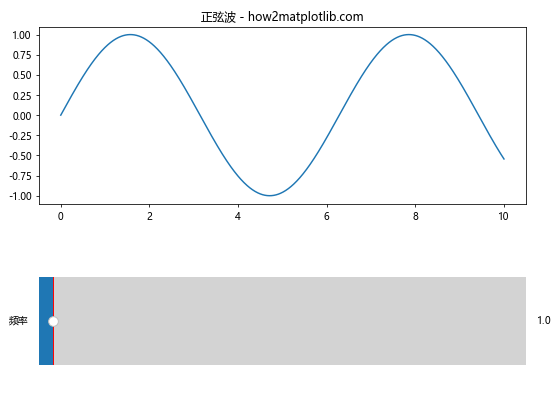
这个例子演示了如何将add_callback()方法与Slider控件结合,实现动态调整频率范围的效果。
10. 最佳实践和注意事项
在使用axis.Axis.add_callback()方法时,有一些最佳实践和注意事项需要考虑:
- 保持回调函数简洁:回调函数应该尽可能简单和高效,避免在其中执行耗时的操作。
-
避免无限循环:确保回调函数不会触发导致其自身再次被调用的操作,以防止无限循环。
-
合理使用全局变量:如果需要在回调函数中使用全局变量,请谨慎管理它们的状态。
-
及时移除不需要的回调:使用
Axis.remove_callback(func)方法移除不再需要的回调函数。 -
考虑性能影响:在处理大量数据或复杂图表时,频繁调用回调函数可能会影响性能,考虑使用节流或防抖技术。
-
测试不同的交互场景:确保回调函数在各种交互情况下(如缩放、平移、调整窗口大小等)都能正常工作。
-
文档和注释:为回调函数添加清晰的文档字符串和注释,说明其功能和任何特殊的使用注意事项。
通过遵循这些最佳实践,我们可以更好地利用axis.Axis.add_callback()方法,创建出既高效又可靠的交互式数据可视化。
结论
Matplotlib的axis.Axis.add_callback()方法为我们提供了一种强大的机制,用于创建动态和交互式的数据可视化。通过本文的详细介绍和丰富的示例,我们探索了这个方法的多种应用场景,从基本的动态更新到复杂的交互式功能实现。
这个方法不仅可以增强用户体验,还能帮助我们更深入地分析和展示数据。无论是实时数据可视化、自适应图表还是自定义交互工具,add_callback()都能发挥重要作用。
然而,使用这个方法时也需要注意性能和错误处理等问题。通过合理的设计和实现,我们可以充分发挥add_callback()的潜力,同时确保应用的稳定性和效率。
随着数据可视化需求的不断增长和复杂化,掌握像axis.Axis.add_callback()这样的高级功能将使我们能够创建更加丰富、动态和交互式的数据可视化应用。这不仅能够提高数据分析的效率,还能为用户提供更直观、更有洞察力的数据展示方式。
 极客教程
极客教程