Matplotlib中使用Artist.set_url()方法为图形元素添加超链接
参考:Matplotlib.artist.Artist.set_url() in Python
Matplotlib是Python中最流行的数据可视化库之一,它提供了丰富的绘图功能和自定义选项。在Matplotlib中,几乎所有可见的元素都是Artist对象的实例。Artist类是Matplotlib中的基础类,它定义了许多通用属性和方法。其中,set_url()方法是Artist类的一个重要方法,它允许我们为图形元素添加超链接。本文将详细介绍如何在Matplotlib中使用Artist.set_url()方法,以及它在不同场景下的应用。
1. Artist.set_url()方法简介
Artist.set_url()方法是Matplotlib中Artist类的一个方法,用于为图形元素设置URL(统一资源定位符)。这个方法的主要作用是为图形中的各种元素(如线条、标记、文本等)添加超链接。当图形保存为支持超链接的格式(如SVG或PDF)时,这些链接可以被激活,允许用户通过点击图形元素来访问指定的URL。
方法签名如下:
Artist.set_url(url)
参数:
– url:字符串,表示要设置的URL。
让我们看一个简单的例子来了解set_url()方法的基本用法:
import matplotlib.pyplot as plt

fig, ax = plt.subplots()
line, = ax.plot([1, 2, 3, 4], [1, 4, 2, 3], label='Example Line')
line.set_url('https://how2matplotlib.com')
ax.set_title('Click the line to visit how2matplotlib.com')
plt.show()
Output:
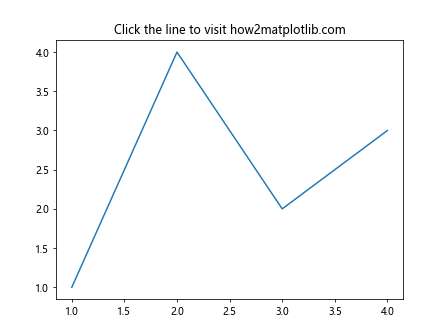
在这个例子中,我们创建了一个简单的线图,并使用set_url()方法为线条设置了URL。当保存为支持超链接的格式时,点击这条线将会跳转到指定的URL。
2. 为不同类型的图形元素添加超链接
set_url()方法可以应用于各种类型的图形元素。下面我们将探讨如何为不同类型的元素添加超链接。
2.1 为线条添加超链接
线条是最常见的图形元素之一。我们可以使用set_url()方法为线条添加超链接,使其在交互式环境中可点击。
import matplotlib.pyplot as plt

fig, ax = plt.subplots()
x = [0, 1, 2, 3, 4, 5]
y = [0, 2, 1, 3, 2, 4]
line, = ax.plot(x, y, label='Line with URL')
line.set_url('https://how2matplotlib.com/lines')
ax.legend()
ax.set_title('Line Plot with Clickable URL')
plt.show()
Output:
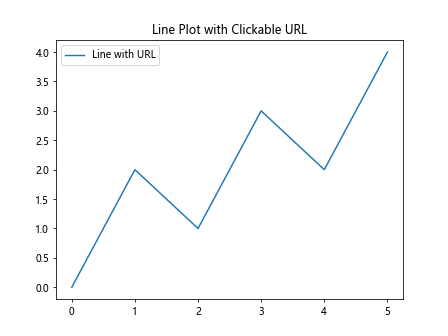
在这个例子中,我们创建了一条线,并为其设置了URL。当保存为支持超链接的格式时,点击这条线将跳转到”https://how2matplotlib.com/lines”。
2.2 为散点图中的点添加超链接
散点图中的每个点也可以添加超链接。这在创建交互式数据可视化时特别有用。
import matplotlib.pyplot as plt
import numpy as np

fig, ax = plt.subplots()
x = np.random.rand(20)
y = np.random.rand(20)
scatter = ax.scatter(x, y)

for i, point in enumerate(scatter.get_offsets()):
    url = f'https://how2matplotlib.com/point/{i}'
    artist = plt.Circle((point[0], point[1]), 0.01)
    artist.set_url(url)
    ax.add_artist(artist)

ax.set_title('Scatter Plot with Clickable Points')
plt.show()
Output:
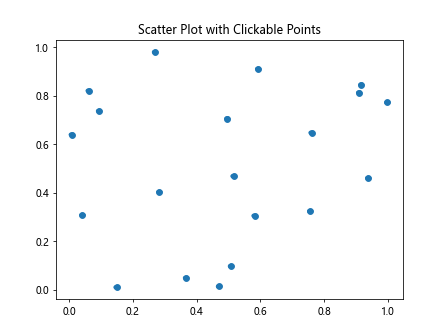
在这个例子中,我们为散点图中的每个点创建了一个Circle对象,并为每个Circle设置了唯一的URL。这样,每个点都成为了可点击的元素。
2.3 为文本元素添加超链接
文本元素也可以添加超链接,这在添加注释或标签时非常有用。
import matplotlib.pyplot as plt

fig, ax = plt.subplots()
text = ax.text(0.5, 0.5, 'Click me to visit how2matplotlib.com',
               ha='center', va='center')
text.set_url('https://how2matplotlib.com/text')
ax.set_title('Text with Clickable URL')
plt.show()
Output:
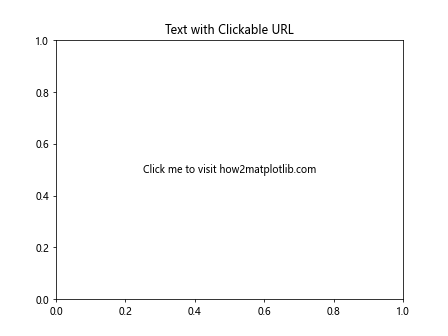
在这个例子中,我们创建了一个文本对象,并为其设置了URL。当保存为支持超链接的格式时,点击这段文本将跳转到指定的URL。
2.4 为图例添加超链接
图例是图表中重要的解释性元素,为其添加超链接可以提供额外的信息或导航功能。
import matplotlib.pyplot as plt

fig, ax = plt.subplots()
line, = ax.plot([1, 2, 3, 4], [1, 4, 2, 3], label='Data')
legend = ax.legend()
legend_text = legend.get_texts()[0]
legend_text.set_url('https://how2matplotlib.com/legend')
ax.set_title('Plot with Clickable Legend')
plt.show()
Output:
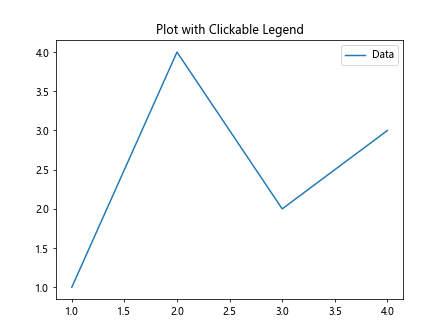
在这个例子中,我们为图例中的文本添加了超链接。当保存为支持超链接的格式时,点击图例文本将跳转到指定的URL。
3. 在不同类型的图表中使用set_url()
set_url()方法可以应用于各种类型的图表。下面我们将探讨如何在不同类型的图表中使用这个方法。
3.1 在柱状图中使用set_url()
柱状图是常用的图表类型,我们可以为每个柱子添加超链接。
import matplotlib.pyplot as plt
import numpy as np

fig, ax = plt.subplots()
x = np.arange(4)
y = [3, 7, 2, 5]
bars = ax.bar(x, y)

for i, bar in enumerate(bars):
    url = f'https://how2matplotlib.com/bar/{i}'
    bar.set_url(url)

ax.set_title('Bar Chart with Clickable Bars')
ax.set_xticks(x)
ax.set_xticklabels(['A', 'B', 'C', 'D'])
plt.show()
Output:
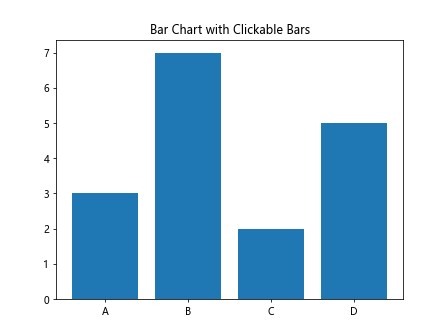
在这个例子中,我们为每个柱子设置了唯一的URL。当保存为支持超链接的格式时,点击每个柱子将跳转到相应的URL。
3.2 在饼图中使用set_url()
饼图中的每个扇形区域也可以添加超链接。
import matplotlib.pyplot as plt

fig, ax = plt.subplots()
sizes = [30, 25, 20, 15, 10]
labels = ['A', 'B', 'C', 'D', 'E']
wedges, texts = ax.pie(sizes, labels=labels)

for i, wedge in enumerate(wedges):
    url = f'https://how2matplotlib.com/pie/{labels[i]}'
    wedge.set_url(url)

ax.set_title('Pie Chart with Clickable Slices')
plt.show()
Output:
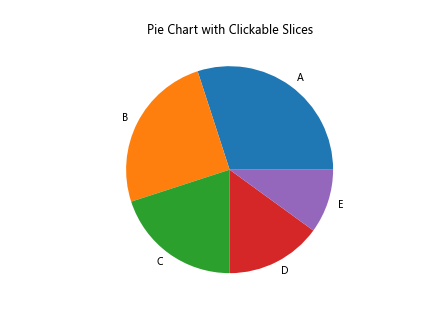
在这个例子中,我们为饼图中的每个扇形区域设置了URL。当保存为支持超链接的格式时,点击每个扇形将跳转到相应的URL。
3.3 在热力图中使用set_url()
热力图中的每个单元格也可以添加超链接,这在创建交互式热力图时非常有用。
import matplotlib.pyplot as plt
import numpy as np

fig, ax = plt.subplots()
data = np.random.rand(5, 5)
im = ax.imshow(data)

for i in range(5):
    for j in range(5):
        url = f'https://how2matplotlib.com/heatmap/{i}/{j}'
        text = ax.text(j, i, f'{data[i, j]:.2f}',
                       ha='center', va='center', color='w')
        text.set_url(url)

ax.set_title('Heatmap with Clickable Cells')
plt.colorbar(im)
plt.show()
Output:
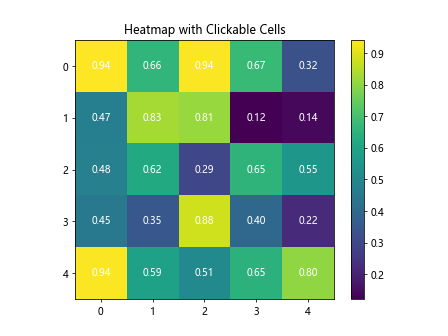
在这个例子中,我们为热力图中的每个单元格创建了一个文本对象,并为每个文本对象设置了URL。当保存为支持超链接的格式时,点击每个单元格的文本将跳转到相应的URL。
4. 高级应用:动态URL和条件URL
set_url()方法不仅可以设置静态URL,还可以根据数据动态生成URL或根据条件设置URL。
4.1 动态生成URL
我们可以根据数据的特征动态生成URL,这在创建数据驱动的交互式可视化时非常有用。
import matplotlib.pyplot as plt
import numpy as np

fig, ax = plt.subplots()
x = np.linspace(0, 10, 100)
y = np.sin(x)
line, = ax.plot(x, y)

def generate_url(x, y):
    return f'https://how2matplotlib.com/sin?x={x:.2f}&y={y:.2f}'

for i, (xi, yi) in enumerate(zip(x, y)):
    if i % 10 == 0:  # 每10个点添加一个URL
        point = plt.Circle((xi, yi), 0.1, fill=False)
        point.set_url(generate_url(xi, yi))
        ax.add_artist(point)

ax.set_title('Sin Wave with Dynamic URLs')
plt.show()
Output:
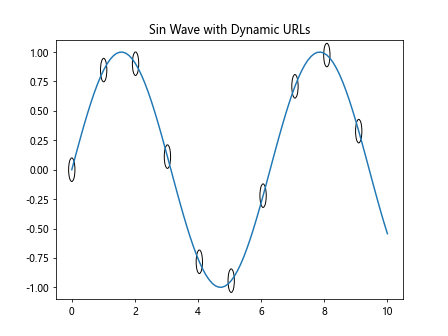
在这个例子中,我们为正弦波上的某些点动态生成URL,URL中包含了点的x和y坐标。
4.2 条件URL
我们可以根据数据的特定条件来决定是否设置URL或设置不同的URL。
import matplotlib.pyplot as plt
import numpy as np

fig, ax = plt.subplots()
x = np.linspace(0, 10, 100)
y = np.sin(x)
scatter = ax.scatter(x, y, c=y, cmap='viridis')

for i, (xi, yi) in enumerate(zip(x, y)):
    if yi > 0:
        url = 'https://how2matplotlib.com/positive'
    else:
        url = 'https://how2matplotlib.com/negative'
    point = plt.Circle((xi, yi), 0.1, fill=False)
    point.set_url(url)
    ax.add_artist(point)

ax.set_title('Sin Wave with Conditional URLs')
plt.colorbar(scatter)
plt.show()
Output:
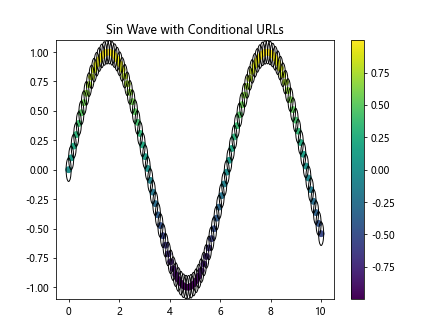
在这个例子中,我们根据y值的正负为点设置不同的URL。
5. 在交互式环境中使用set_url()
虽然set_url()方法主要用于生成可导出的图形(如SVG或PDF),但在某些交互式环境中,如Jupyter Notebook,我们也可以利用这个方法来增强交互性。
5.1 在Jupyter Notebook中使用set_url()
在Jupyter Notebook中,我们可以结合使用set_url()和mpld3库来创建交互式图表。
import matplotlib.pyplot as plt
import numpy as np
import mpld3

fig, ax = plt.subplots()
x = np.linspace(0, 10, 100)
y = np.sin(x)
line, = ax.plot(x, y)

for i, (xi, yi) in enumerate(zip(x, y)):
    if i % 10 == 0:
        point = plt.Circle((xi, yi), 0.1, fill=False)
        point.set_url(f'https://how2matplotlib.com/point/{i}')
        ax.add_artist(point)

ax.set_title('Interactive Sin Wave in Jupyter Notebook')
mpld3.display(fig)
在这个例子中,我们使用mpld3库来渲染交互式图表。虽然set_url()设置的URL在Jupyter Notebook中不会直接生效,但mpld3可以利用这些信息来创建可点击的元素。
6. 保存带有URL的图形
为了使set_url()设置的URL生效,我们需要将图形保存为支持超链接的格式,如SVG或PDF。
6.1 保存为SVG格式
SVG(可缩放矢量图形)是一种基于XML的矢量图像格式,它支持交互性和动画。
import matplotlib.pyplot as plt

fig, ax = plt.subplots()
circle = plt.Circle((0.5, 0.5), 0.2, fill=False)
circle.set_url('https://how2matplotlib.com/circle')
ax.add_artist(circle)
ax.set_title('Circle with URL')

plt.savefig('circle_with_url.svg', format='svg')
plt.close(fig)
在这个例子中,我们创建了一个带有URL的圆,并将图形保存为SVG格式。在支持SVG的浏览器中打开这个文件时,圆将是可点击的。
6.2 保存为PDF格式
PDF(便携式文档格式)也支持超链接,是另一种常用的保存格式。
import matplotlib.pyplot as plt

fig, ax = plt.subplots()
rect = plt.Rectangle((0.2, 0.2), 0.6, 0.6, fill=False)
rect.set_url('https://how2matplotlib.com/rectangle')
ax.add_artist(rect)
ax.set_title('Rectangle with URL')

plt.savefig('rectangle_with_url.pdf', format='pdf')
plt.close(fig)
在这个例子中,我们创建了一个带有URL的矩形,并将图形保存为PDF格式。在PDF阅读器中打开这个文件时,矩形将是可点击的。
7. 使用set_url()的注意事项和最佳实践
在使用set_url()方法时,有一些注意事项和最佳实践需要考虑:
7.1 URL的有效性
确保设置的URL是有效的。无效的URL可能会导致用户体验不佳。
import matplotlib.pyplot as plt

fig, ax = plt.subplots()
text = ax.text(0.5, 0.5, 'Valid URL', ha='center', va='center')
text.set_url('https://how2matplotlib.com')
invalid_text = ax.text(0.5, 0.3, 'Invalid URL', ha='center', va='center')
invalid_text.set_url('not_a_valid_url')
ax.set_title('Valid vs Invalid URLs')
plt.show()
Output:
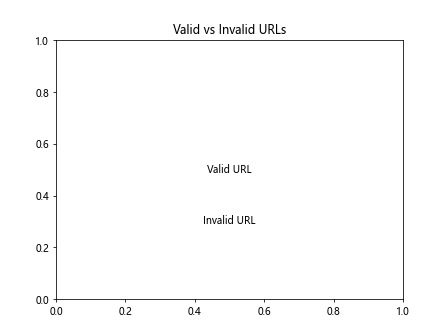
在这个例子中,我们展示了有效和无效URL的对比。在实际应用中,应确保所有URL都是有效的。
7.2 URL的可读性
当使用动态生成的URL时,确保URL是可读和有意义的。
import matplotlib.pyplot as plt
import numpy as np

fig, ax = plt.subplots()
x = np.linspace(0, 10, 5)
y = np.sin(x)
scatter = ax.scatter(x, y)

for i, (xi, yi) in enumerate(zip(x, y)):
    url = f'https://how2matplotlib.com/data?x={xi:.2f}&y={yi:.2f}&index={i}'
    point = plt.Circle((xi, yi), 0.2, fill=False)
    point.set_url(url)
    ax.add_artist(point)

ax.set_title('Scatter Plot with Readable URLs')
plt.show()
Output:
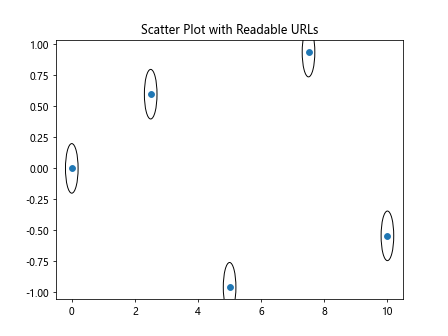
在这个例子中,我们为每个点生成了一个包含有意义参数的URL。这样的URL更容易理解和调试。
7.3 避免过多的URL
不要为图中的每个元素都添加URL,这可能会导致性能问题,特别是在大型图表中。
import matplotlib.pyplot as plt
import numpy as np

fig, ax = plt.subplots()
x = np.linspace(0, 10, 1000)
y = np.sin(x)
line, = ax.plot(x, y)

# 只为关键点添加URL
key_points = [0, np.pi/2, np.pi, 3*np.pi/2, 2*np.pi]
for point in key_points:
    index = np.argmin(np.abs(x - point))
    circle = plt.Circle((x[index], y[index]), 0.1, fill=False)
    circle.set_url(f'https://how2matplotlib.com/key_point?x={x[index]:.2f}')
    ax.add_artist(circle)

ax.set_title('Sin Wave with URLs for Key Points')
plt.show()
Output:
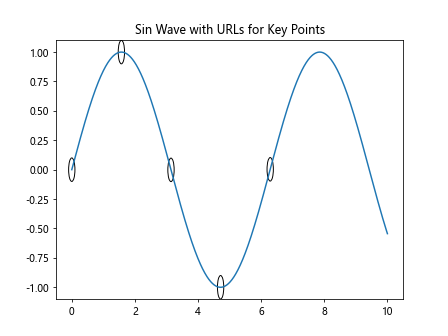
在这个例子中,我们只为正弦波的关键点(如0、π/2、π等)添加了URL,而不是为每个点都添加URL。
7.4 考虑可访问性
在设置URL时,考虑可访问性。例如,为颜色编码的元素提供替代的文本描述。
import matplotlib.pyplot as plt
import numpy as np

fig, ax = plt.subplots()
x = np.linspace(0, 10, 5)
y = np.random.rand(5)
bars = ax.bar(x, y, color=['red', 'green', 'blue', 'yellow', 'purple'])

for i, bar in enumerate(bars):
    color = bar.get_facecolor()
    url = f'https://how2matplotlib.com/color?name={color}&value={y[i]:.2f}'
    bar.set_url(url)
    ax.text(bar.get_x() + bar.get_width()/2, bar.get_height(),
            f'{color}\n{y[i]:.2f}', ha='center', va='bottom')

ax.set_title('Bar Chart with Accessible URLs')
plt.show()
Output:
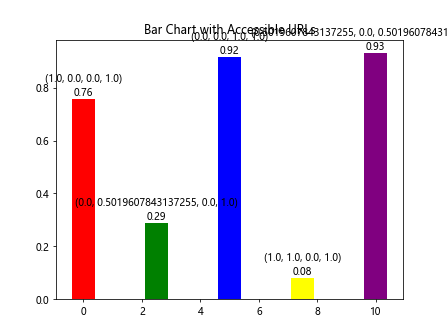
在这个例子中,我们为每个柱子添加了包含颜色名称和数值的文本标签,同时在URL中也包含了这些信息,以提高可访问性。
8. 结合其他Matplotlib功能使用set_url()
set_url()方法可以与Matplotlib的其他功能结合使用,以创建更复杂和信息丰富的可视化。
8.1 结合动画使用set_url()
我们可以在动画中使用set_url(),虽然URL在动画中不会直接生效,但可以在保存为静态图像时使用。
import matplotlib.pyplot as plt
import matplotlib.animation as animation
import numpy as np

fig, ax = plt.subplots()
x = np.linspace(0, 2*np.pi, 100)
line, = ax.plot(x, np.sin(x))

def animate(i):
    line.set_ydata(np.sin(x + i/10))
    circle = plt.Circle((x[i % 100], np.sin(x[i % 100] + i/10)), 0.1, fill=False)
    circle.set_url(f'https://how2matplotlib.com/frame/{i}')
    ax.add_artist(circle)
    return line, circle

ani = animation.FuncAnimation(fig, animate, frames=100, blit=True)
plt.show()
Output:
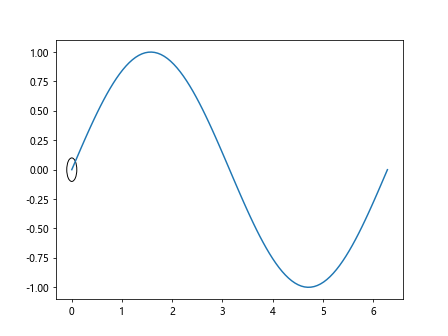
在这个例子中,我们创建了一个正弦波动画,并在每一帧为当前点添加了一个带URL的圆。虽然在动画中URL不会生效,但如果将某一帧保存为静态图像,URL将会起作用。
8.2 在子图中使用set_url()
我们可以在包含多个子图的图形中使用set_url()。
import matplotlib.pyplot as plt
import numpy as np

fig, (ax1, ax2) = plt.subplots(1, 2, figsize=(10, 5))

# 子图1:散点图
x1 = np.random.rand(20)
y1 = np.random.rand(20)
scatter = ax1.scatter(x1, y1)
for i, (xi, yi) in enumerate(zip(x1, y1)):
    circle = plt.Circle((xi, yi), 0.02, fill=False)
    circle.set_url(f'https://how2matplotlib.com/scatter/{i}')
    ax1.add_artist(circle)
ax1.set_title('Scatter Plot with URLs')

# 子图2:柱状图
x2 = np.arange(5)
y2 = np.random.rand(5)
bars = ax2.bar(x2, y2)
for i, bar in enumerate(bars):
    bar.set_url(f'https://how2matplotlib.com/bar/{i}')
ax2.set_title('Bar Chart with URLs')

plt.tight_layout()
plt.show()
Output:
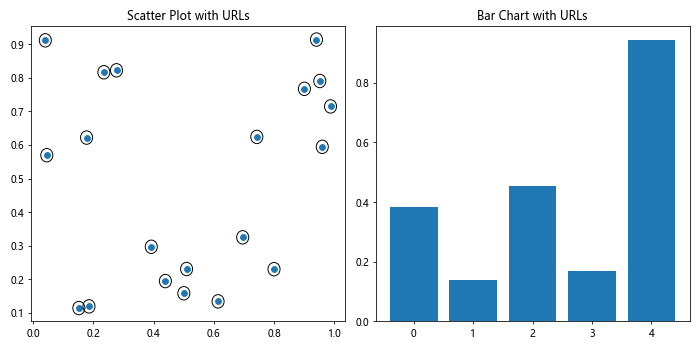
在这个例子中,我们创建了两个子图,一个是散点图,一个是柱状图,并为每个子图中的元素添加了URL。
9. 在不同的图形后端中使用set_url()
Matplotlib支持多种图形后端,但并非所有后端都支持URL功能。下面我们将探讨在不同后端中使用set_url()的情况。
9.1 在Agg后端中使用set_url()
Agg后端是Matplotlib的默认后端,它不支持交互性,因此set_url()在这个后端中不会产生可见效果。但是,当保存为支持URL的格式(如SVG或PDF)时,URL仍然会被保留。
import matplotlib
matplotlib.use('Agg')
import matplotlib.pyplot as plt

fig, ax = plt.subplots()
circle = plt.Circle((0.5, 0.5), 0.2, fill=False)
circle.set_url('https://how2matplotlib.com/agg')
ax.add_artist(circle)
ax.set_title('Circle with URL (Agg backend)')

plt.savefig('circle_agg.svg', format='svg')
plt.close(fig)
在这个例子中,虽然我们使用了Agg后端,但当保存为SVG格式时,URL仍然会被包含在输出文件中。
9.2 在交互式后端中使用set_url()
在某些交互式后端中,如Qt5Agg或TkAgg,set_url()可能会在鼠标悬停时显示URL,但通常不会提供点击功能。
import matplotlib
matplotlib.use('Qt5Agg')
import matplotlib.pyplot as plt

fig, ax = plt.subplots()
rect = plt.Rectangle((0.2, 0.2), 0.6, 0.6, fill=False)
rect.set_url('https://how2matplotlib.com/qt5')
ax.add_artist(rect)
ax.set_title('Rectangle with URL (Qt5Agg backend)')

plt.show()
Output:
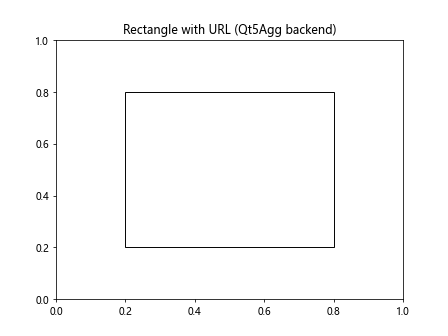
在这个例子中,使用Qt5Agg后端可能会在鼠标悬停在矩形上时显示URL,但不会提供点击功能。
10. 总结
Artist.set_url()方法是Matplotlib中一个强大而灵活的工具,它允许我们为图形元素添加超链接,从而增强图表的交互性和信息量。虽然这个方法主要用于生成可导出的图形格式(如SVG或PDF),但它也可以在某些交互式环境中发挥作用。
在使用set_url()时,我们需要注意以下几点:
1. 确保URL的有效性和可读性。
2. 避免为图中的每个元素都添加URL,以防止性能问题。
3. 考虑可访问性,为颜色编码的元素提供替代的文本描述。
4. 了解不同后端对URL支持的差异。
通过合理使用set_url()方法,我们可以创建更加丰富和交互的数据可视化,为用户提供更好的体验和更多的信息。无论是在静态报告中,还是在交互式环境中,set_url()都是一个值得掌握的工具。
最后,建议读者在实际项目中尝试使用set_url()方法,探索它与其他Matplotlib功能的结合使用,以创建更加强大和信息丰富的可视化。同时,也要注意不同输出格式和查看环境对URL支持的差异,以确保最终的可视化效果符合预期。
 极客教程
极客教程