Seaborn和Matplotlib中旋转坐标轴刻度标签的全面指南
参考:Rotate axis tick labels in Seaborn and Matplotlib
在数据可视化中,旋转坐标轴刻度标签是一个常见且重要的技巧,尤其是当处理长文本标签或密集数据时。本文将详细介绍如何在Seaborn和Matplotlib中旋转坐标轴刻度标签,以提高图表的可读性和美观性。我们将探讨多种方法和技巧,并提供易于理解和实现的示例代码。
1. Matplotlib中旋转刻度标签的基础方法
在Matplotlib中,我们可以使用xticks()和yticks()函数来旋转x轴和y轴的刻度标签。这是最基本也是最常用的方法。
1.1 旋转x轴刻度标签
以下是一个简单的示例,展示如何旋转x轴的刻度标签:
import matplotlib.pyplot as plt

# 创建数据
x = ['A', 'B', 'C', 'D', 'E']
y = [1, 2, 3, 4, 5]

# 创建图表
plt.figure(figsize=(8, 6))
plt.bar(x, y)

# 旋转x轴刻度标签
plt.xticks(rotation=45)

# 添加标题
plt.title('How to rotate x-axis labels - how2matplotlib.com')

# 显示图表
plt.tight_layout()
plt.show()
Output:
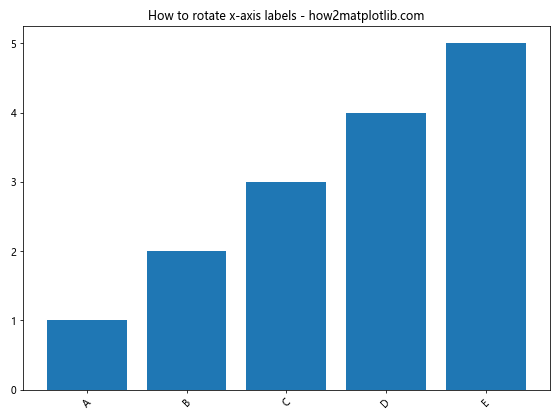
在这个例子中,我们使用plt.xticks(rotation=45)将x轴的刻度标签旋转45度。rotation参数可以接受任何角度值,从0到360度。
1.2 旋转y轴刻度标签
同样,我们也可以旋转y轴的刻度标签:
import matplotlib.pyplot as plt

# 创建数据
x = [1, 2, 3, 4, 5]
y = ['Long Label A', 'Long Label B', 'Long Label C', 'Long Label D', 'Long Label E']

# 创建图表
plt.figure(figsize=(8, 6))
plt.barh(y, x)

# 旋转y轴刻度标签
plt.yticks(rotation=45)

# 添加标题
plt.title('How to rotate y-axis labels - how2matplotlib.com')

# 显示图表
plt.tight_layout()
plt.show()
Output:
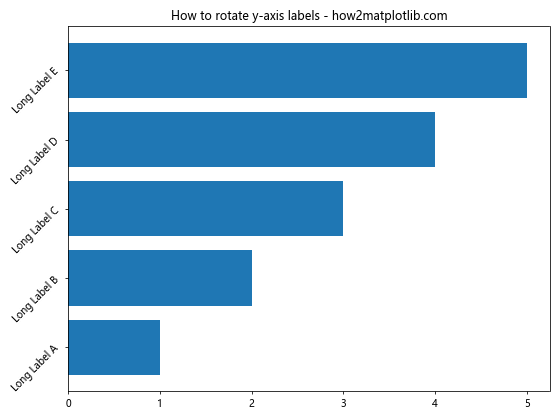
在这个例子中,我们使用plt.yticks(rotation=45)来旋转y轴的刻度标签。注意,我们使用了水平条形图(plt.barh())来更好地展示y轴标签的旋转效果。
2. 使用set_xticklabels()和set_yticklabels()方法
除了使用xticks()和yticks()函数,我们还可以使用set_xticklabels()和set_yticklabels()方法来旋转刻度标签。这种方法提供了更多的灵活性,特别是当我们需要同时修改标签内容和旋转角度时。
2.1 旋转x轴刻度标签
import matplotlib.pyplot as plt

# 创建数据
x = ['Category A', 'Category B', 'Category C', 'Category D', 'Category E']
y = [10, 20, 15, 25, 30]

# 创建图表
fig, ax = plt.subplots(figsize=(10, 6))
ax.bar(x, y)

# 旋转x轴刻度标签
ax.set_xticklabels(x, rotation=45, ha='right')

# 添加标题
ax.set_title('Using set_xticklabels() - how2matplotlib.com')

# 调整布局
plt.tight_layout()
plt.show()
Output:
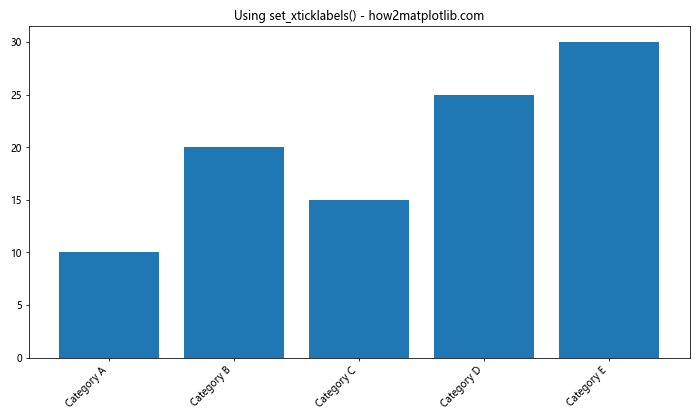
在这个例子中,我们使用ax.set_xticklabels(x, rotation=45, ha='right')来旋转x轴的刻度标签。ha='right'参数用于调整文本的水平对齐方式,使其看起来更整齐。
2.2 旋转y轴刻度标签
import matplotlib.pyplot as plt

# 创建数据
x = [10, 20, 15, 25, 30]
y = ['Long Category A', 'Long Category B', 'Long Category C', 'Long Category D', 'Long Category E']

# 创建图表
fig, ax = plt.subplots(figsize=(8, 6))
ax.barh(y, x)

# 旋转y轴刻度标签
ax.set_yticklabels(y, rotation=45, va='bottom')

# 添加标题
ax.set_title('Using set_yticklabels() - how2matplotlib.com')

# 调整布局
plt.tight_layout()
plt.show()
Output:
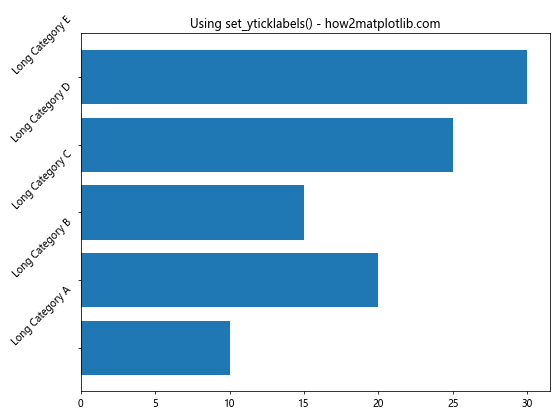
这个例子展示了如何使用ax.set_yticklabels(y, rotation=45, va='bottom')来旋转y轴的刻度标签。va='bottom'参数用于调整文本的垂直对齐方式。
3. Seaborn中旋转刻度标签
Seaborn是建立在Matplotlib之上的统计数据可视化库,它提供了更高级的接口来创建美观的统计图表。虽然Seaborn没有直接的函数来旋转刻度标签,但我们可以结合使用Seaborn和Matplotlib的功能来实现这一目标。
3.1 在Seaborn条形图中旋转x轴标签
import seaborn as sns
import matplotlib.pyplot as plt

# 创建示例数据
data = {'category': ['A', 'B', 'C', 'D', 'E'],
        'value': [10, 20, 15, 25, 30]}

# 创建Seaborn条形图
plt.figure(figsize=(10, 6))
sns.barplot(x='category', y='value', data=data)

# 旋转x轴标签
plt.xticks(rotation=45)

# 添加标题
plt.title('Rotating x-axis labels in Seaborn - how2matplotlib.com')

# 调整布局
plt.tight_layout()
plt.show()
Output:
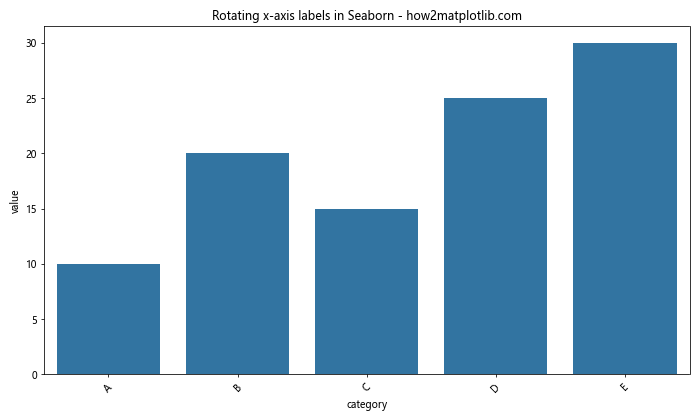
在这个例子中,我们首先使用Seaborn的barplot()函数创建条形图,然后使用Matplotlib的plt.xticks(rotation=45)来旋转x轴标签。
3.2 在Seaborn箱线图中旋转y轴标签
import seaborn as sns
import matplotlib.pyplot as plt
import pandas as pd
import numpy as np

# 创建示例数据
np.random.seed(0)
data = pd.DataFrame({
    'group': ['A', 'B', 'C', 'D', 'E'] * 20,
    'value': np.random.randn(100)
})

# 创建Seaborn箱线图
plt.figure(figsize=(8, 10))
sns.boxplot(x='value', y='group', data=data)

# 旋转y轴标签
plt.yticks(rotation=45)

# 添加标题
plt.title('Rotating y-axis labels in Seaborn - how2matplotlib.com')

# 调整布局
plt.tight_layout()
plt.show()
Output:
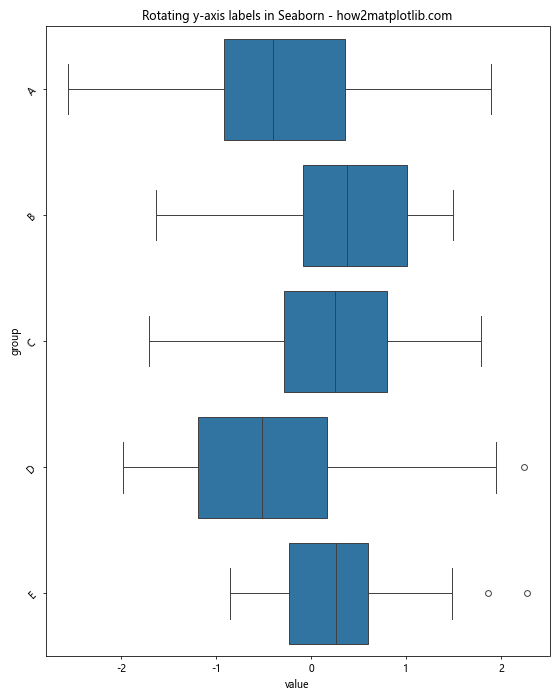
这个例子展示了如何在Seaborn的箱线图中旋转y轴标签。我们使用plt.yticks(rotation=45)来实现旋转。
4. 处理长标签和重叠问题
当处理长标签或数据点较多时,即使旋转标签也可能出现重叠的问题。以下是一些解决这个问题的技巧。
4.1 调整图表大小和边距
import matplotlib.pyplot as plt

# 创建数据
x = ['Long Category ' + str(i) for i in range(1, 11)]
y = range(1, 11)

# 创建图表,设置更大的图表尺寸
plt.figure(figsize=(12, 6))
plt.bar(x, y)

# 旋转x轴标签并调整位置
plt.xticks(rotation=45, ha='right')

# 添加标题
plt.title('Adjusting figure size and margins - how2matplotlib.com')

# 调整布局,增加底部边距
plt.tight_layout()
plt.subplots_adjust(bottom=0.2)

plt.show()
Output:
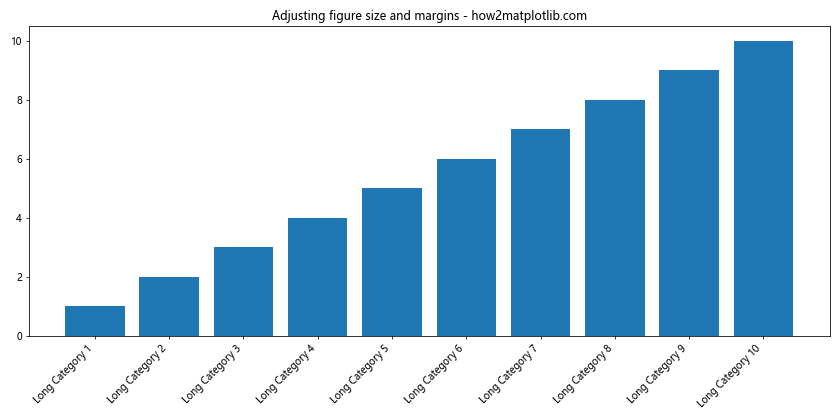
在这个例子中,我们增加了图表的宽度(figsize=(12, 6)),并使用plt.subplots_adjust(bottom=0.2)来增加底部的边距,为旋转后的标签留出更多空间。
4.2 使用换行符分割长标签
import matplotlib.pyplot as plt

# 创建数据,使用换行符分割长标签
x = ['Long\nCategory ' + str(i) for i in range(1, 11)]
y = range(1, 11)

# 创建图表
plt.figure(figsize=(12, 6))
plt.bar(x, y)

# 旋转x轴标签
plt.xticks(rotation=45, ha='right')

# 添加标题
plt.title('Using line breaks in labels - how2matplotlib.com')

# 调整布局
plt.tight_layout()

plt.show()
Output:
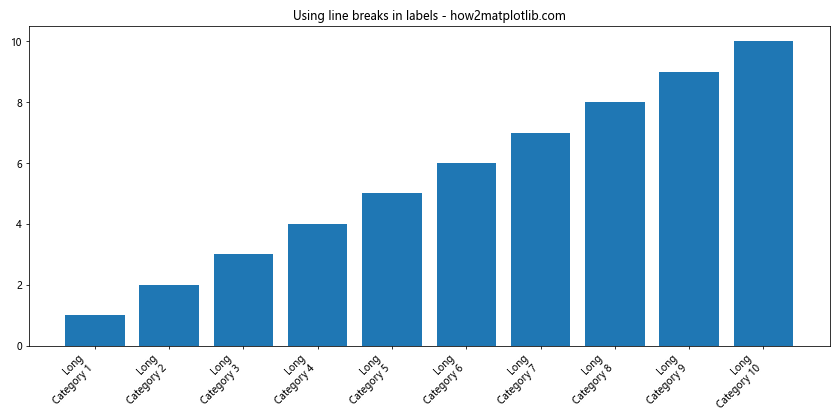
这个例子展示了如何使用换行符(\n)来分割长标签,使其在多行显示,从而减少重叠。
4.3 选择性显示标签
当数据点非常多时,可以选择只显示部分标签:
import matplotlib.pyplot as plt
import numpy as np

# 创建大量数据点
x = np.arange(50)
y = np.random.rand(50)

# 创建图表
plt.figure(figsize=(12, 6))
plt.plot(x, y, marker='o')

# 选择性显示x轴标签
plt.xticks(np.arange(0, 50, 5), rotation=45)

# 添加标题
plt.title('Selectively displaying labels - how2matplotlib.com')

# 调整布局
plt.tight_layout()

plt.show()
Output:
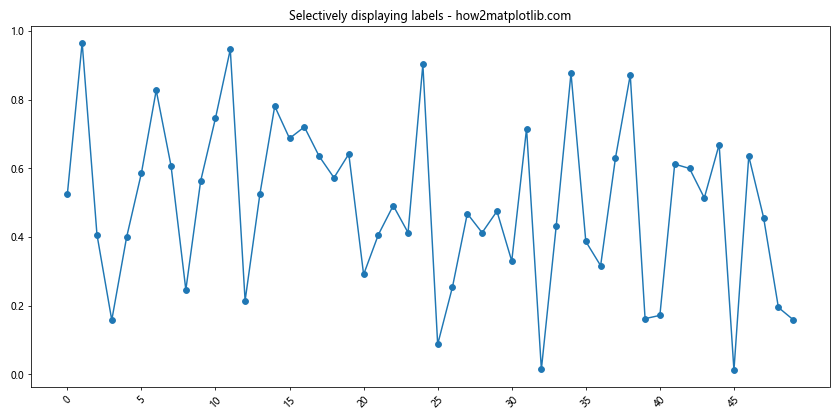
在这个例子中,我们使用plt.xticks(np.arange(0, 50, 5), rotation=45)来只显示每隔5个数据点的标签,并旋转它们。
5. 自定义刻度标签的样式
除了旋转,我们还可以自定义刻度标签的其他样式,如字体大小、颜色等。
5.1 修改字体大小和颜色
import matplotlib.pyplot as plt

# 创建数据
x = ['A', 'B', 'C', 'D', 'E']
y = [1, 2, 3, 4, 5]

# 创建图表
plt.figure(figsize=(10, 6))
plt.bar(x, y)

# 自定义x轴标签样式
plt.xticks(rotation=45, fontsize=12, color='blue')

# 自定义y轴标签样式
plt.yticks(fontsize=12, color='red')

# 添加标题
plt.title('Customizing label styles - how2matplotlib.com', fontsize=16)

# 调整布局
plt.tight_layout()

plt.show()
Output:
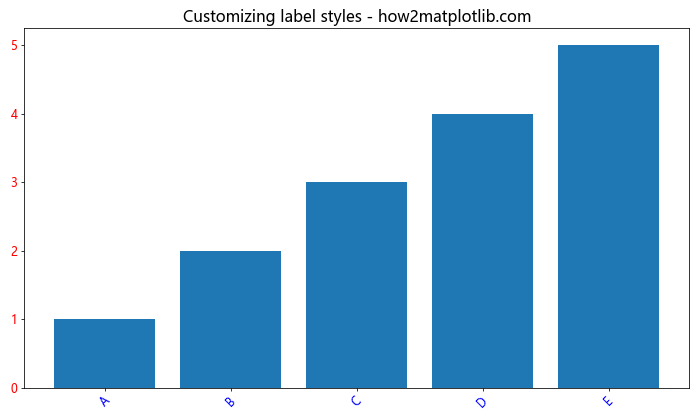
这个例子展示了如何使用fontsize和color参数来自定义刻度标签的字体大小和颜色。
5.2 使用LaTeX格式的标签
Matplotlib支持使用LaTeX格式来渲染数学公式和特殊字符:
import matplotlib.pyplot as plt

# 创建数据
x = [r'\alpha', r'\beta', r'\gamma', r'\delta', r'\epsilon']
y = [1, 2, 3, 4, 5]

# 创建图表
plt.figure(figsize=(10, 6))
plt.bar(x, y)

# 旋转并设置LaTeX格式的x轴标签
plt.xticks(rotation=45, fontsize=14)

# 添加标题
plt.title('Using LaTeX formatted labels - how2matplotlib.com', fontsize=16)

# 调整布局
plt.tight_layout()

plt.show()
Output:
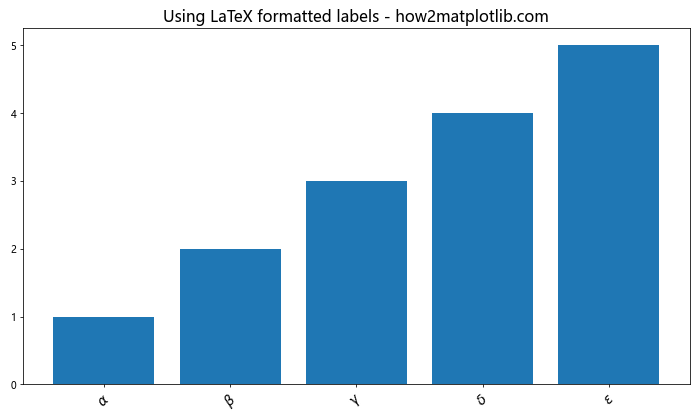
在这个例子中,我们使用LaTeX格式来显示希腊字母作为x轴标签。注意标签字符串前的r前缀,它表示原始字符串,防止反斜杠被转义。
6. 在子图中旋转刻度标签
当处理多个子图时,我们可能需要为每个子图单独设置刻度标签的旋转。
import matplotlib.pyplot as plt

# 创建数据
x = ['Long Label ' + str(i) for i in range(1, 6)]
y1 = [1, 2, 3, 4, 5]
y2 = [5, 4, 3, 2, 1]

# 创建包含两个子图的图表
fig, (ax1, ax2) = plt.subplots(2, 1, figsize=(10, 10))

# 第一个子图
ax1.bar(x, y1)
ax1.set_xticklabels(x, rotation=45, ha='right')
ax1.set_title('Subplot 1 - how2matplotlib.com')

# 第二个子图
ax2.bar(x, y2)
ax2.set_xticklabels(x, rotation=30, ha='right')
ax2.set_title('Subplot 2 - how2matplotlib.com')

# 调整布局
plt.tight_layout()

plt.show()
Output:
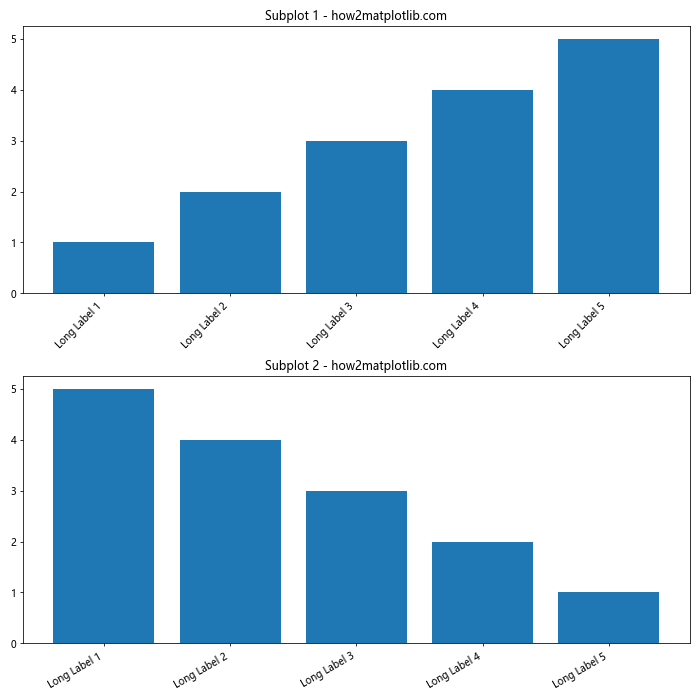
这个例子展示了如何在两个不同的子图中分别设置不同的标签旋转角度。我们使用ax.set_xticklabels()方法为每个子图单独设置旋转角度。
7. 在极坐标图中旋转刻度标签
极坐标图是一种特殊类型的图表,在处理角度数据时非常有用。在极坐标图中旋转刻度标签需要特别注意。
import matplotlib.pyplot as plt
import numpy as np

# 创建数据
theta = np.linspace(0, 2*np.pi, 8, endpoint=False)
r = np.random.rand(8)

# 创建极坐标图
fig, ax = plt.subplots(figsize=(8, 8), subplot_kw=dict(projection='polar'))
ax.bar(theta, r, width=0.5)

# 设置角度标签
ax.set_xticks(theta)
ax.set_xticklabels(['N', 'NE', 'E', 'SE', 'S', 'SW', 'W', 'NW'], fontsize=12)

# 旋转径向标签
ax.set_rlabel_position(0)  # 将径向标签移到0度位置
plt.yticks(rotation=0)  # 确保径向标签水平

# 添加标题
plt.title('Rotating labels in polar plot - how2matplotlib.com', y=1.1)

plt.show()
Output:
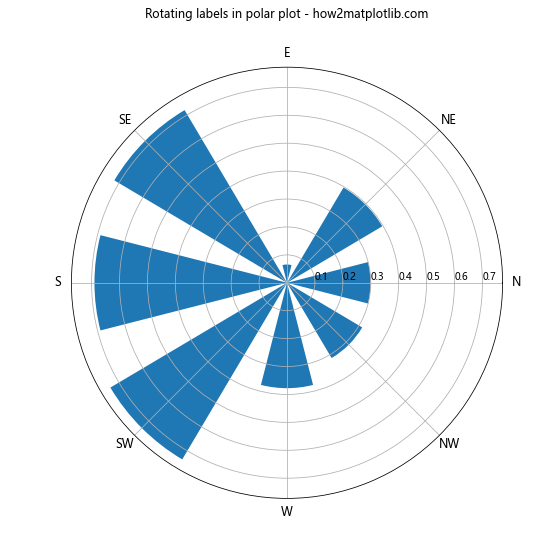
在这个例子中,我们创建了一个极坐标图,并设置了自定义的角度标签。通过ax.set_rlabel_position(0)和plt.yticks(rotation=0),我们确保径向标签保持水平。
8. 动态旋转标签
在某些情况下,我们可能需要根据标签的长度动态调整旋转角度。以下是一个实现这一功能的示例:
import matplotlib.pyplot as plt

def rotate_labels(ax, x_labels, max_length=10):
    rotation = 0
    if max(len(label) for label in x_labels) > max_length:
        rotation = 45
    ax.set_xticklabels(x_labels, rotation=rotation, ha='right' if rotation else 'center')

# 创建数据
short_labels = ['A', 'B', 'C', 'D', 'E']
long_labels = ['Long Label ' + str(i) for i in range(1, 6)]

# 创建包含两个子图的图表
fig, (ax1, ax2) = plt.subplots(2, 1, figsize=(10, 10))

# 第一个子图:短标签
ax1.bar(short_labels, range(1, 6))
rotate_labels(ax1, short_labels)
ax1.set_title('Short labels - how2matplotlib.com')

# 第二个子图:长标签
ax2.bar(long_labels, range(1, 6))
rotate_labels(ax2, long_labels)
ax2.set_title('Long labels - how2matplotlib.com')

# 调整布局
plt.tight_layout()

plt.show()
Output:
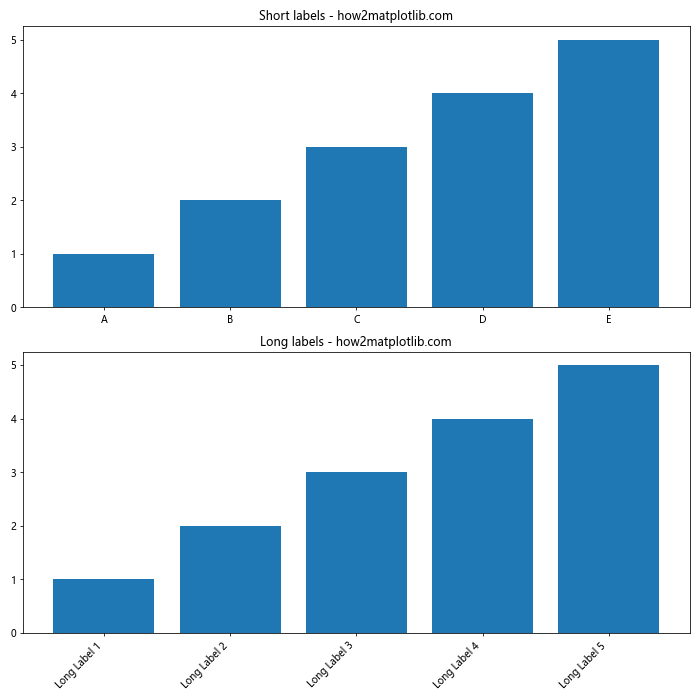
在这个例子中,我们定义了一个rotate_labels函数,它根据标签的最大长度来决定是否旋转标签。这种方法可以使图表在处理不同长度的标签时更加灵活。
9. 在时间序列图中旋转日期标签
处理时间序列数据时,日期标签的旋转和格式化尤为重要。以下是一个示例:
import matplotlib.pyplot as plt
import pandas as pd
import numpy as np

# 创建时间序列数据
dates = pd.date_range(start='2023-01-01', end='2023-12-31', freq='M')
values = np.cumsum(np.random.randn(len(dates)))

# 创建图表
plt.figure(figsize=(12, 6))
plt.plot(dates, values)

# 设置x轴日期格式和旋转
plt.gca().xaxis.set_major_formatter(plt.matplotlib.dates.DateFormatter('%Y-%m-%d'))
plt.gcf().autofmt_xdate()  # 自动格式化日期标签

# 添加标题和标签
plt.title('Time series with rotated date labels - how2matplotlib.com')
plt.xlabel('Date')
plt.ylabel('Value')

# 调整布局
plt.tight_layout()

plt.show()
Output:

在这个例子中,我们使用plt.gcf().autofmt_xdate()来自动格式化和旋转日期标签,这是处理时间序列数据的一种简便方法。
10. 在3D图中旋转刻度标签
在3D图中,刻度标签的旋转需要特别注意,因为我们需要考虑三个维度:
import matplotlib.pyplot as plt
from mpl_toolkits.mplot3d import Axes3D
import numpy as np

# 创建数据
x = np.arange(5)
y = np.arange(5)
z = np.random.rand(5, 5)

# 创建3D图
fig = plt.figure(figsize=(10, 8))
ax = fig.add_subplot(111, projection='3d')

# 绘制3D柱状图
x, y = np.meshgrid(x, y)
ax.bar3d(x.ravel(), y.ravel(), np.zeros_like(z).ravel(), 1, 1, z.ravel())

# 设置刻度标签
ax.set_xticks(np.arange(5))
ax.set_yticks(np.arange(5))
ax.set_xticklabels(['X' + str(i) for i in range(5)], rotation=45)
ax.set_yticklabels(['Y' + str(i) for i in range(5)], rotation=-45)

# 添加标题
ax.set_title('Rotating labels in 3D plot - how2matplotlib.com')

# 调整视角
ax.view_init(elev=20, azim=45)

plt.tight_layout()
plt.show()
Output:
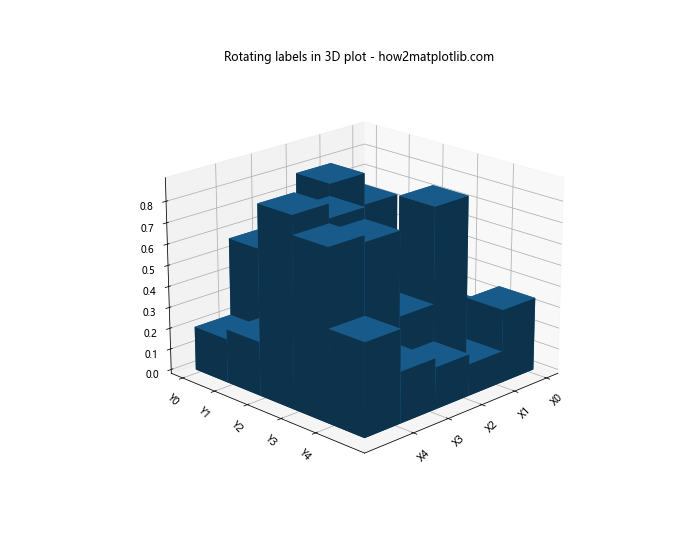
在这个3D图例子中,我们分别旋转了x轴和y轴的标签。注意,在3D图中,标签的旋转效果可能会因视角的不同而有所变化。
结论
旋转坐标轴刻度标签是数据可视化中一个重要的技巧,它可以显著提高图表的可读性,特别是在处理长标签或密集数据时。通过本文介绍的各种方法和技巧,你应该能够在Seaborn和Matplotlib中灵活地处理各种标签旋转的需求。
记住,旋转标签只是提高图表可读性的众多方法之一。在实际应用中,你可能还需要考虑其他因素,如图表大小、字体样式、颜色方案等,以创建最佳的数据可视化效果。同时,始终要考虑你的目标受众和展示环境,确保你的图表不仅美观,而且信息传达清晰有效。
最后,不断实践和尝试不同的方法是提高数据可视化技能的关键。希望本文提供的示例和技巧能够帮助你在未来的项目中创建出更加优秀的图表。
 极客教程
极客教程