matplotlib图例水平排列
参考:matplotlib legend horizontal
在matplotlib中,图例是用来标识不同数据系列或不同类别的标记和颜色的标签。有时候我们希望将图例水平排列,以节省空间并使得图例更加美观。本文将介绍如何在matplotlib中实现图例的水平排列。
方法一:使用legend的loc参数
我们可以通过legend函数的loc参数来指定图例的位置,其中loc的取值可以是best、upper right、upper left、lower left、lower right、right、center left、center right、lower center、upper center、center,其中best表示最佳位置。
import matplotlib.pyplot as plt

# 创建示例数据
x = [1, 2, 3, 4, 5]
y1 = [1, 2, 3, 4, 5]
y2 = [5, 4, 3, 2, 1]

# 绘制图形
plt.plot(x, y1, label='Line 1')
plt.plot(x, y2, label='Line 2')

# 将图例水平排列
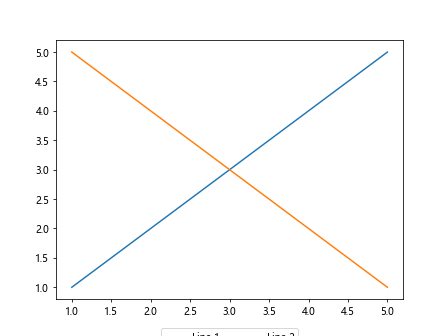
plt.legend(loc='center', bbox_to_anchor=(0.5, -0.15), ncol=2)

plt.show()
Output:

在这个示例中,我们使用loc='center'将图例放在图的中心位置,并通过bbox_to_anchor=(0.5, -0.15)和ncol=2参数使得图例水平排列,且一行显示两个标签。
方法二:使用legent函数的mode参数
除了使用loc参数外,我们还可以使用mode参数来控制图例的水平排列。mode参数的取值可以是expand、expand_left、expand_right,其中expand表示图例会水平排列,而expand_left和expand_right会使得图例靠左或靠右排列。
import matplotlib.pyplot as plt

# 创建示例数据
x = [1, 2, 3, 4, 5]
y1 = [1, 2, 3, 4, 5]
y2 = [5, 4, 3, 2, 1]

# 绘制图形
plt.plot(x, y1, label='Line 1')
plt.plot(x, y2, label='Line 2')

# 将图例水平排列
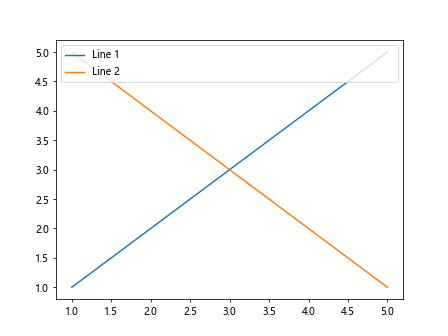
plt.legend(mode='expand')

plt.show()
Output:

在这个示例中,我们使用mode='expand'让图例水平排列。
方法三:使用legend函数的title_orientation参数
另外,我们还可以通过legend函数的title_orientation参数来调整图例标题的方向。当title_orientation参数的值为horizontal时,图例标题水平显示;当title_orientation参数的值为vertical时,图例标题垂直显示。
import matplotlib.pyplot as plt

# 创建示例数据
x = [1, 2, 3, 4, 5]
y1 = [1, 2, 3, 4, 5]
y2 = [5, 4, 3, 2, 1]

# 绘制图形
plt.plot(x, y1, label='Line 1')
plt.plot(x, y2, label='Line 2')

# 将图例标题水平显示
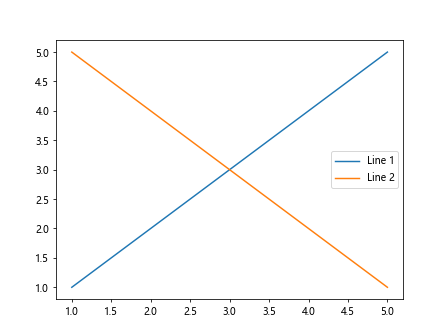
plt.legend(title_orientation='horizontal')

plt.show()
在这个示例中,我们使用title_orientation='horizontal'将图例标题水平显示。
方法四:使用legend函数的handlelength参数
最后,我们还可以通过legend函数的handlelength参数来调整每个图例标签的长度,以使得图例水平排列更加美观。
import matplotlib.pyplot as plt

# 创建示例数据
x = [1, 2, 3, 4, 5]
y1 = [1, 2, 3, 4, 5]
y2 = [5, 4, 3, 2, 1]

# 绘制图形
plt.plot(x, y1, label='Line 1')
plt.plot(x, y2, label='Line 2')

# 调整图例标签长度
plt.legend(handlelength=2.5)

plt.show()
Output:

在这个示例中,我们使用handlelength=2.5将图例标签的长度设置为2.5。
 极客教程
极客教程