CSS设置高度为屏幕高度
在网页设计中,经常会遇到需要将某个元素的高度设置为屏幕高度的情况。这样可以确保页面在不同设备上都能够完整展示,并且提升用户体验。在本文中,我们将介绍如何使用CSS来设置元素的高度为屏幕高度,并提供一些示例代码来帮助读者更好地理解。
1. 使用vh单位设置高度
在CSS中,我们可以使用vh单位来设置元素的高度为视口高度的百分比。视口高度是指浏览器可视区域的高度,通常等于屏幕高度。下面是一个简单的示例代码,演示如何使用vh单位设置元素的高度为屏幕高度的80%:
<!DOCTYPE html>
<html lang="en">
<head>
<meta charset="UTF-8">
<meta name="viewport" content="width=device-width, initial-scale=1.0">
<title>Set Height to Screen Height</title>
<style>
    .full-height {
        height: 80vh;
        background-color: #f0f0f0;
    }
</style>
</head>
<body>
<div class="full-height">
    <p>Height is set to 80% of screen height.</p>
</div>
</body>
</html>
Output:
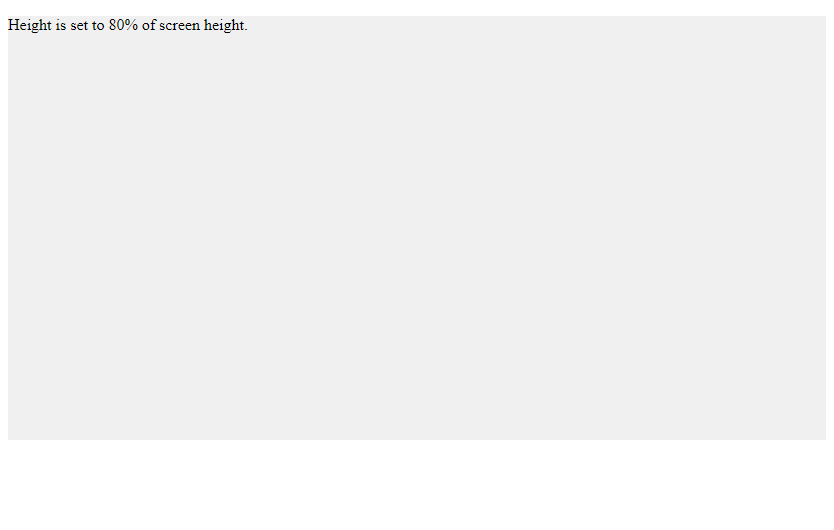
在上面的示例中,我们给一个div元素添加了一个类名为full-height,并设置其高度为80vh。当页面加载时,该div元素的高度将会是屏幕高度的80%。
2. 使用JavaScript动态设置高度
除了使用CSS单位来设置高度外,我们还可以使用JavaScript来动态设置元素的高度为屏幕高度。下面是一个示例代码,演示如何使用JavaScript来实现这一功能:
<!DOCTYPE html>
<html lang="en">
<head>
<meta charset="UTF-8">
<meta name="viewport" content="width=device-width, initial-scale=1.0">
<title>Set Height to Screen Height</title>
<style>
    .full-height {
        background-color: #f0f0f0;
    }
</style>
</head>
<body>
<div class="full-height" id="fullHeightDiv">
    <p>Height will be set to screen height.</p>
</div>
<script>
    window.onload = function() {
        var fullHeightDiv = document.getElementById('fullHeightDiv');
        fullHeightDiv.style.height = window.innerHeight + 'px';
    };
</script>
</body>
</html>
Output:
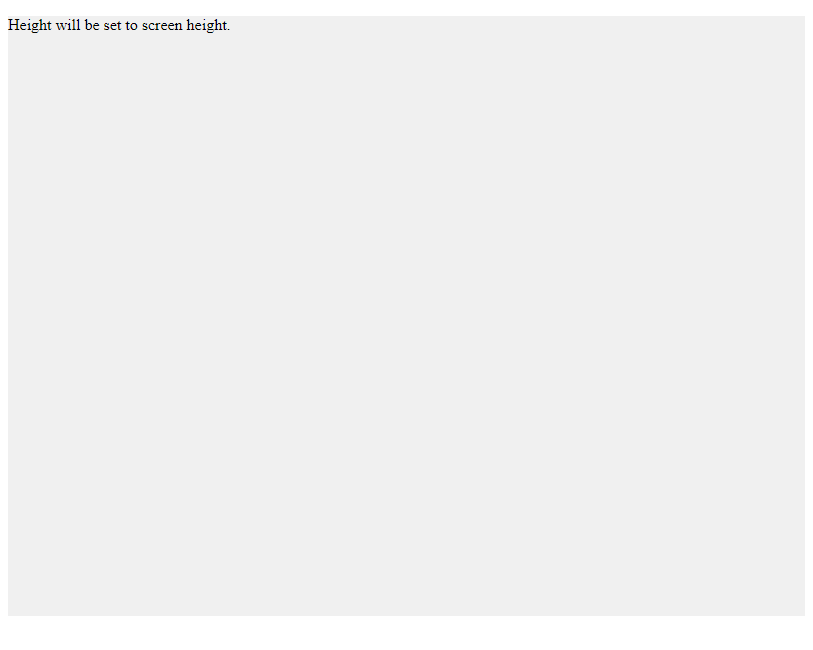
在上面的示例中,我们通过JavaScript获取了fullHeightDiv元素,并在页面加载完成后,将其高度设置为window.innerHeight,即屏幕高度。
3. 使用Flexbox布局设置高度
Flexbox是一种强大的布局模型,可以帮助我们更轻松地实现各种布局效果。我们可以利用Flexbox来设置元素的高度为屏幕高度。下面是一个示例代码,演示如何使用Flexbox来实现这一功能:
<!DOCTYPE html>
<html lang="en">
<head>
<meta charset="UTF-8">
<meta name="viewport" content="width=device-width, initial-scale=1.0">
<title>Set Height to Screen Height</title>
<style>
    body {
        display: flex;
        flex-direction: column;
        height: 100vh;
        margin: 0;
    }
    .full-height {
        flex: 1;
        background-color: #f0f0f0;
    }
</style>
</head>
<body>
<div class="full-height">
    <p>Height is set to screen height.</p>
</div>
</body>
</html>
Output:

在上面的示例中,我们将body元素的高度设置为100vh,并使用Flexbox布局将.full-height元素的高度设置为剩余空间的高度,从而实现将元素的高度设置为屏幕高度。
4. 使用Grid布局设置高度
除了Flexbox布局外,我们还可以使用Grid布局来设置元素的高度为屏幕高度。Grid布局提供了更多的布局选项,可以更灵活地控制元素的位置和大小。下面是一个示例代码,演示如何使用Grid布局来实现这一功能:
<!DOCTYPE html>
<html lang="en">
<head>
<meta charset="UTF-8">
<meta name="viewport" content="width=device-width, initial-scale=1.0">
<title>Set Height to Screen Height</title>
<style>
    body {
        display: grid;
        grid-template-rows: 1fr;
        height: 100vh;
        margin: 0;
    }
    .full-height {
        background-color: #f0f0f0;
    }
</style>
</head>
<body>
<div class="full-height">
    <p>Height is set to screen height.</p>
</div>
</body>
</html>
Output:

在上面的示例中,我们将body元素的高度设置为100vh,并使用Grid布局将.full-height元素的高度设置为剩余空间的高度,从而实现将元素的高度设置为屏幕高度。
5. 使用calc()函数设置高度
在某些情况下,我们可能需要在设置元素高度时进行一些计算,这时可以使用calc()函数来实现。calc()函数可以让我们在设置元素高度时进行加减乘除等运算。下面是一个示例代码,演示如何使用calc()函数将元素的高度设置为屏幕高度减去固定高度:
<!DOCTYPE html>
<html lang="en">
<head>
<meta charset="UTF-8">
<meta name="viewport" content="width=device-width, initial-scale=1.0">
<title>Set Height to Screen Height</title>
<style>
    .full-height {
        height: calc(100vh - 100px);
        background-color: #f0f0f0;
    }
</style>
</head>
<body>
<div class="full-height">
    <p>Height is set to screen height minus 100px.</p>
</div>
</body>
</html>
Output:
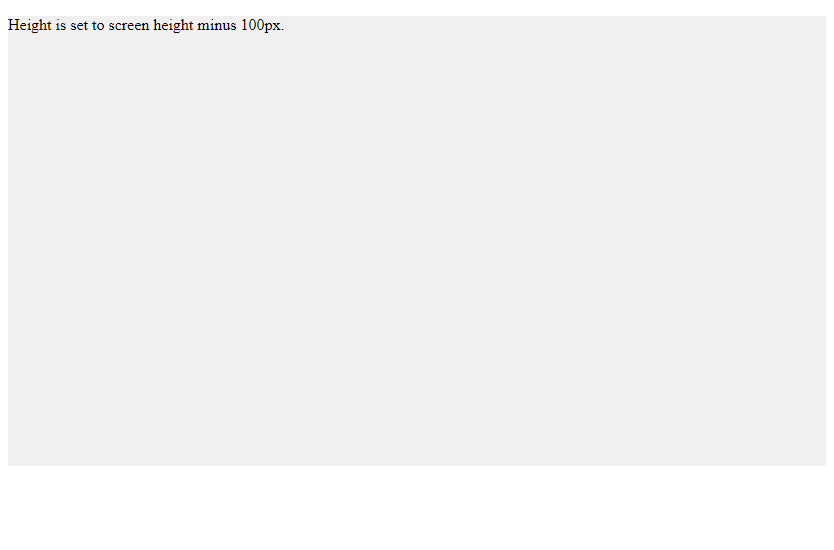
在上面的示例中,我们使用calc()函数将.full-height元素的高度设置为屏幕高度减去100px,从而实现了动态计算高度的效果。
6. 使用JavaScript监听窗口大小变化
在某些情况下,我们可能需要在窗口大小变化时重新计算元素的高度,以确保元素始终与屏幕高度保持一致。我们可以使用JavaScript来监听窗口大小变化事件,并在事件发生时重新设置元素的高度。下面是一个示例代码,演示如何实现这一功能:
<!DOCTYPE html>
<html lang="en">
<head>
<meta charset="UTF-8">
<meta name="viewport" content="width=device-width, initial-scale=1.0">
<title>Set Height to Screen Height</title>
<style>
    .full-height {
        background-color: #f0f0f0;
    }
</style>
</head>
<body>
<div class="full-height" id="fullHeightDiv">
    <p>Height will be set to screen height.</p>
</div>
<script>
    window.onload = function() {
        var fullHeightDiv = document.getElementById('fullHeightDiv');
        fullHeightDiv.style.height = window.innerHeight + 'px';
    };

    window.addEventListener('resize', function() {
        var fullHeightDiv = document.getElementById('fullHeightDiv');
        fullHeightDiv.style.height = window.innerHeight + 'px';
    });
</script>
</body>
</html>
Output:
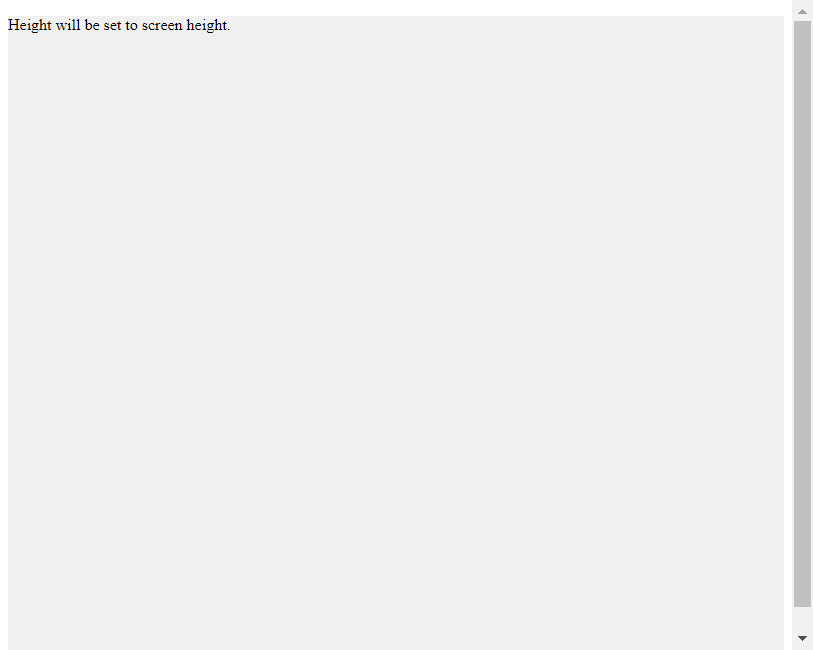
在上面的示例中,我们通过JavaScript监听了窗口的resize事件,当窗口大小发生变化时,重新设置fullHeightDiv元素的高度为窗口的高度,从而保持元素与屏幕高度一致。
7. 使用CSS Grid布局设置全屏背景
除了设置元素的高度为屏幕高度外,有时候我们还需要将某个元素的背景设置为全屏高度。在这种情况下,我们可以使用CSS Grid布局来实现全屏背景效果。下面是一个示例代码,演示如何使用CSS Grid布局设置全屏背景:
<!DOCTYPE html>
<html lang="en">
<head>
<meta charset="UTF-8">
<meta name="viewport" content="width=device-width, initial-scale=1.0">
<title>Set Full Screen Background</title>
<style>
    body {
        display: grid;
        place-items: center;
        height: 100vh;
        margin: 0;
        background-color: #f0f0f0;
    }
    .full-screen-bg {
        width: 100%;
        height: 100%;
        background-image: url('https://www.geek-docs.com/background.jpg');
        background-size: cover;
        background-position: center;
    }
</style>
</head>
<body>
<div class="full-screen-bg">
    <p>This is a full screen background.</p>
</div>
</body>
</html>
Output:
在上面的示例中,我们使用CSS Grid布局将body元素的高度设置为100vh,并将.full-screen-bg元素的宽度和高度都设置为100%,并设置背景图片为background.jpg,从而实现了全屏背景效果。
8. 使用CSS实现全屏滚动效果
有时候我们需要实现全屏滚动效果,即页面在滚动时每次只显示一屏内容。我们可以使用CSS和JavaScript来实现这一效果。下面是一个示例代码,演示如何使用CSS和JavaScript实现全屏滚动效果:
<!DOCTYPE html>
<html lang="en">
<head>
<meta charset="UTF-8">
<meta name="viewport" content="width=device-width, initial-scale=1.0">
<title>Full Screen Scroll</title>
<style>
    .section {
        height: 100vh;
        display: flex;
        justify-content: center;
        align-items: center;
        font-size: 2em;
    }
    .section:nth-child(odd) {
        background-color: #f0f0f0;
    }
    .section:nth-child(even) {
        background-color: #e0e0e0;
    }
</style>
</head>
<body>
<div class="section">Section 1</div>
<div class="section">Section 2</div>
<div class="section">Section 3</div>
<div class="section">Section 4</div>
<script>
    document.addEventListener('DOMContentLoaded', function() {
        let sections = document.querySelectorAll('.section');
        let currentSection = 0;

        function scrollToSection(index) {
            window.scrollTo({
                top: sections[index].offsetTop,
                behavior: 'smooth'
            });
        }

        window.addEventListener('wheel', function(e) {
            if (e.deltaY > 0 && currentSection < sections.length - 1) {
                currentSection++;
                scrollToSection(currentSection);
            } else if (e.deltaY < 0 && currentSection > 0) {
                currentSection--;
                scrollToSection(currentSection);
            }
        });
    });
</script>
</body>
</html>
Output:

在上面的示例中,我们定义了多个.section元素,每个元素的高度都设置为100vh,即一屏高度。通过JavaScript监听滚动事件,实现了全屏滚动效果。
通过以上示例代码,我们介绍了如何使用CSS来设置元素的高度为屏幕高度,并实现了一些常见的布局效果。读者可以根据自己的需求选择合适的方法来设置元素的高度,以达到更好的页面展示效果。希望本文对读者有所帮助!
 极客教程
极客教程