JavaScript滚动到指定元素位置

在网页开发中,经常会遇到需要将页面滚动到指定元素位置的需求。这在单页应用或者长页面中尤为常见。本文将介绍如何使用JavaScript实现滚动到指定元素位置的功能。
通过原生JavaScript实现滚动到指定元素位置
1. 通过getElementById获取元素并滚动到指定位置
<!DOCTYPE html>
<html>
<head>
    <title>Scroll to Element</title>
</head>
<body>
    <button onclick="scrollToElement()">Scroll to Element</button>
    <div id="target">geek-docs.com</div>
    <script>
        function scrollToElement() {
            var element = document.getElementById('target');
            element.scrollIntoView({ behavior: 'smooth' });
        }
    </script>
</body>
</html>
Output:

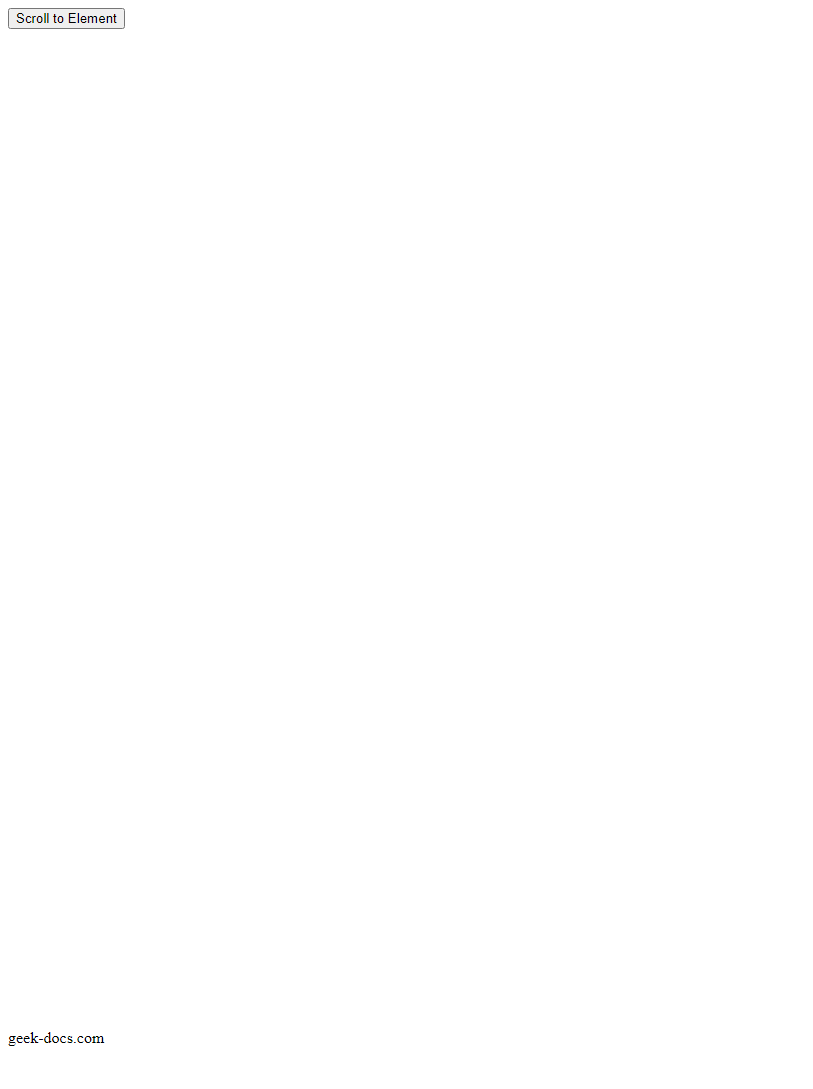
点击按钮后,页面会平滑滚动到id为’target’的元素位置。
2. 通过querySelector获取元素并滚动到指定位置
<!DOCTYPE html>
<html>
<head>
    <title>Scroll to Element</title>
</head>
<body>
    <button onclick="scrollToElement()">Scroll to Element</button>
    <div class="target">geek-docs.com</div>
    <script>
        function scrollToElement() {
            var element = document.querySelector('.target');
            element.scrollIntoView({ behavior: 'smooth' });
        }
    </script>
</body>
</html>
Output:

同样,点击按钮后,页面会平滑滚动到class为’target’的元素位置。
3. 通过offsetTop属性实现滚动到指定位置
<!DOCTYPE html>
<html>
<head>
    <title>Scroll to Element</title>
</head>
<body>
    <button onclick="scrollToElement()">Scroll to Element</button>
    <div id="target" style="height: 1000px;">geek-docs.com</div>
    <script>
        function scrollToElement() {
            var element = document.getElementById('target');
            window.scrollTo({
                top: element.offsetTop,
                behavior: 'smooth'
            });
        }
    </script>
</body>
</html>
Output:

点击按钮后,页面会平滑滚动到id为’target’的元素位置,通过offsetTop属性获取元素距离顶部的距离。
使用jQuery实现滚动到指定元素位置
4. 使用jQuery的animate方法实现滚动到指定位置
<!DOCTYPE html>
<html>
<head>
    <title>Scroll to Element</title>
    <script src="https://code.jquery.com/jquery-3.6.0.min.js"></script>
</head>
<body>
    <button onclick="scrollToElement()">Scroll to Element</button>
    <div id="target">geek-docs.com</div>
    <script>
        function scrollToElement() {
            ('html, body').animate({
                scrollTop:('#target').offset().top
            }, 1000);
        }
    </script>
</body>
</html>
Output:

点击按钮后,页面会平滑滚动到id为’target’的元素位置,使用jQuery的animate方法实现。
5. 使用jQuery的scrollTop方法实现滚动到指定位置
<!DOCTYPE html>
<html>
<head>
    <title>Scroll to Element</title>
    <script src="https://code.jquery.com/jquery-3.6.0.min.js"></script>
</head>
<body>
    <button onclick="scrollToElement()">Scroll to Element</button>
    <div id="target" style="height: 1000px;">geek-docs.com</div>
    <script>
        function scrollToElement() {
            ('html, body').scrollTop(('#target').offset().top);
        }
    </script>
</body>
</html>
Output:

点击按钮后,页面会直接滚动到id为’target’的元素位置,使用jQuery的scrollTop方法实现。
使用第三方库实现滚动到指定元素位置
6. 使用SmoothScroll库实现平滑滚动
SmoothScroll是一个轻量级的JavaScript库,可以实现平滑滚动到指定元素位置。
<!DOCTYPE html>
<html>
<head>
    <title>Scroll to Element</title>
    <script src="https://cdn.jsdelivr.net/npm/smoothscroll-polyfill@0.4.4/dist/smoothscroll.min.js"></script>
</head>
<body>
    <button onclick="scrollToElement()">Scroll to Element</button>
    <div id="target">geek-docs.com</div>
    <script>
        function scrollToElement() {
            document.getElementById('target').scrollIntoView({ behavior: 'smooth' });
        }
    </script>
</body>
</html>
Output:

点击按钮后,页面会平滑滚动到id为’target’的元素位置,使用SmoothScroll库实现。
7. 使用ScrollToPlugin实现滚动动画
ScrollToPlugin是GreenSock Animation Platform(GSAP)的一个插件,可以实现滚动动画效果。
<!DOCTYPE html>
<html>
<head>
    <title>Scroll to Element</title>
    <script src="https://cdnjs.cloudflare.com/ajax/libs/gsap/3.9.1/ScrollToPlugin.min.js"></script>
</head>
<body>
    <button onclick="scrollToElement()">Scroll to Element</button>
    <div id="target">geek-docs.com</div>
    <script>
        function scrollToElement() {
            gsap.to(window, { duration: 1, scrollTo: '#target', ease: 'power2.inOut' });
        }
    </script>
</body>
</html>
Output:

点击按钮后,页面会滚动到id为’target’的元素位置,使用ScrollToPlugin实现滚动动画效果。
使用CSS实现滚动到指定元素位置
8. 使用scroll-behavior属性实现平滑滚动
CSS的scroll-behavior属性可以实现平滑滚动效果。
<!DOCTYPE html>
<html>
<head>
    <title>Scroll to Element</title>
    <style>
        html {
            scroll-behavior: smooth;
        }
    </style>
</head>
<body>
    <button onclick="scrollToElement()">Scroll to Element</button>
    <div id="target">geek-docs.com</div>
    <script>
        function scrollToElement() {
            document.getElementById('target').scrollIntoView();
        }
    </script>
</body>
</html>
Output:

点击按钮后,页面会平滑滚动到id为’target’的元素位置,使用CSS的scroll-behavior属性实现。
9. 使用scroll-margin-top属性实现滚动到指定位置
CSS的scroll-margin-top属性可以设置滚动到指定元素位置时,距离顶部的间距。
<!DOCTYPE html>
<html>
<head>
    <title>Scroll to Element</title>
    <style>
        #target {
            scroll-margin-top: 50px;
        }
    </style>
</head>
<body>
    <button onclick="scrollToElement()">Scroll to Element</button>
    <div id="target" style="margin-top: 1000px;">geek-docs.com</div>
    <script>
        function scrollToElement() {
            document.getElementById('target').scrollIntoView();
        }
    </script>
</body>
</html>
Output:

点击按钮后,页面会滚动到id为’target’的元素位置,距离顶部50px的位置。
使用插件实现滚动到指定元素位置
10. 使用Scrollspy插件实现
<!DOCTYPE html>
<html>
<head>
    <title>Scroll to Element</title>
    <script src="https://cdnjs.cloudflare.com/ajax/libs/bootstrap/5.3.0/js/bootstrap.bundle.min.js"></script>
    <link rel="stylesheet" href="https://cdnjs.cloudflare.com/ajax/libs/bootstrap/5.3.0/css/bootstrap.min.css">
</head>
<body>
    <nav id="navbar-example2" class="navbar navbar-light bg-light">
        <ul class="nav nav-pills">
            <li class="nav-item">
                <a class="nav-link" href="#section1">Section 1</a>
            </li>
            <li class="nav-item">
                <a class="nav-link" href="#section2">Section 2</a>
            </li>
            <li class="nav-item">
                <a class="nav-link" href="#section3">Section 3</a>
            </li>
        </ul>
    </nav>
    <div data-bs-spy="scroll" data-bs-target="#navbar-example2" data-bs-offset="0" style="height: 200px; overflow: auto;">
        <h4 id="section1">Section 1</h4>
        <p>Content for section 1 - geek-docs.com</p>
        <h4 id="section2">Section 2</h4>
        <p>Content for section 2 - geek-docs.com</p>
        <h4 id="section3">Section 3</h4>
        <p>Content for section 3 - geek-docs.com</p>
    </div>
</body>
</html>
Output:

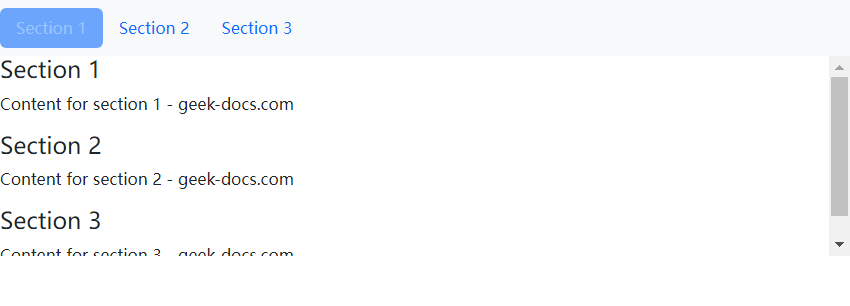
以上代码使用了Bootstrap的Scrollspy插件,可以实现点击导航栏链接时平滑滚动到相应的内容区域。
 极客教程
极客教程