如何在HTML5中使用canvas的drawImage()方法
Canvas 2D API中的canvas drawImage()方法用于在画布元素上以各种方式绘制图像。该方法包含可用于显示图像或图像的一部分的附加参数。
语法:
context.drawImage(img, x, y, swidth, sheight, sx, sy, width, height);
方法:
- 使用
<img>标签添加图像。 - 使用
<canvas>标签绘制画布。 - 加载画布并获取上下文。
- 选择要使用的图像,
- 根据需要绘制图像,可以使用其他可选参数。
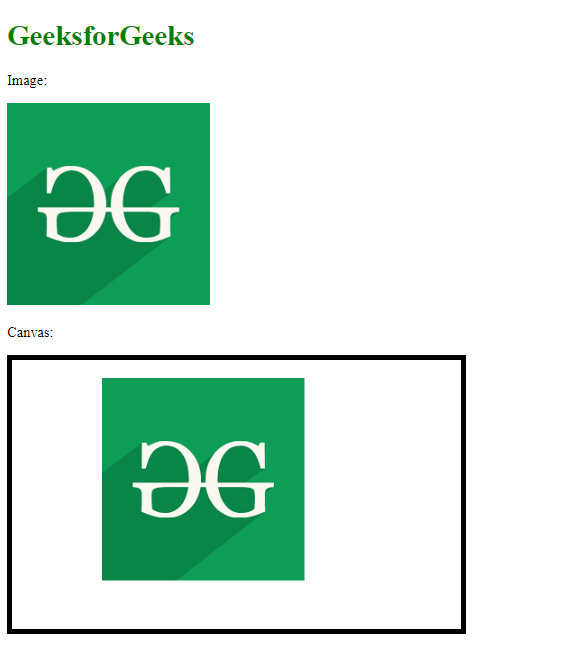
示例1: 在此示例中,使用额外参数设置了图像在画布中的位置。
<h1 style="color: green;">
    GeeksforGeeks
</h1>

<p>Image:</p>

<img id="gfg_image"
         src=
"https://media.geeksforgeeks.org/wp-content/uploads/20200604000733/gfg199.png" />

<p>Canvas:</p>

<canvas id="myGFGCanvas" width="500" height="300"
        style="border: 5px solid black">
</canvas>

<script>
    window.onload = function () {

        // Get the canvas element from the page
        var canvas = document.getElementById("myGFGCanvas");

        // Get the 2D context of the canvas
        var ctx = canvas.getContext("2d");

        // Get the image to be drawn on the canvas
        var image = document.getElementById("gfg_image");

        // Draw the image using drawImage() function

        // The first parameter is the image to be drawn

        // The second and third parameter is the
        // x and y position of the image in the canvas
        ctx.drawImage(image, 100, 20);
    };
</script>
输出:

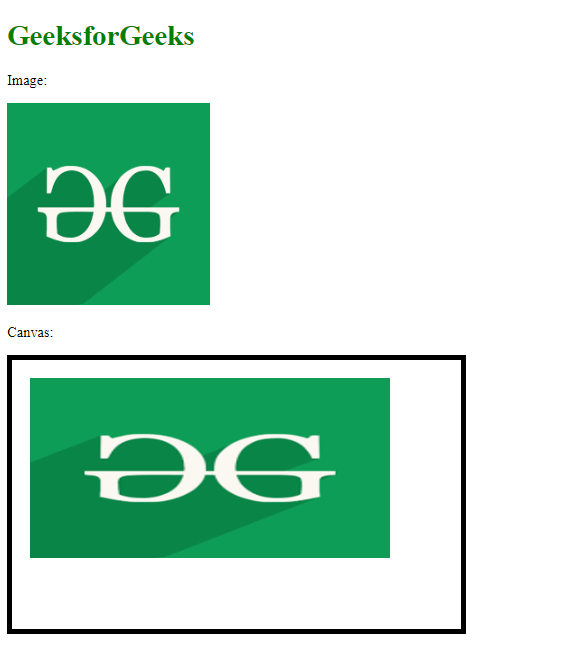
示例2: 在这个示例中,使用额外的参数设置了图像的位置和尺寸。
<h1 style="color: green;">
    GeeksforGeeks
</h1>

<p>Image:</p>

<img id="gfg_image"
         src=
 "https://media.geeksforgeeks.org/wp-content/uploads/20200604000733/gfg199.png" />

<p>Canvas:</p>

<canvas id="myGFGCanvas" width="500"
        height="300"
        style="border: 5px solid black">
</canvas>

<script>
    window.onload = function () {

        // Get the canvas element from the page
        var canvas = document.getElementById("myGFGCanvas");

        // Get the 2D context of the canvas
        var ctx = canvas.getContext("2d");

        // Get the image to be drawn on the canvas
        var image = document.getElementById("gfg_image");

        // Draw the image using drawImage() function

        // The first parameter is the image to be drawn

        // The second and third parameter is the
        // x and y position of the image in the canvas

        // The fourth and fifth parameter is the
        // width and height of the image to be drawn
        // in the canvas
        ctx.drawImage(image, 20, 20, 400, 200);
    };
</script>
输出:

 极客教程
极客教程