如何在HTML中点击显示图像
偶尔,网页上可能包含与页面内容无关的图像。这些异常的图像在网页加载时被加载,这会增加加载时间。网页加载时间的增加可能会减少访问者的数量。
在本文中,我们提出了解决这个问题的方法。我们将学习如何仅在用户点击时显示图像,使用HTML、CSS和JavaScript。
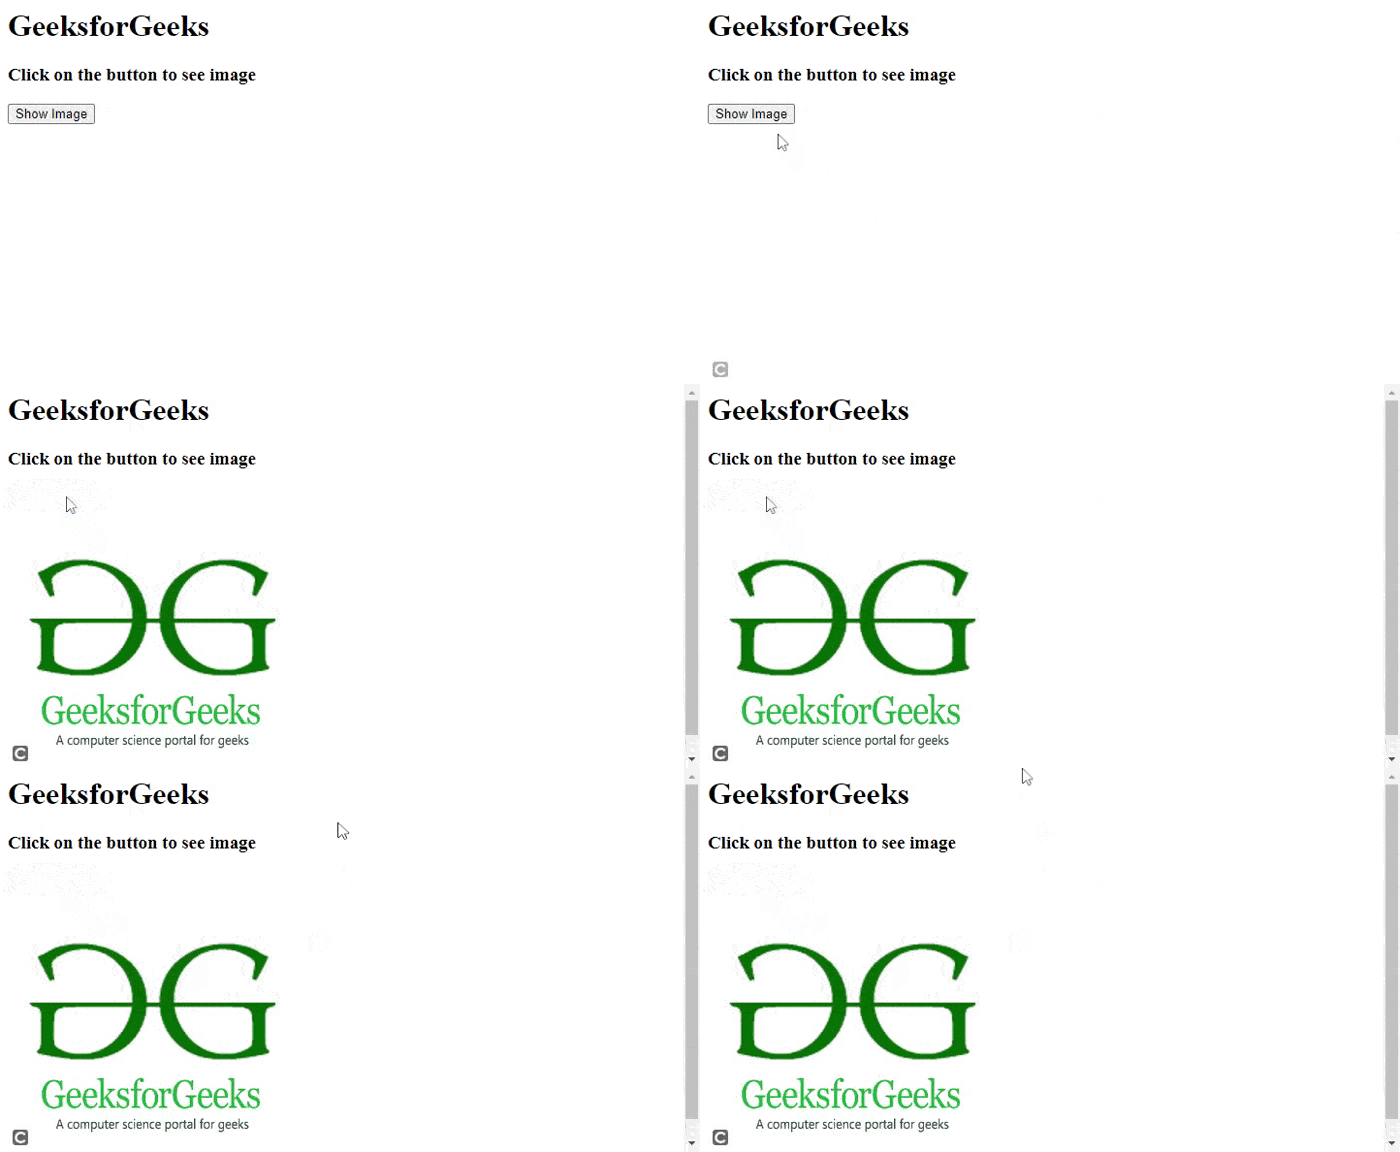
使用JavaScript更改 <img>属性的display属性:在这种方法中,我们将使用style属性在<img>标签内设置display属性。我们必须为图像设置”display: none”。然后,当用户点击按钮时,我们将调用一个JavaScript函数来访问图像,将其display属性更改为block。
步骤:
- 在HTML代码中创建
<img>元素。 - 为
<img>元素添加样式,并将display属性设置为none。 - 创建一个JavaScript函数show(),可以访问图像并将display属性更改为block。
- 在HTML代码中添加一个按钮,当用户点击时调用show()函数。
示例: 在这个示例中,我们将使用JavaScript来更改<img>属性的display属性。
HTML
<!DOCTYPE html>
<html>
<head>
    <style>
        /* Set display to none for image*/
        #image {
            display: none;
        }
    </style>
</head>
<body>
    <div>
        <h1>GeeksforGeeks</h1>
        <h3>Click on the button to see image</h3>
        <!-- Add id to image -->
        <img id="image"
             src=
"https://media.geeksforgeeks.org/wp-content/uploads/20210915115837/gfg3.png"
             alt="GFG image" />
    </div>
    <button type="button" onclick="show()" id="btnID">
        Show Image
    </button>

    <script>
        function show() {
            /* Access image by id and change
            the display property to block*/
            document.getElementById('image')
                .style.display = "block";
            document.getElementById('btnID')
                .style.display = "none";
        }
    </script>
</body>
</html>
输出:

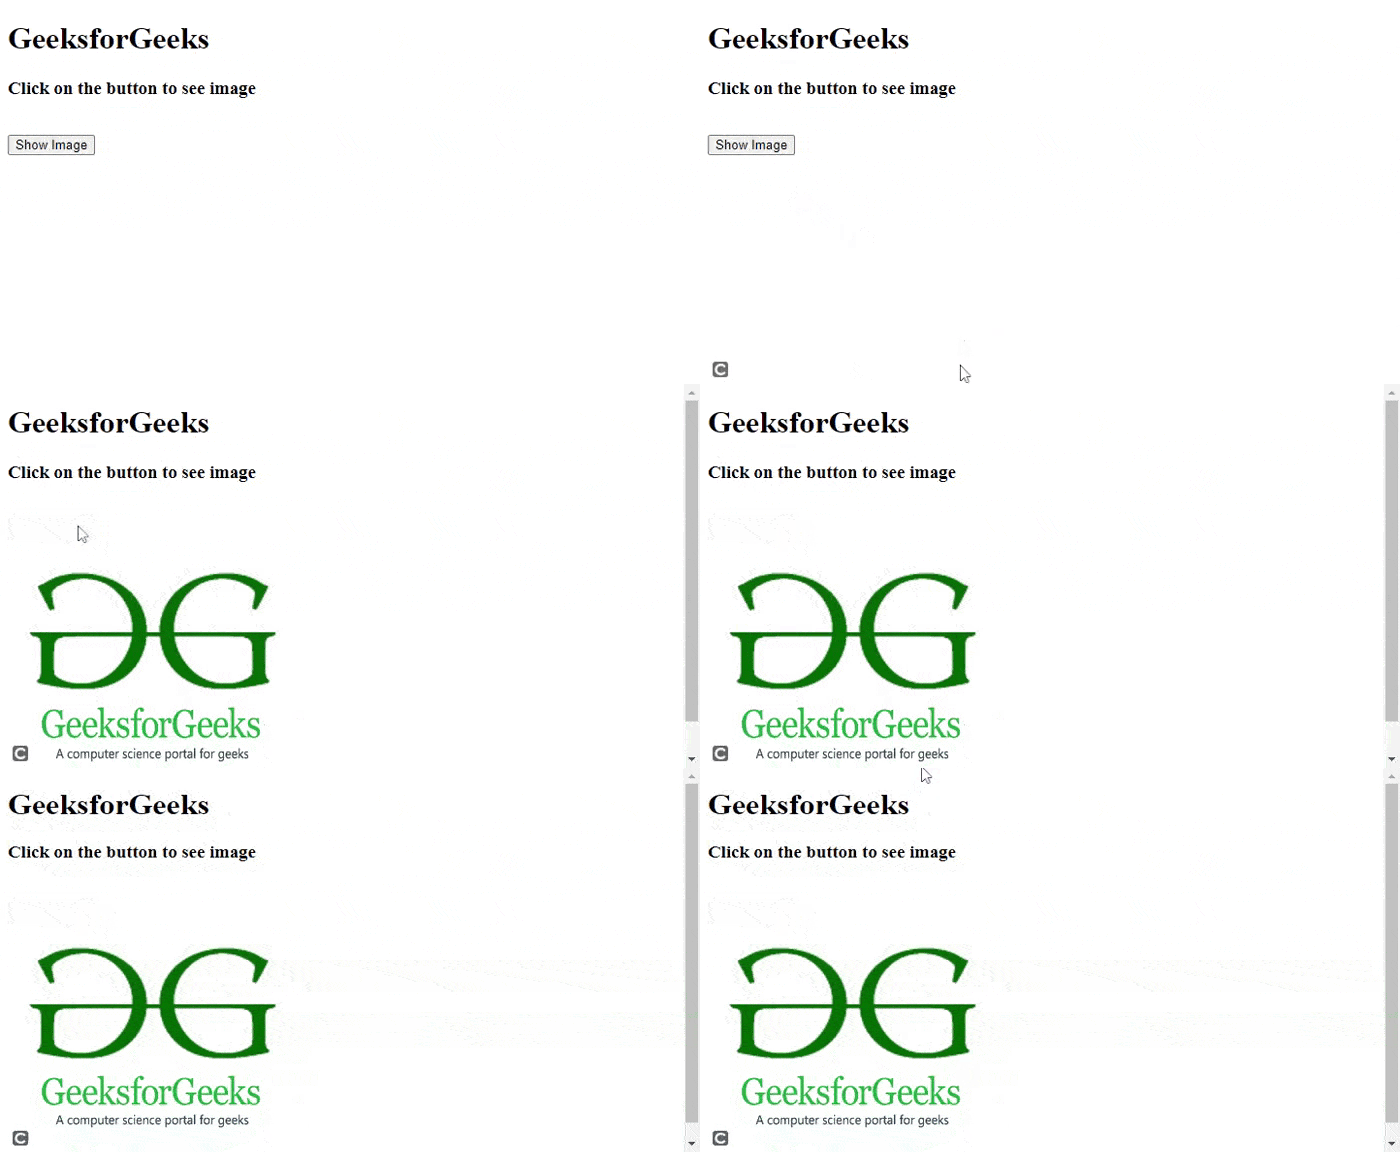
使用 <img> 标签的空 src 属性: 显然,如果 src 值为空,用户将无法在网页上看到图像。我们将使用JavaScript函数为用户点击按钮设置 src 属性的值。然而,某些浏览器(如Chrome)在使用此方法时不会删除损坏的图像图标。
步骤:
- 创建带有空 src 属性的
<img>元素。 - 在JavaScript中创建一个名为“show()”的函数,该函数可以获取图像并将图像源链接添加到 src 属性中。
- 添加一个调用“show()”函数的HTML按钮,当用户点击按钮时。
示例: 在此示例中,我们将使用空 src 属性的 <img> 标签。
HTML
<!DOCTYPE html>
<html>
<body>
    <div>
        <h1>GeeksforGeeks</h1>
        <h3>Click on the button to see image</h3>
        <!-- img element without src attribute -->
        <img id="image" src="" />
    </div>
    <button type="button" onclick="show()" id="btnID">
        Show Image
    </button>
    <script>
        function show() {
            /* Get image and change value
            of src attribute */
            let image = document.getElementById("image");
            image.src =
"https://media.geeksforgeeks.org/wp-content/uploads/20210915115837/gfg3.png"
            document.getElementById("btnID")
                .style.display = "none";
        }
    </script>
</body>
</html>
输出:

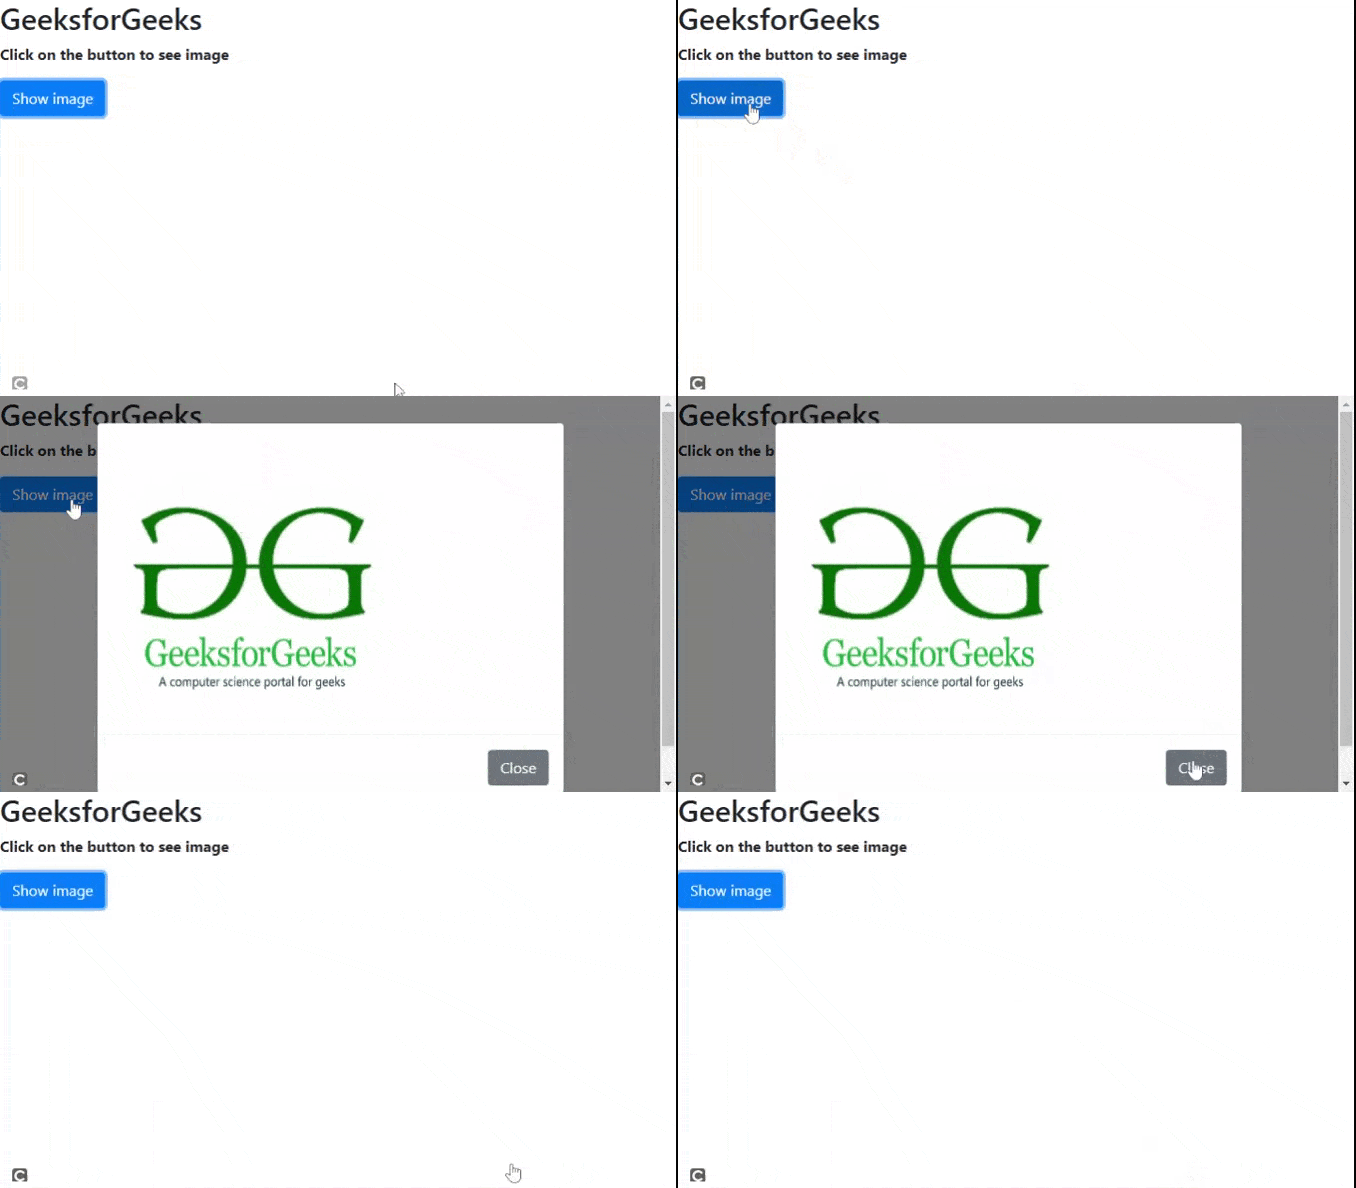
使用Bootstrap模态框: 在点击按钮时,我们将使用Bootstrap模态框来显示图片。我们需要将Bootstrap CDN与HTML代码集成才能使用它。我们可以在以下示例代码中将Bootstrap CDN添加到我们的HTML文件中。
步骤:
- 将Bootstrap CDN添加到HTML文件中。
- 创建一个Bootstrap模态框,并将图片添加到模态框的正文中。
- 创建一个HTML按钮来触发模态框。
示例: 在这个示例中,我们将看到如何使用Bootstrap模态框。
HTML
<!DOCTYPE html>
<html>
<head>
    <link rel="stylesheet"
          href=
"https://maxcdn.bootstrapcdn.com/bootstrap/4.0.0/css/bootstrap.min.css"
          integrity=
"sha384-Gn5384xqQ1aoWXA+058RXPxPg6fy4IWvTNh0E263XmFcJlSAwiGgFAW/dAiS6JXm"
          crossorigin="anonymous">
</head>
<body>
    <h2>GeeksforGeeks</h2>
    <p><b>Click on the button to see image</b></p>
    <!-- Button to launch a modal -->
    <button type="button"
            class="btn btn-primary"
            data-toggle="modal"
            data-target="#exampleModal">
        Show image
    </button>
    <!-- Modal -->
    <div class="modal fade"
         id="exampleModal"
         tabindex="-1"
         role="dialog"
         aria-labelledby="exampleModalLabel"
         aria-hidden="true">
        <div class="modal-dialog" role="document">
            <div class="modal-content">

                <!-- Add image inside the body of modal -->
                <div class="modal-body">
                    <img id="image"
                         src=
"https://media.geeksforgeeks.org/wp-content/uploads/20210915115837/gfg3.png"
                         alt="Click on button" />
                </div>

                <div class="modal-footer">
                    <button type="button"
                            class="btn btn-secondary"
                            data-dismiss="modal">
                        Close
                    </button>
                </div>
            </div>
        </div>
    </div>
    <!-- Adding scripts to use bootstrap -->
    <script src="https://code.jquery.com/jquery-3.2.1.slim.min.js"
            integrity=
"sha384-KJ3o2DKtIkvYIK3UENzmM7KCkRr/rE9/Qpg6aAZGJwFDMVNA/GpGFF93hXpG5KkN"
            crossorigin="anonymous">
     </script>
    <script src=
"https://cdnjs.cloudflare.com/ajax/libs/popper.js/1.12.9/umd/popper.min.js"
            integrity=
"sha384-ApNbgh9B+Y1QKtv3Rn7W3mgPxhU9K/ScQsAP7hUibX39j7fakFPskvXusvfa0b4Q"
            crossorigin="anonymous">
     </script>
    <script src=
"https://maxcdn.bootstrapcdn.com/bootstrap/4.0.0/js/bootstrap.min.js"
            integrity=
"sha384-JZR6Spejh4U02d8jOt6vLEHfe/JQGiRRSQQxSfFWpi1MquVdAyjUar5+76PVCmYl"
            crossorigin="anonymous">
     </script>
</body>

</html>
输出:

 极客教程
极客教程