CSS重复渐变2个图片
在网页设计中,使用渐变效果可以为页面增添一些视觉上的吸引力。在本文中,我们将介绍如何使用CSS来创建重复渐变效果,并结合两个不同的图片进行渐变展示。
线性渐变
首先,我们来看一下如何使用CSS创建线性渐变效果。线性渐变是指颜色逐渐从一个方向过渡到另一个方向的效果。我们可以通过linear-gradient()函数来实现线性渐变。
示例1:创建水平线性渐变
<!DOCTYPE html>
<html lang="en">
<head>
<meta charset="UTF-8">
<meta name="viewport" content="width=device-width, initial-scale=1.0">
<title>Horizontal Linear Gradient</title>
<style>
    body {
        background: linear-gradient(to right, #ffcccc, #cc99ff);
        height: 100vh;
        margin: 0;
        display: flex;
        justify-content: center;
        align-items: center;
    }
</style>
</head>
<body>
    <h1>Horizontal Linear Gradient</h1>
</body>
</html>
Output:
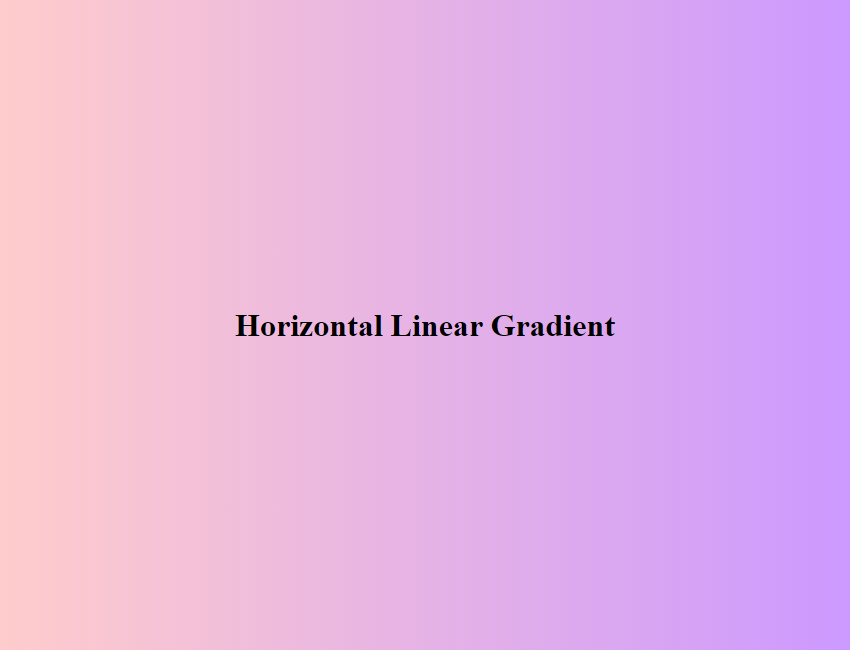
在这个示例中,我们创建了一个水平线性渐变的背景,颜色从#ffcccc过渡到#cc99ff。页面的背景色会呈现水平渐变效果。
示例2:创建垂直线性渐变
<!DOCTYPE html>
<html lang="en">
<head>
<meta charset="UTF-8">
<meta name="viewport" content="width=device-width, initial-scale=1.0">
<title>Vertical Linear Gradient</title>
<style>
    body {
        background: linear-gradient(to bottom, #99ccff, #ffcc99);
        height: 100vh;
        margin: 0;
        display: flex;
        justify-content: center;
        align-items: center;
    }
</style>
</head>
<body>
    <h1>Vertical Linear Gradient</h1>
</body>
</html>
Output:
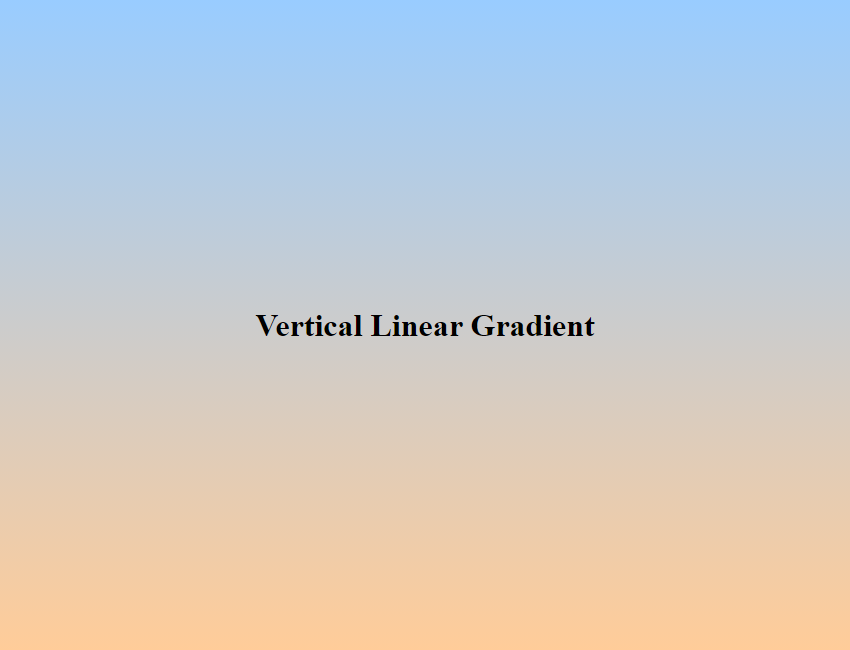
这个示例创建了一个垂直线性渐变的背景,颜色从#99ccff过渡到#ffcc99。页面的背景色会呈现垂直渐变效果。
重复渐变
接下来,我们将介绍如何使用CSS中的repeating-linear-gradient()函数来创建重复渐变效果。这个函数可以让我们在背景中重复显示线性渐变。
示例3:创建重复水平线性渐变
<!DOCTYPE html>
<html lang="en">
<head>
<meta charset="UTF-8">
<meta name="viewport" content="width=device-width, initial-scale=1.0">
<title>Repeating Horizontal Linear Gradient</title>
<style>
    body {
        background: repeating-linear-gradient(to right, #ffcccc, #cc99ff 100px);
        height: 100vh;
        margin: 0;
        display: flex;
        justify-content: center;
        align-items: center;
    }
</style>
</head>
<body>
    <h1>Repeating Horizontal Linear Gradient</h1>
</body>
</html>
Output:
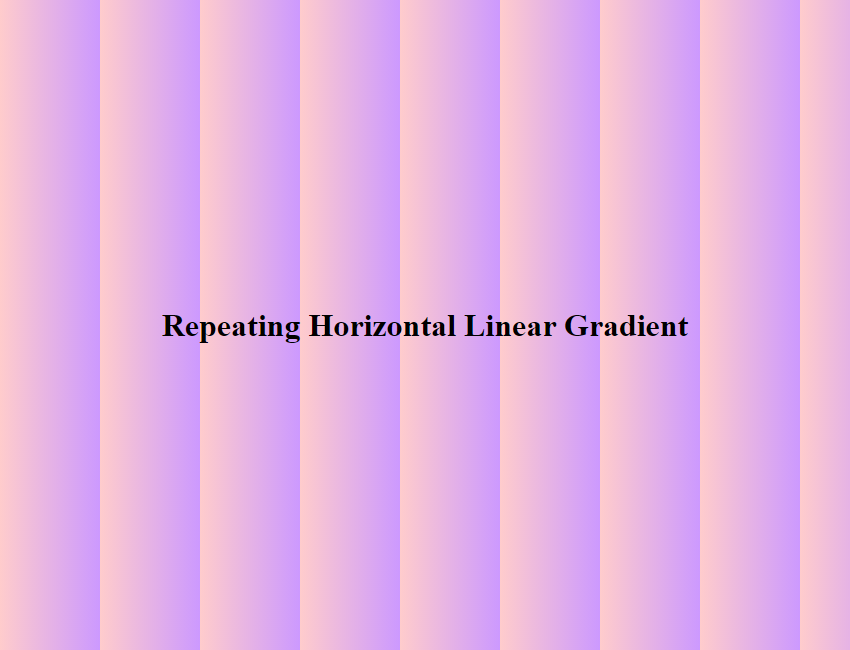
在这个示例中,我们创建了一个重复水平线性渐变的背景,颜色从#ffcccc过渡到#cc99ff,并且每隔100px重复一次。页面的背景色会呈现重复水平渐变效果。
示例4:创建重复垂直线性渐变
<!DOCTYPE html>
<html lang="en">
<head>
<meta charset="UTF-8">
<meta name="viewport" content="width=device-width, initial-scale=1.0">
<title>Repeating Vertical Linear Gradient</title>
<style>
    body {
        background: repeating-linear-gradient(to bottom, #99ccff, #ffcc99 50px);
        height: 100vh;
        margin: 0;
        display: flex;
        justify-content: center;
        align-items: center;
    }
</style>
</head>
<body>
    <h1>Repeating Vertical Linear Gradient</h1>
</body>
</html>
Output:
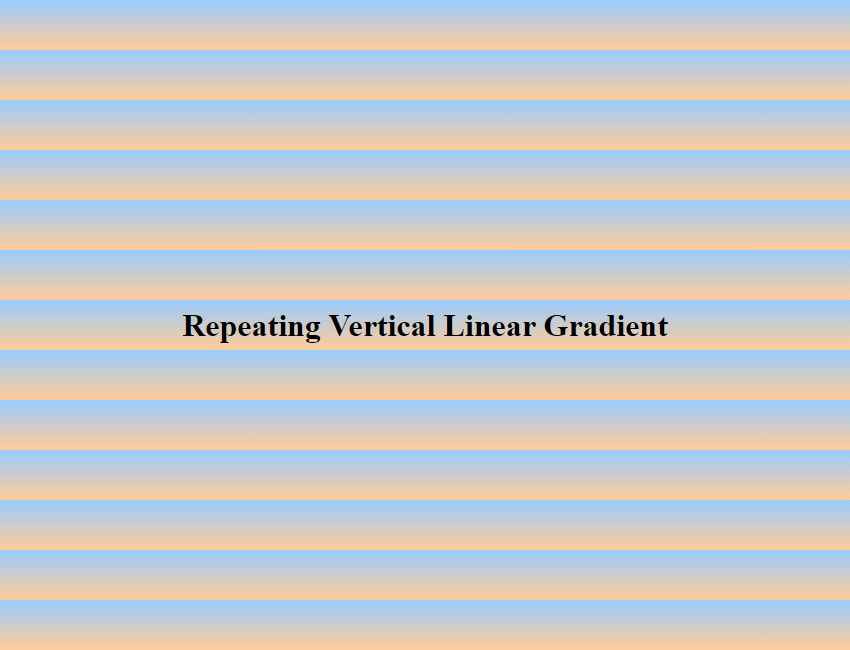
这个示例创建了一个重复垂直线性渐变的背景,颜色从#99ccff过渡到#ffcc99,并且每隔50px重复一次。页面的背景色会呈现重复垂直渐变效果。
结合图片
现在,我们将结合两个不同的图片与重复渐变效果,为页面增添更多的视觉效果。
示例5:结合图片和水平线性渐变
<!DOCTYPE html>
<html lang="en">
<head>
<meta charset="UTF-8">
<meta name="viewport" content="width=device-width, initial-scale=1.0">
<title>Combine Image with Horizontal Linear Gradient</title>
<style>
    body {
        background: url('https://static.deepinout.com/gk-static/logo.png'), linear-gradient(to right, #ffcccc, #cc99ff);
        background-size: cover;
        height: 100vh;
        margin: 0;
        display: flex;
        justify-content: center;
        align-items: center;
    }
</style>
</head>
<body>
    <h1>Combine Image with Horizontal Linear Gradient</h1>
</body>
</html>
Output:
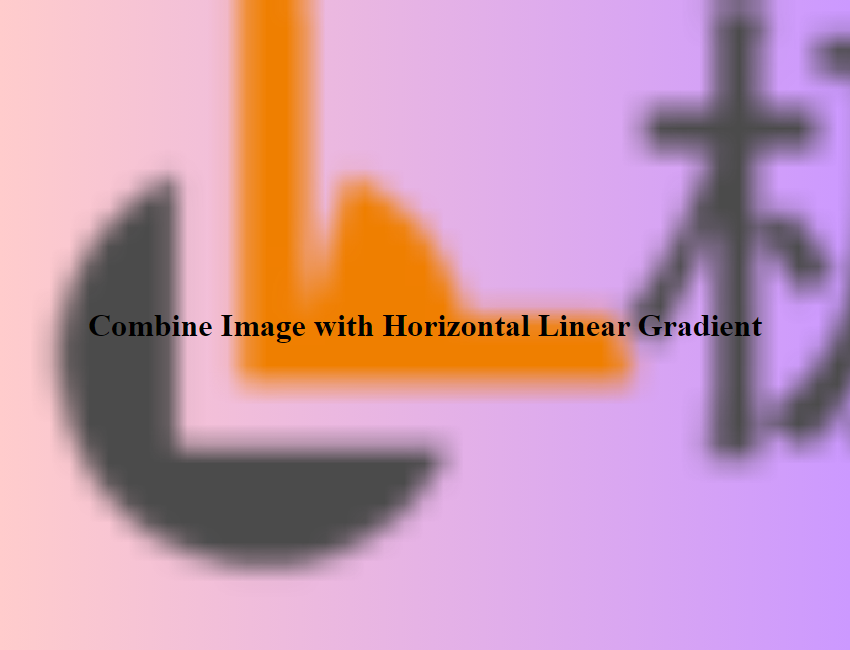
在这个示例中,我们将一张名为image1.jpg的图片与水平线性渐变效果结合在一起,背景图片会覆盖整个页面,并且呈现水平渐变效果。
示例6:结合图片和重复垂直线性渐变
<!DOCTYPE html>
<html lang="en">
<head>
<meta charset="UTF-8">
<meta name="viewport" content="width=device-width, initial-scale=1.0">
<title>Combine Image with Repeating Vertical Linear Gradient</title>
<style>
    body {
        background: url('https://static.deepinout.com/gk-static/logo.png'), repeating-linear-gradient(to bottom, #99ccff, #ffcc99 50px);
        background-size: cover;
        height: 100vh;
        margin: 0;
        display: flex;
        justify-content: center;
        align-items: center;
    }
</style>
</head>
<body>
    <h1>Combine Image with Repeating Vertical Linear Gradient</h1>
</body>
</html>
Output:
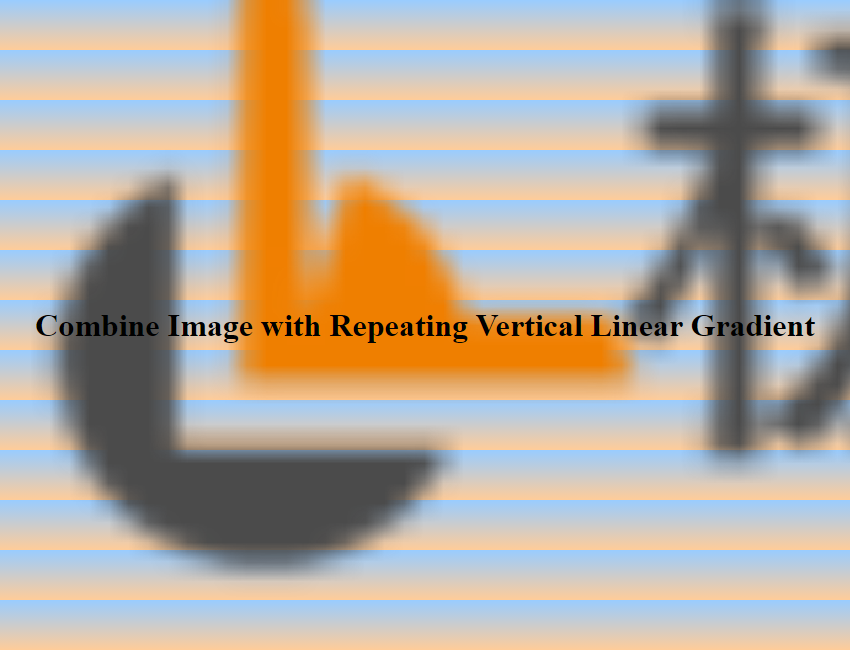
这个示例将一张名为image2.jpg的图片与重复垂直线性渐变效果结合在一起,背景图片会覆盖整个页面,并且呈现重复垂直渐变效果。
通过以上示例,我们学习了如何使用CSS创建重复渐变效果,并结合不同的图片展示在页面背景中,为网页设计增添更多的视觉吸引力。
 极客教程
极客教程