CSS固定顶部
在网页设计中,固定顶部是一种常见的布局方式,可以让页面顶部的导航栏或标题栏始终保持在屏幕的顶部位置,不随页面滚动而移动。这种布局方式可以提升用户体验,让用户更方便地访问网站的各个功能和页面。在本文中,我们将介绍如何使用CSS来实现固定顶部效果,并提供一些示例代码供参考。
1. 使用position: fixed
在CSS中,可以使用position: fixed属性来实现固定顶部效果。这样设置的元素会相对于浏览器窗口固定位置,不随页面滚动而移动。下面是一个简单的示例代码:
<!DOCTYPE html>
<html lang="en">
<head>
<meta charset="UTF-8">
<meta name="viewport" content="width=device-width, initial-scale=1.0">
<title>Fixed Top</title>
<style>
  .topnav {
    position: fixed;
    top: 0;
    width: 100%;
    background-color: #333;
    color: #fff;
    padding: 10px 0;
    text-align: center;
  }
</style>
</head>
<body>
<div class="topnav">Welcome to geek-docs.com</div>
<div style="height: 1000px;">Scroll down to see the effect</div>
</body>
</html>
Output:

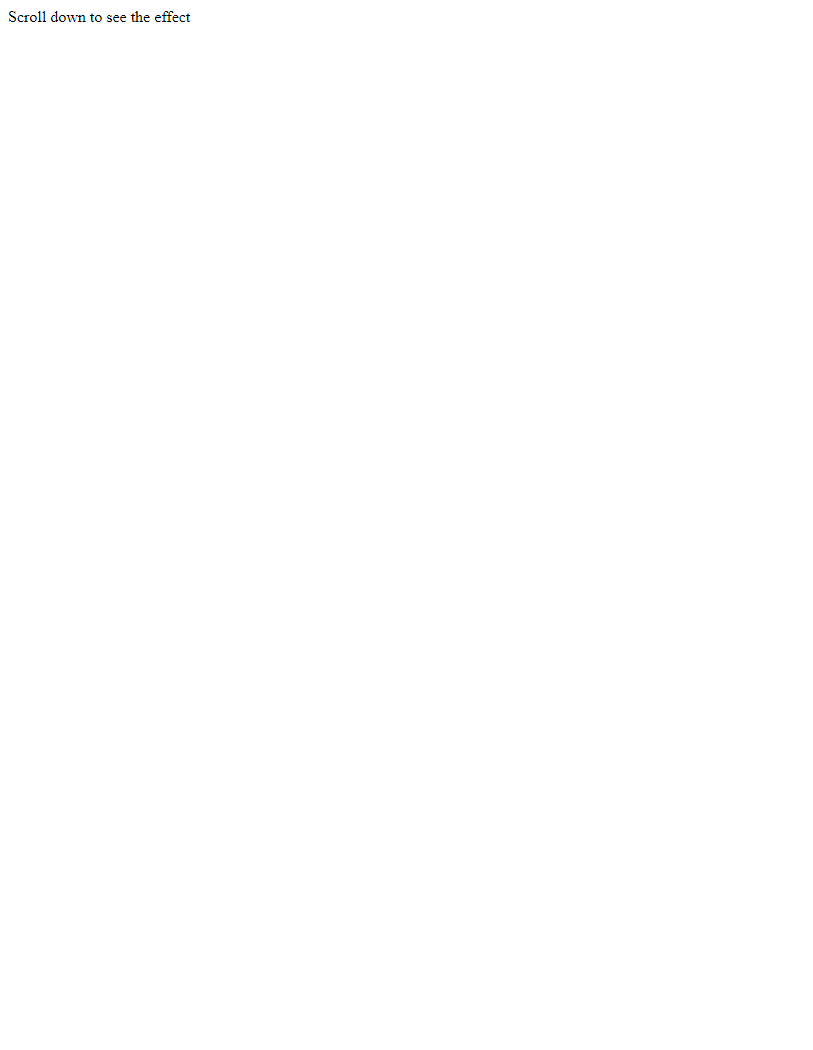
在上面的示例中,我们创建了一个固定在页面顶部的导航栏.topnav,并设置了背景颜色、文字颜色、内边距等样式。当页面滚动时,导航栏会始终保持在屏幕的顶部位置。
2. 添加z-index属性
在某些情况下,固定在顶部的元素可能会被页面中的其他元素遮挡,这时可以使用z-index属性来控制元素的层叠顺序。下面是一个示例代码:
<!DOCTYPE html>
<html lang="en">
<head>
<meta charset="UTF-8">
<meta name="viewport" content="width=device-width, initial-scale=1.0">
<title>Fixed Top with z-index</title>
<style>
  .topnav {
    position: fixed;
    top: 0;
    width: 100%;
    background-color: #333;
    color: #fff;
    padding: 10px 0;
    text-align: center;
    z-index: 1000;
  }
  .content {
    margin-top: 50px;
  }
</style>
</head>
<body>
<div class="topnav">Welcome to geek-docs.com</div>
<div class="content">
  <p>Lorem ipsum dolor sit amet, consectetur adipiscing elit. Sed ac justo nec libero ultricies ultricies. Nullam nec justo nec libero ultricies ultricies.</p>
</div>
</body>
</html>
Output:

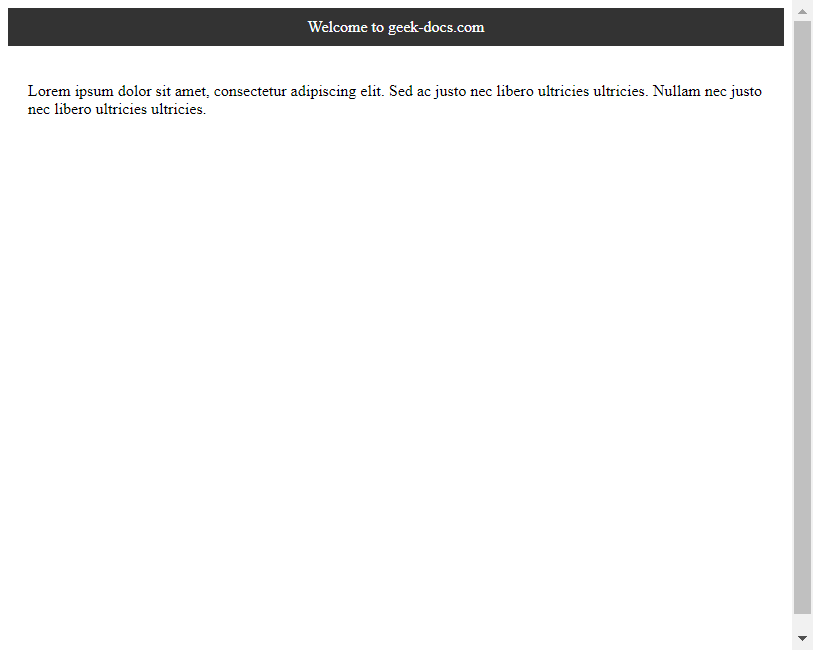
在上面的示例中,我们给固定在顶部的导航栏.topnav设置了z-index: 1000,使其在层叠顺序上位于其他元素之上。这样可以确保导航栏不会被其他元素遮挡。
3. 使用JavaScript动态添加固定效果
有时候,页面的顶部元素并不是一开始就固定的,而是在页面滚动到一定位置后才固定在顶部。这时可以使用JavaScript来实现动态添加固定效果。下面是一个示例代码:
<!DOCTYPE html>
<html lang="en">
<head>
<meta charset="UTF-8">
<meta name="viewport" content="width=device-width, initial-scale=1.0">
<title>Fixed Top with JavaScript</title>
<style>
  .topnav {
    width: 100%;
    background-color: #333;
    color: #fff;
    padding: 10px 0;
    text-align: center;
  }
  .fixed {
    position: fixed;
    top: 0;
  }
</style>
<script>
  window.onscroll = function() {
    var topnav = document.querySelector('.topnav');
    if (window.pageYOffset > 50) {
      topnav.classList.add('fixed');
    } else {
      topnav.classList.remove('fixed');
    }
  };
</script>
</head>
<body>
<div class="topnav">Welcome to geek-docs.com</div>
<div style="height: 1000px;">Scroll down to see the effect</div>
</body>
</html>
Output:

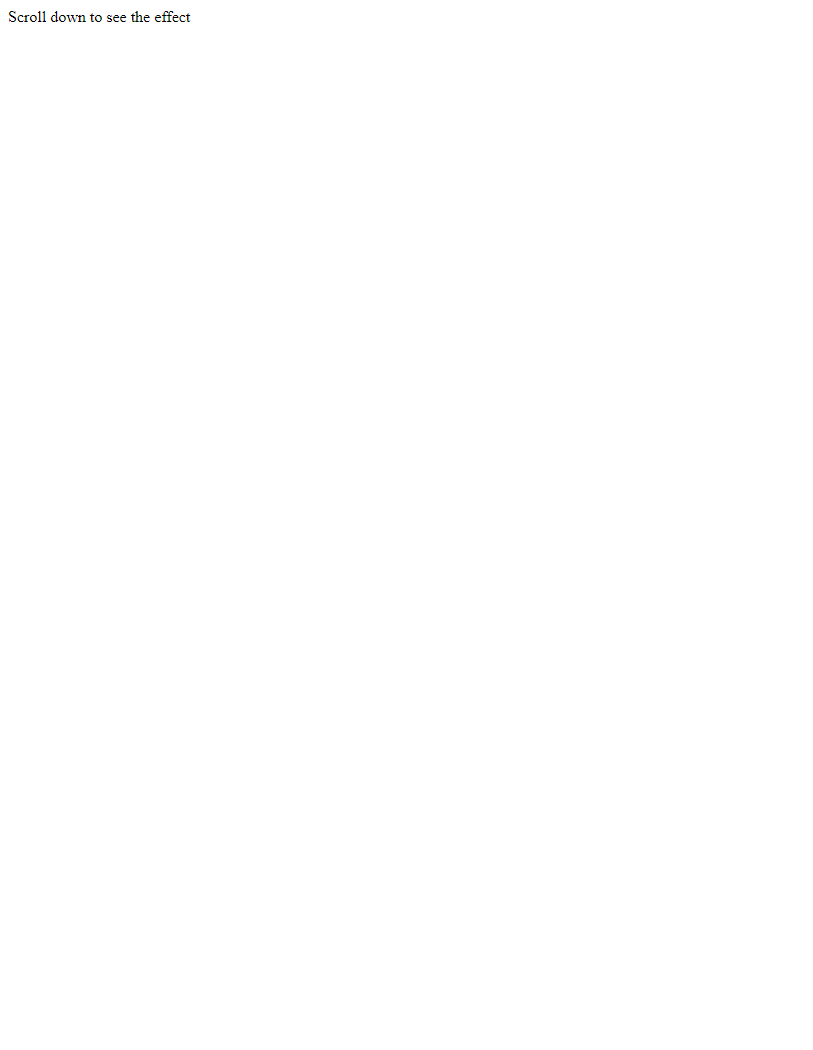
在上面的示例中,我们使用JavaScript监听window.onscroll事件,当页面滚动超过50px时,给导航栏.topnav添加fixed类,使其固定在顶部位置。
4. 使用CSS Sticky属性
除了position: fixed外,CSS还提供了position: sticky属性来实现元素在滚动时固定在某个位置。position: sticky会在元素到达指定位置时固定在容器内,直到容器滚动到底部。下面是一个示例代码:
<!DOCTYPE html>
<html lang="en">
<head>
<meta charset="UTF-8">
<meta name="viewport" content="width=device-width, initial-scale=1.0">
<title>Sticky Top</title>
<style>
  .topnav {
    position: sticky;
    top: 0;
    width: 100%;
    background-color: #333;
    color: #fff;
    padding: 10px 0;
    text-align: center;
  }
</style>
</head>
<body>
<div class="topnav">Welcome to geek-docs.com</div>
<div style="height: 1000px;">Scroll down to see the effect</div>
</body>
</html>
Output:

在上面的示例中,我们给导航栏.topnav设置了position: sticky,使其在滚动时固定在容器内的顶部位置。这样可以在一定程度上模拟position: fixed的效果。
5. 使用CSS Flexbox布局
在实现固定顶部效果时,可以结合CSS Flexbox布局来实现更灵活的布局方式。Flexbox布局可以让元素在容器内自由伸缩,适应不同屏幕尺寸和布局需求。下面是一个示例代码:
<!DOCTYPE html>
<html lang="en">
<head>
<meta charset="UTF-8">
<meta name="viewport" content="width=device-width, initial-scale=1.0">
<title>Fixed Top with Flexbox</title>
<style>
  .container {
    display: flex;
    flex-direction: column;
    height: 100vh;
  }
  .topnav {
    background-color: #333;
    color: #fff;
    padding: 10px 0;
    text-align: center;
  }
  .content {
    flex: 1;
    overflow: auto;
    padding: 20px;
  }
</style>
</head>
<body>
<div class="container">
  <div class="topnav">Welcome to geek-docs.com</div>
  <div class="content">
    <p>Lorem ipsum dolor sit amet, consectetur adipiscing elit. Sed ac justo nec libero ultricies ultricies. Nullam nec justo nec libero ultricies ultricies.</p>
  </div>
</div>
</body>
</html>
Output:

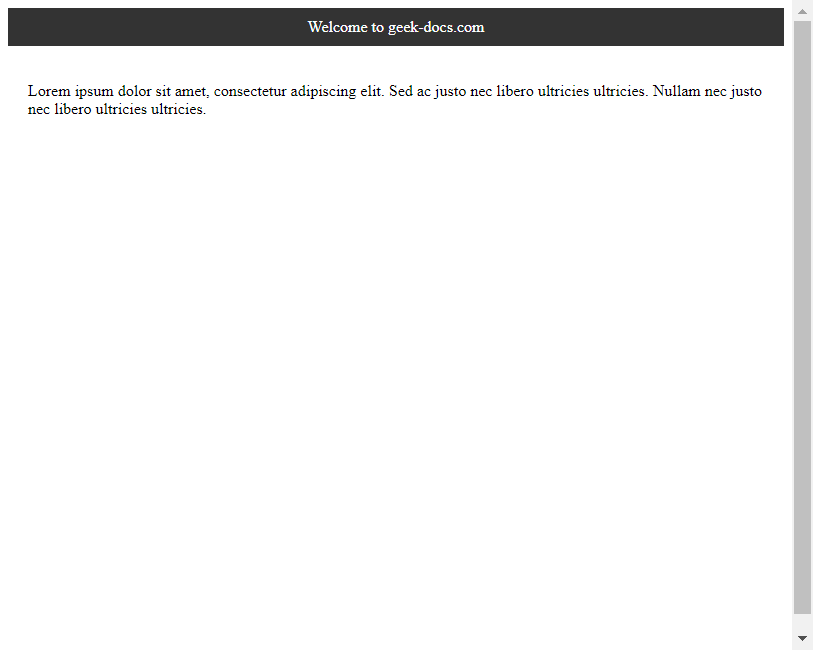
在上面的示例中,我们使用Flexbox布局将页面分为两部分:顶部导航栏.topnav和内容区域.content。顶部导航栏固定在顶部,内容区域自适应剩余空间,并可以滚动显示内容。
6. 使用CSS Grid布局
除了Flexbox布局,CSS Grid布局也是一种强大的布局方式,可以实现复杂的网格布局。在固定顶部效果中,可以使用CSS Grid布局来实现更灵活的布局方式。下面是一个示例代码:
<!DOCTYPE html>
<html lang="en">
<head>
<meta charset="UTF-8">
<meta name="viewport" content="width=device-width, initial-scale=1.0">
<title>Fixed Top with Grid</title>
<style>
  .container {
    display: grid;
    grid-template-rows: auto 1fr;
    height: 100vh;
  }
  .topnav {
    background-color: #333;
    color: #fff;
    padding: 10px 0;
    text-align: center;
  }
  .content {
    overflow: auto;
    padding: 20px;
  }
</style>
</head>
<body>
<div class="container">
  <div class="topnav">Welcome to geek-docs.com</div>
  <div class="content">
    <p>Lorem ipsum dolor sit amet, consectetur adipiscing elit. Sed ac justo nec libero ultricies ultricies. Nullam nec justo nec libero ultricies ultricies.</p>
  </div>
</div>
</body>
</html>
Output:

在上面的示例中,我们使用CSS Grid布局将页面分为两行:顶部导航栏.topnav和内容区域.content。顶部导航栏固定在顶部,内容区域自适应剩余空间,并可以滚动显示内容。
7. 使用CSS Transition效果
在固定顶部效果中,可以添加CSS Transition效果来实现平滑的过渡效果。下面是一个示例代码:
<!DOCTYPE html>
<html lang="en">
<head>
<meta charset="UTF-8">
<meta name="viewport" content="width=device-width, initial-scale=1.0">
<title>Fixed Top with Transition</title>
<style>
  .topnav {
    position: fixed;
    top: -50px;
    width: 100%;
    background-color: #333;
    color: #fff;
    padding: 10px 0;
    text-align: center;
    transition: top 0.3s;
  }
  .topnav.show {
    top: 0;
  }
</style>
<script>
  window.onscroll = function() {
    var topnav = document.querySelector('.topnav');
    if (window.pageYOffset > 50) {
      topnav.classList.add('show');
    } else {
      topnav.classList.remove('show');
    }
  };
</script>
</head>
<body>
<div class="topnav">Welcome to geek-docs.com</div>
<div style="height: 1000px;">Scroll down to see the effect</div>
</body>
</html>
Output:

在上面的示例中,我们给导航栏.topnav添加了transition: top 0.3s属性,使其在固定和取消固定时有一个平滑的过渡效果。
8. 使用CSS动画效果
除了Transition效果,还可以使用CSS动画效果来实现更炫酷的固定顶部效果。下面是一个示例代码:
<!DOCTYPE html>
<html lang="en">
<head>
<meta charset="UTF-8">
<meta name="viewport" content="width=device-width, initial-scale=1.0">
<title>Fixed Top with Animation</title>
<style>
  @keyframes slideDown {
    from {
      top: -50px;
    }
    to {
      top: 0;
    }
  }
  .topnav {
    position: fixed;
    top: -50px;
    width: 100%;
    background-color: #333;
    color: #fff;
    padding: 10px 0;
    text-align: center;
    animation: slideDown 0.3s forwards;
  }
</style>
</head>
<body>
<div class="topnav">Welcome to geek-docs.com</div>
<div style="height: 1000px;">Scroll down to see the effect</div>
</body>
</html>
Output:

在上面的示例中,我们使用CSS动画@keyframes slideDown来定义导航栏从顶部滑动到固定位置的动画效果。
9. 响应式设计
在实现固定顶部效果时,需要考虑不同屏幕尺寸下的布局适配。可以使用媒体查询和Flexbox布局来实现响应式设计。下面是一个示例代码:
<!DOCTYPE html>
<html lang="en">
<head>
<meta charset="UTF-8">
<meta name="viewport" content="width=device-width, initial-scale=1.0">
<title>Fixed Top with Responsive Design</title>
<style>
  .topnav {
    background-color: #333;
    color: #fff;
    padding: 10px 0;
    text-align: center;
  }
  @media screen and (min-width: 768px) {
    .topnav {
      position: fixed;
      top: 0;
      width: 100%;
    }
  }
</style>
</head>
<body>
<div class="topnav">Welcome to geek-docs.com</div>
<div style="height: 1000px;">Scroll down to see the effect</div>
</body>
</html>
Output:

在上面的示例中,我们使用媒体查询@media screen and (min-width: 768px)来在屏幕宽度大于768px时固定导航栏,以适应不同屏幕尺寸下的布局需求。
10. 使用JavaScript库实现固定效果
除了原生CSS和JavaScript,还可以使用一些JavaScript库来实现固定顶部效果,如jQuery、Bootstrap等。下面是一个使用jQuery实现固定顶部效果的示例代码:
<!DOCTYPE html>
<html lang="en">
<head>
<meta charset="UTF-8">
<meta name="viewport" content="width=device-width, initial-scale=1.0">
<title>Fixed Top with jQuery</title>
<style>
  .topnav {
    background-color: #333;
    color: #fff;
    padding: 10px 0;
    text-align: center;
  }
</style>
<script src="https://code.jquery.com/jquery-3.6.0.min.js"></script>
<script>
  (document).ready(function() {(window).scroll(function() {
      if ((this).scrollTop()>50) {('.topnav').addClass('fixed');
      } else {
        $('.topnav').removeClass('fixed');
      }
    });
  });
</script>
</head>
<body>
<div class="topnav">Welcome to geek-docs.com</div>
<div style="height: 1000px;">Scroll down to see the effect</div>
</body>
</html>
Output:

在上面的示例中,我们使用jQuery库来监听滚动事件,并根据滚动距离给导航栏.topnav添加或移除fixed类,实现固定顶部效果。
通过以上示例代码,我们详细介绍了如何使用CSS和JavaScript来实现固定顶部效果,并提供了多种实现方式,包括Flexbox布局、CSS Grid布局、CSS Transition效果、CSS动画效果、响应式设计和使用JavaScript库实现固定效果。这些方法可以根据具体需求和项目要求选择合适的方式来实现固定顶部效果,使页面更加吸引人和用户友好。
 极客教程
极客教程