React Suite DatePicker 使用原生选择器
在本文章中,我们将学习使用 React Suite DatePicker 原生选择器。DatePicker组件用于从选择器中选择时间或日期。当我们仅需要满足简单日期选择功能时,我们使用原生选择器。
语法:
<Input type="date ||
    datetime-local ||
    week || time"
/>
创建React应用程序和安装模块:
步骤1: 使用给定的命令创建一个React应用程序:
npm create-react-app projectname
步骤2: 创建完项目后,使用给定的命令将其切换到该项目中:
cd projectname
步骤3 :现在使用给定的命令安装rsuite node包:
npm install rsuite
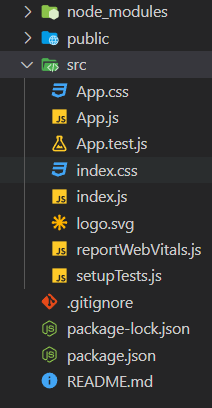
项目结构: 现在你的项目结构应该如下所示:

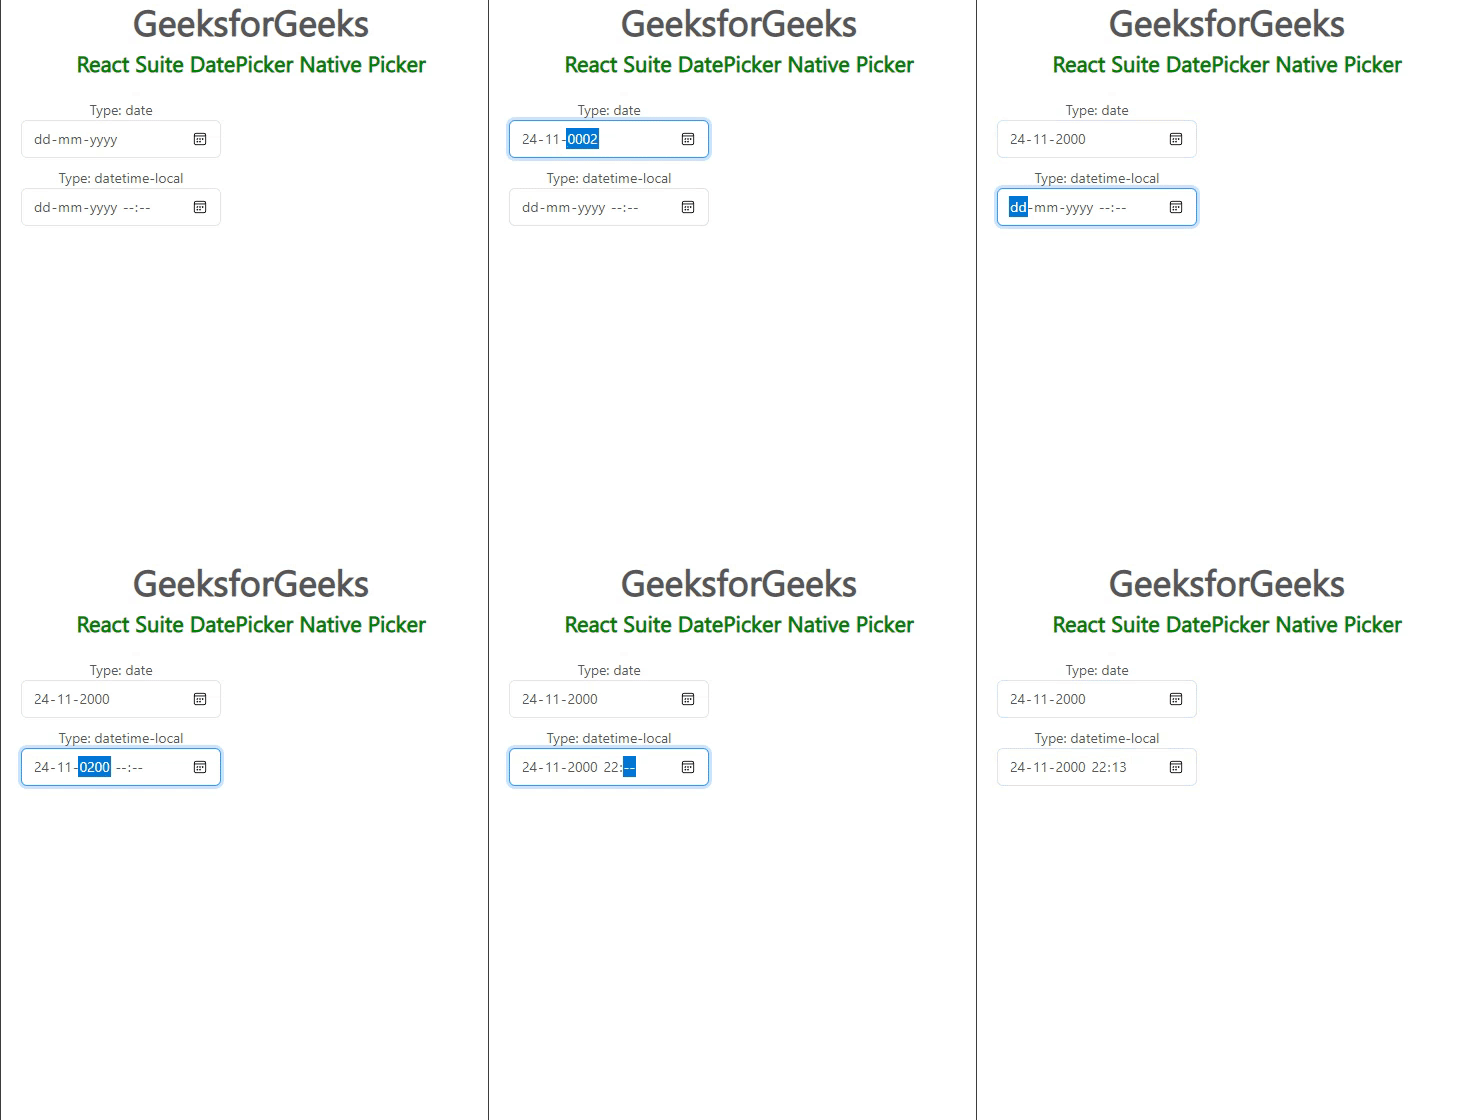
示例1: 下面的示例演示了React Suite Native Pickers组件中DatePicker的日期和时间选择。
import { Input } from "rsuite";
import "rsuite/dist/rsuite.min.css";

function App() {
    return (
        <div>
            <div
                style={{
                    textAlign: "center",
                }}
            >
                <h2>GeeksforGeeks</h2>
                <h4
                    style={{
                        color: "green",
                    }}
                >
                    React Suite DatePicker Native Picker
                </h4>
            </div>
            <div
                style={{
                    padding: 20,
                    textAlign: "center",
                }}
            >
                <div
                    style={{
                        width: 200,
                    }}
                >
                    <p>Type: date</p>
                    <Input type="date" />
                    <p
                        style={{
                            marginTop: 10,
                        }}
                    >
                        Type: datetime-local
                    </p>

                    <Input type="datetime-local" />
                </div>
            </div>
        </div>
    );
}

export default App;
输出:

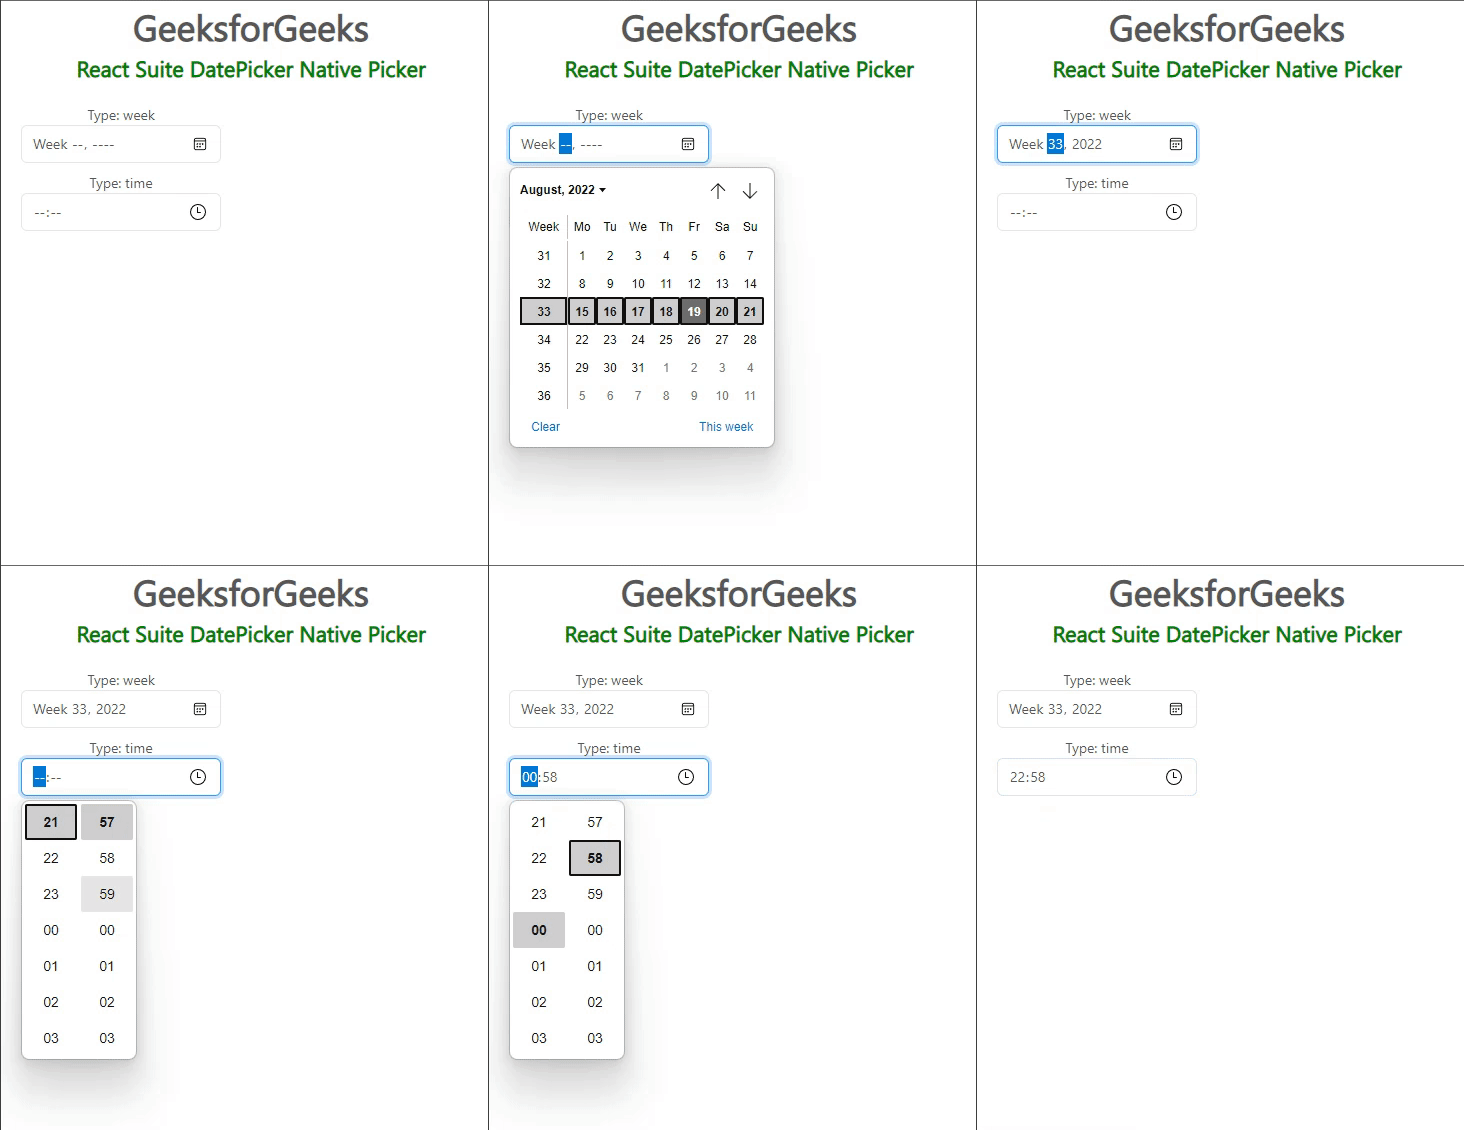
示例2: 下面的示例演示了React Suite Native Picker组件在日期选择器中展示的 星期 和 时间 。
import { Input } from "rsuite";
import "rsuite/dist/rsuite.min.css";

function App() {
    return (
        <div>
            <div
                style={{
                    textAlign: "center",
                }}
            >
                <h2>GeeksforGeeks</h2>
                <h4
                    style={{
                        color: "green",
                    }}
                >
                    React Suite DatePicker Native Picker
                </h4>
            </div>
            <div
                style={{
                    padding: 20,
                    textAlign: "center",
                }}
            >
                <div
                    style={{
                        width: 200,
                    }}
                >
                    <p>Type: date</p>
                    <Input type="date" />
                    <p
                        style={{
                            marginTop: 10,
                        }}
                    >
                        Type: datetime-local
                    </p>

                    <Input type="time" />
                </div>
            </div>
        </div>
    );
}

export default App;
输出:

参考: https://rsuitejs.com/components/date-picker/#native-pickers
 极客教程
极客教程