React MUI FormControlLabel API
Material-UI 是一个提供预定义和可自定义组件的UI库,用于简化React的Web开发。MUI设计基于Google的Material Design。
在本文中,我们将讨论React MUI FormControlLabel API。FormControlLabel帮助我们为控制组件(如单选框、复选框等)添加标签。
导入语句:
import FormControlLabel from '@mui/material/FormControlLabel';
// or
import { FormControlLabel } from '@mui/material';
FormControlLabel属性:
- control: 它指的是控制元素。
- classes: 它用于覆盖应用于组件的样式。
- checked: 它是一个布尔值。它确定组件是否应该显示为选中状态。默认为false。
- componentsProps: 它指的是用于每个内部槽的props。
- disabled: 它是一个布尔值。它确定控制是否应处于禁用状态。默认为false。
- disableTypography: 它是一个布尔值。它确定标签是否应该按原样呈现,而不带额外的typography节点。默认为false。
- inputRef: 它指的是输入元素的引用。
- label: 元素的文本。
- label placement: 它确定标签的位置。
- onChange: 当状态改变时触发的空回调函数。
- slotProps: 用于每个槽的props。
- sx: CSS的超集,打包所有样式函数。
- value: 它确定组件的值。
CSS规则:
- root(.MuiFormControlLabel-root): 应用于根元素的样式。
- labelPlacementStart(.MuiFormControlLabel-labelPlacementStart): 如果labelPlacement=”start”,应用于根元素的样式。
- labelPlacementTop(.MuiFormControlLabel-labelPlacementTop): 如果labelPlacement=”top”,应用于根元素的样式。
- labelPlacementBottom (.MuiFormControlLabel-labelPlacementBottom): 如果labelPlacement=”bottom”,应用于根元素的样式。
- disabled(.Mui-disabled): 如果disabled设置为true,应用于根元素的样式。
- error(.Mui-error): 如果error设置为true,应用于根元素的状态类。
- label(.MuiFormControlLabel-label): 应用于标签的Typography组件的样式。
语法:
<FormControlLabel></FormControlLabel>
创建React应用程序并安装模块:
步骤1: 使用以下命令创建一个React应用程序:
npx create-react-app foldername
步骤2: 创建项目文件夹(即foldername)后,使用以下命令进入该文件夹:
cd foldername
步骤3: 创建ReactJS应用程序后,使用以下命令安装所需的模块:
npm install @mui/material @emotion/react @emotion/styled
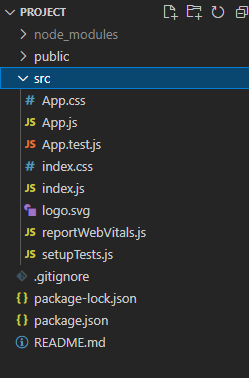
项目结构: 看起来会像下面这样。

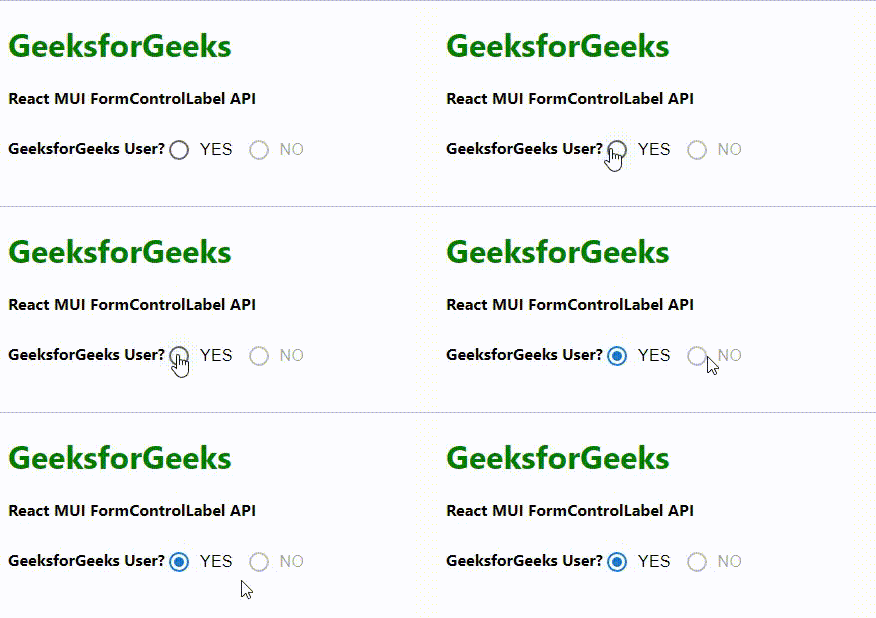
示例1: 在这个示例中,我们添加了两个FormControlLabel组件,控件设置为Radio元素。
- App.js
import * as React from 'react';
import { FormControlLabel, Radio } from '@mui/material';

export default function App() {

    return (
        <div style={{ margin: 10 }}>
            <h1 style={{ color: "green" }}>GeeksforGeeks</h1>
            <h4>React MUI FormControlLabel API</h4>
            <b>GeeksforGeeks User? </b>
            <FormControlLabel label="YES"
                value="yes" control={<Radio />} />
            <FormControlLabel label="NO" value="no"
                control={<Radio />} disabled />
        </div>
    );
}
运行应用程序的步骤: 从项目的根目录使用以下命令来运行应用程序。
npm start
输出: 现在打开你的浏览器并访问 http://localhost:3000/ ,你将看到如下的输出。

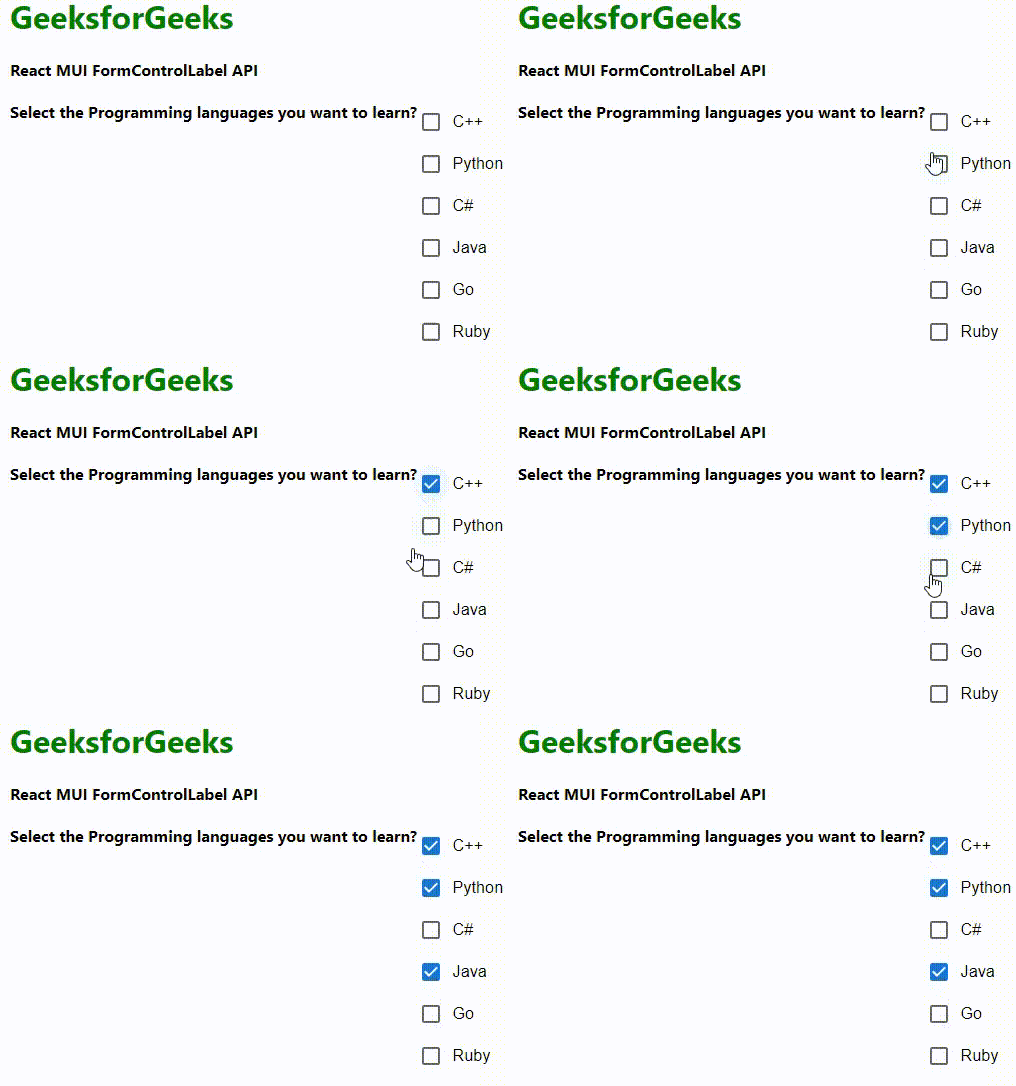
示例2: 我们将复选框作为FormControlLabel组件的控件添加。
- App.js
import * as React from 'react';
import { FormControl, FormControlLabel, Checkbox } from '@mui/material';

export default function App() {

    return (
        <div style={{ margin: 10 }}>
            <h1 style={{ color: "green" }}>GeeksforGeeks</h1>
            <h4>React MUI FormControlLabel API</h4>
            <b>
                Select the Programming languages
                you want to learn?
            </b>
            <FormControl>
                <FormControlLabel label="C++"
                    control={<Checkbox value="C++" />} />
                <FormControlLabel label="Python"
                    control={<Checkbox value="Python" />} />
                <FormControlLabel label="C#"
                    control={<Checkbox value="C#" />} />
                <FormControlLabel label="Java"
                    control={<Checkbox value="Java" />} />
                <FormControlLabel label="Go"
                    control={<Checkbox value="Go" />} />
                <FormControlLabel label="Ruby"
                    control={<Checkbox value="Ruby" />} />
            </FormControl>
        </div>
    );
}
运行应用程序的步骤: 在项目的根目录中使用以下命令来运行应用程序。
npm start
输出: 现在打开你的浏览器,访问 http://localhost:3000/ ,你将看到以下输出。

参考资料: https://mui.com/material-ui/api/form-control-label/
 极客教程
极客教程