React Native 如何添加删除线的文本
在这篇文章中,我们将探讨两种不同的方法来在React Native中为文本添加删除线效果。它也被称为划掉的文本,用于显示带有交叉标记的文本。
先决条件
- React Native入门
- React Native组件
- React Hooks
- Expo CLI
- Node.js和npm
语法
<Text style={{ textDecorationLine: 'line-through' }}>Original Price: $50</Text>
创建React Native应用的步骤
步骤1:使用Expo CLI创建React Native应用
为 <<项目名称>>创建一个新的React Native项目。
npx create-expo-app <<Project Name>>
步骤2:将目录更改为项目文件夹:
cd <<Project Name>>
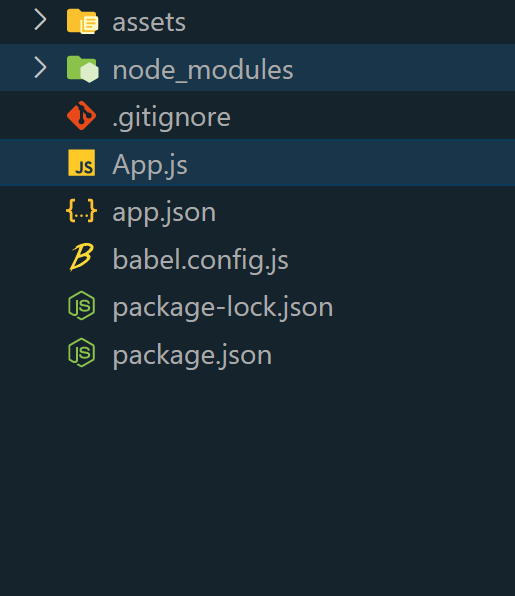
项目结构

目录
- 使用CSS样式
- 使用useState和条件渲染
方法1:使用CSS样式
在这种方法中,我们将使用CSS样式给产品卡片的原始价格添加删除线效果。
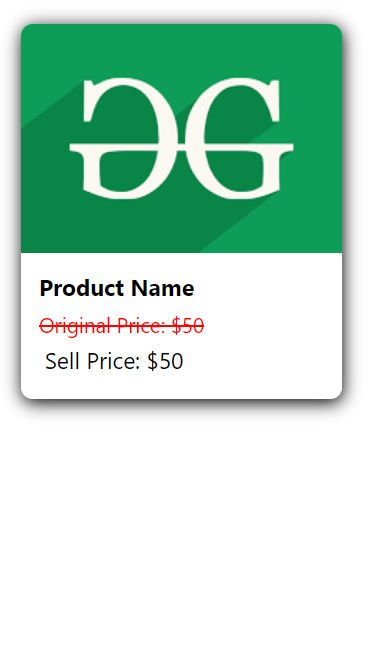
示例1: 这个React Native示例展示了一个产品卡片,它结合了从URL获取图片。该卡片具有圆角、白色背景和阴影。为了表示折扣,原始价格以醒目的红色删除线效果显示,而销售价格则以黑色呈现。
代码
// App.js file

import React from "react";
import {
    Text,
    View,
    StyleSheet,
    Image,
} from "react-native";

function App() {

    // Replace with your image URL
    const imageUrl =
"https://media.geeksforgeeks.org/wp-content/uploads/20230816223829/geeksgforgeeks-logo-1.png";
    return (
        <View style={styles.card}>
            <Image
                source={{ uri: imageUrl }}
                style={styles.image}/>

            <View style={styles.details}>
                <Text style={styles.title}>
                    Product Name
                </Text>
                <Text style={styles.price}>
                    Original Price: 50
                </Text>
                <Text style={styles.sellprice}>
                    Sell Price:40
                </Text>
            </View>
        </View>
    );
}

const styles = StyleSheet.create({
    card: {
        margin: 25,
        backgroundColor: "#ffffff",
        borderRadius: 10,
        shadowColor: "black",
        shadowOffset: {
            width: 1,
            height: 3,
        },
        shadowOpacity: 1,
        shadowRadius: 15,
        elevation: 5,
        overflow: "hidden",
    },
    image: {
        width: "100%",
        height: 200,
        resizeMode: "cover",
    },
    details: {
        padding: 16,
    },
    title: {
        fontSize: 20,
        fontWeight: "bold",
        marginBottom: 8,
    },
    price: {
        fontSize: 18,
        //Strikethrough
        textDecorationLine: "line-through",
        color: "red",
    },
    sellprice: {
        fontSize: 20,
        color: "black",
        padding: 5,
    },
});

export default App;
步骤 3:要启动 React Native 应用程序,请导航到终端或命令提示符,并执行必要的命令。
npx expo start
- 在Android上运行:
npx react-native run-android
- 在iOS上运行:
npx react-native run-ios
输出: :

方法2:使用useState和条件渲染
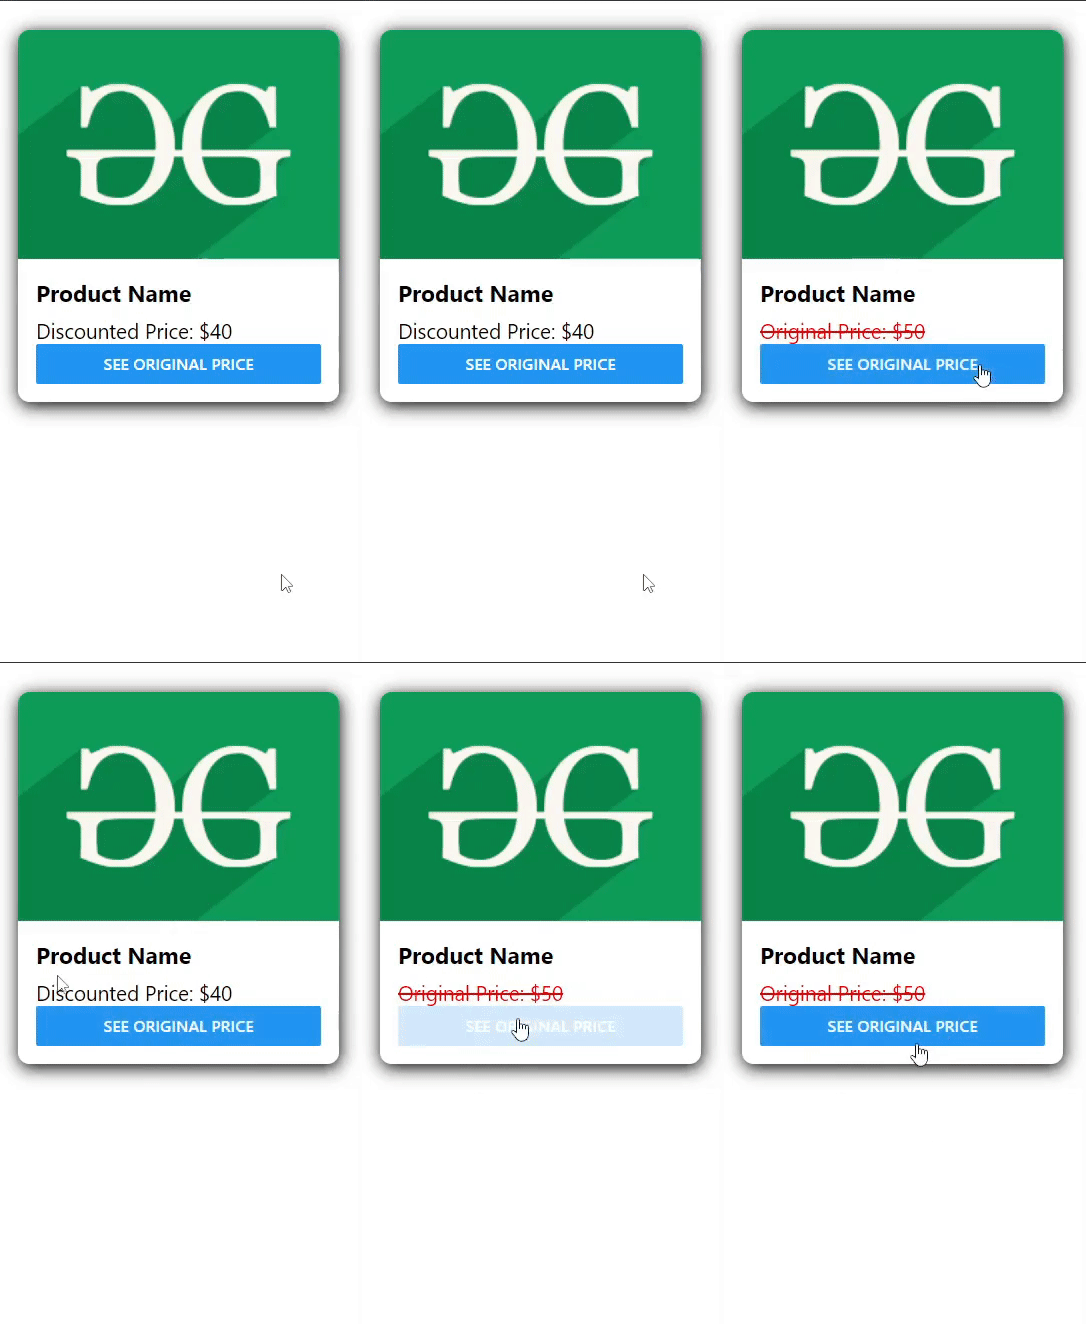
在这种方法中,我们将创建一个产品卡片,其中包含一个原始价格。当用户点击按钮时,原始价格将以具有视觉上引人注目的划线方式显示。
示例1: 在这个示例中,我们使用useState钩子来允许我们在显示原始价格和折扣价格之间切换。卡片包括图像、产品名称和一个按钮,用于在价格之间切换。图像来自指定的URL,卡片的外观使用了白色背景、圆角、阴影和适当格式化的文本等特性进行增强。通过按下按钮,用户可以无缝地在查看具有删除线效果的原始价格之间切换,这是一项旨在方便价格比较的功能。
// App.js file

import React, { useState } from "react";
import {
    Text,
    View,
    Button,
    StyleSheet,
    Image,
} from "react-native";

function App() {
    const [strikeThrough, setStrikeThrough] =
        useState(false);

    const toggleStrikeThrough = () => {
        setStrikeThrough(!strikeThrough);
    };

    // Replace with your image URL
    const imageUrl =
"https://media.geeksforgeeks.org/wp-content/uploads/20230816223829/geeksgforgeeks-logo-1.png";
    return (
        <View style={styles.card}>
            <Image
                source={{ uri: imageUrl }}
                style={styles.image}/>

            <View style={styles.details}>
                <Text style={styles.title}>
                    Product Name
                </Text>
                <Text
                    style={
                        strikeThrough
                            ? styles.strikeThroughPrice
                            : styles.price}>

                    {strikeThrough
                        ? "Original Price: 50"
                        : "Discounted Price:40"}
                </Text>
                <Button
                    title="See Original Price"
                    onPress={toggleStrikeThrough}/>

            </View>
        </View>
    );
}

const styles = StyleSheet.create({
    card: {
        backgroundColor: "#ffffff",
        borderRadius: 10,
        shadowColor: "#000",
        shadowOffset: {
            width: 1,
            height: 3,
        },
        shadowOpacity: 1,
        shadowRadius: 15,
        elevation: 5,
        margin: 25,
        overflow: "hidden",
    },
    image: {
        width: "100%",
        height: 200,
        resizeMode: "cover",
    },
    details: {
        padding: 16,
    },
    title: {
        fontSize: 20,
        fontWeight: "bold",
        marginBottom: 8,
    },
    price: {
        fontSize: 18,
        color: "black",
    },
    strikeThroughPrice: {
        fontSize: 18,
        textDecorationLine: "line-through",
        color: "red",
    },
});

export default App;
输出 :

 极客教程
极客教程