R语言 如何用命名气泡图中的所有圆圈
在这篇文章中,我们将看到如何在R编程语言中为气泡图中的所有圆圈命名。
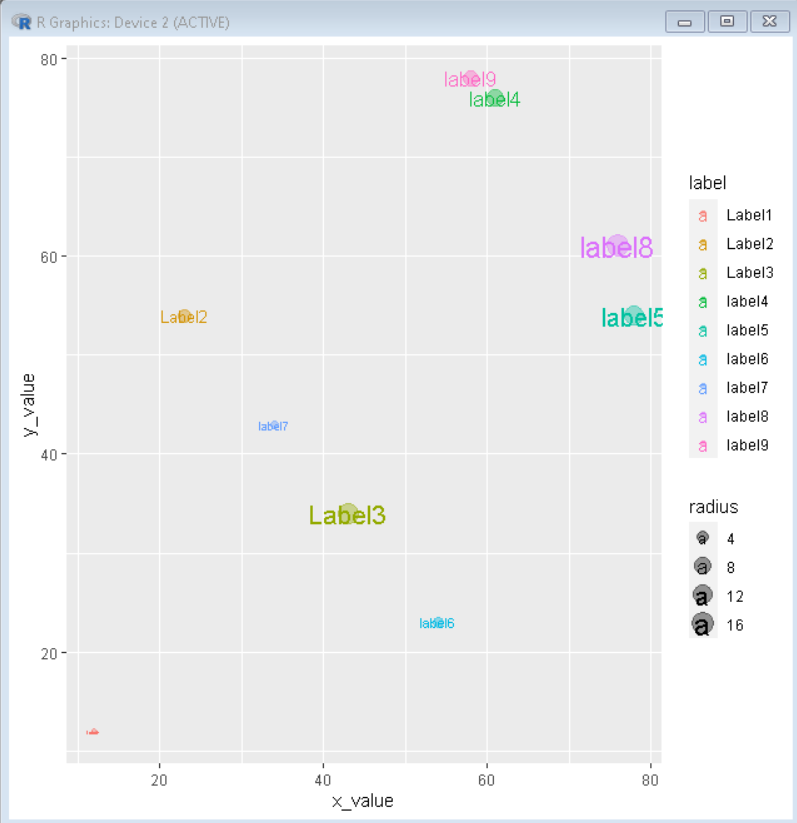
为了在R语言的气泡图中的每个气泡上添加标签,我们使用ggplot2软件包的geom_text()函数。geom_text()函数在ggplot图的顶部增加了文本注释的重叠。
语法
plot+ geom_text( aes( x, y, label, nudge_y, nudge_x )
参数
- x和y: 决定了标签的位置。
- label: 决定了包含每个气泡的标签的向量。
- nudge_y: 确定标签在垂直方向上的移动距离。
- nudge_x: 决定标签在水平方向上的移动距离。
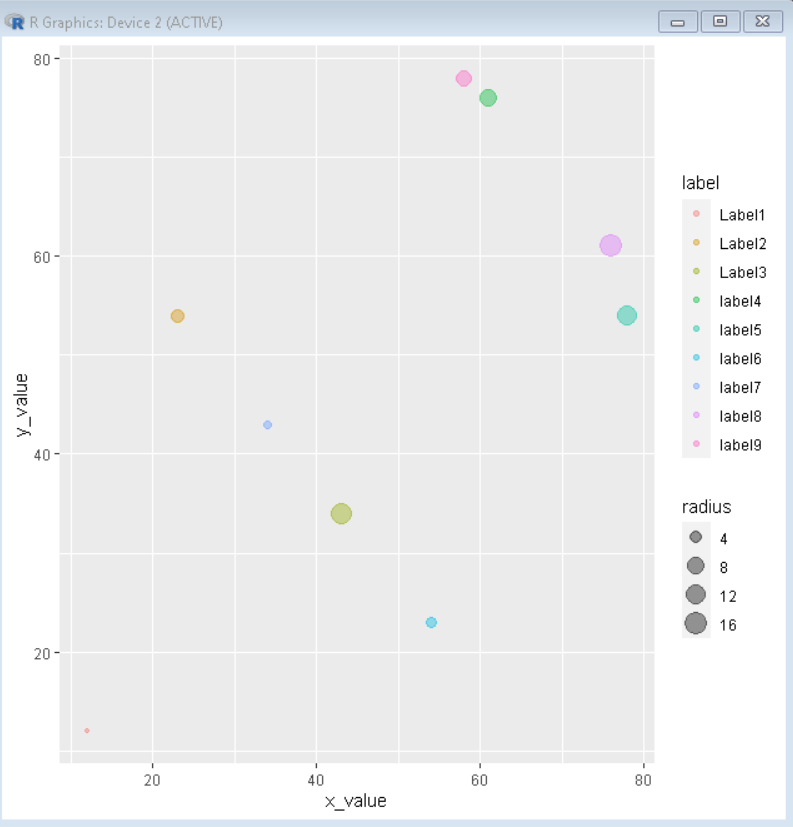
在下面的例子中,我们将创建一个数据框,然后用这个数据框绘制一个气泡图,每个气泡上没有标签。
例子: 基本图
# create sample data frame
x_value <- c(12,23,43,61,78,54,34,76,58)
y_value <- c(12,54,34,76,54,23,43,61,78)
radius <- c(1,5,13,8,12,3,2,16,7)
label <- c("Label1", "Label2", "Label3",
           "label4", "label5", "label6",
           "label7", "label8", "label9")
sample_data <- data.frame( x_value, y_value, radius, label)

# load library ggplot2
library( ggplot2 )

# draw a basic bubble plot
ggplot( data = sample_data, aes( x=x_value, y=y_value,
                                size=radius, color=label ) )+
        geom_point(alpha=0.4)+
输出

现在,我们使用geom_text()来为绘图添加文本。
例子: 在图上添加文本
# create sample data frame
x_value <- c(12,23,43,61,78,54,34,76,58)
y_value <- c(12,54,34,76,54,23,43,61,78)
radius <- c(1,5,13,8,12,3,2,16,7)
label <- c("Label1", "Label2", "Label3", "label4", "label5",
           "label6", "label7", "label8", "label9")
sample_data <- data.frame( x_value, y_value, radius, label)

# load library ggplot2
library( ggplot2 )

# draw a basic bubble plot
ggplot( data = sample_data, aes( x=x_value, y=y_value,
                                size=radius, color=label ) )+
        geom_point(alpha=0.4)+
        geom_text( aes(label=label))
输出

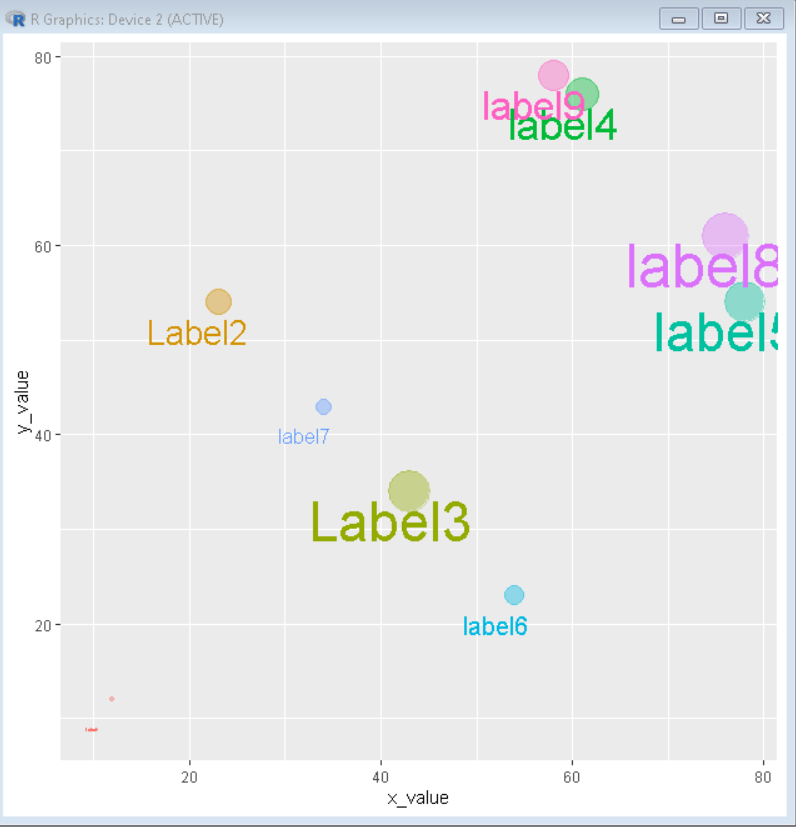
为了调整气泡图中气泡的标签的位置,我们使用nudge_x和nudge_y。
例子: 调整标签
# create sample data frame
x_value <- c(12,23,43,61,78,54,34,76,58)
y_value <- c(12,54,34,76,54,23,43,61,78)
radius <- c(1,5,13,8,12,3,2,16,7)
label <- c("Label1", "Label2", "Label3",
           "label4", "label5", "label6",
           "label7", "label8", "label9")
sample_data <- data.frame( x_value, y_value, radius, label)

# load library ggplot2
library( ggplot2 )

# draw a basic bubble plot
ggplot( data = sample_data, aes( x=x_value, y=y_value,
                                size=radius, color=label ) )+
        geom_point(alpha=0.4)+
        scale_size(range = c(1,13) )+
        geom_text( aes(label=label), nudge_y= -3, nudge_x= -2)+
        theme(legend.position = "none")
输出

 极客教程
极客教程