R语言 如何在绘图之外绘制图例
在这篇文章中,我们将讨论如何在R编程语言中在绘图之外绘制图例。
我们首先使用plot()函数创建一个没有图例的基本图,然后使用R语言的par()函数在图例周围添加一个空白。我们将创建所需的边距并使xpd参数为true。这将使我们的绘图被剪切到图的区域内。
语法 。
par( mar, xpd)
其中。
- mar: 决定了包含保证金的向量。
- xpd: 它是一个布尔值。如果是FALSE,所有绘图都被剪切到绘图区域,如果是TRUE,所有绘图都被剪切到图区域。
然后我们使用 legend() 函数在上面添加一个图例层。为了将图例放在图上所需的位置,我们使用 legend 函数的 inset 参数。
语法 。
legend(position, inset, title, legend, pch, col )
其中。
- position: 决定了图例的位置。
- inset: 决定位置的移动。
- title: 决定图例的标题。
- pch: 确定用于表示数据点的符号。
- col: 决定了数据点的颜色。
例1 :
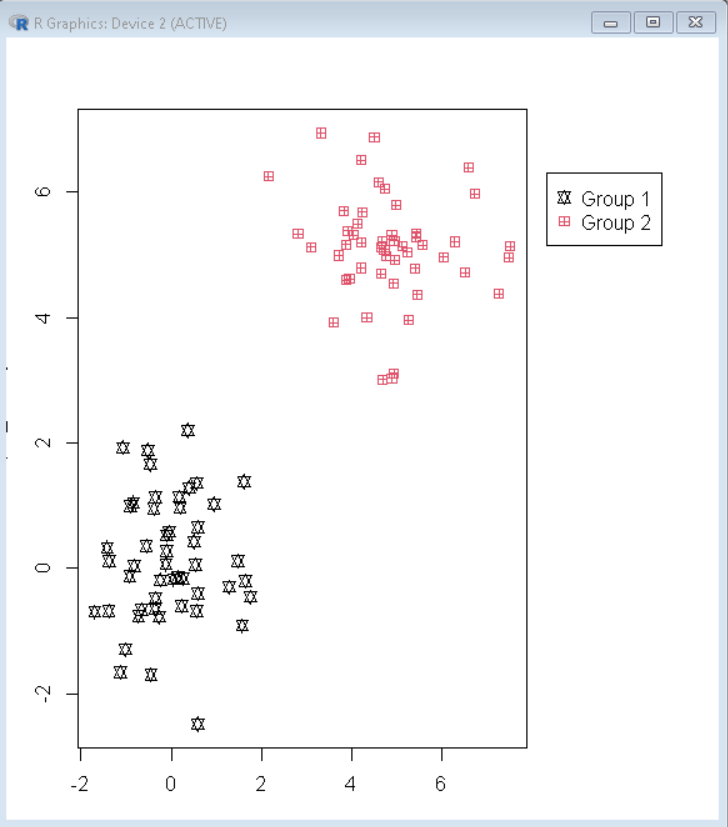
这里,是一个R语言的基本图,图例在图的右上角。
# create sample data frame
sample_data <- data.frame(x = c(rnorm(50), rnorm(50, 5)),
                   y = c(rnorm(50), rnorm(50, 5)),
                   group = c(rep(1, 50), rep(2, 50)))

# create margin around plot
par(mar = c(3, 3, 3, 8), xpd = TRUE)

# Draw scatter plot
plot(sample_datax, sample_datay,
     pch = sample_datagroup+10,
     col = sample_datagroup)

# Draw legend
legend("topright", inset = c(-0.3, 0.1),
       legend = c("Group 1","Group 2"),
       pch = c(11,12), col = 1:2)
输出 。

例2 :
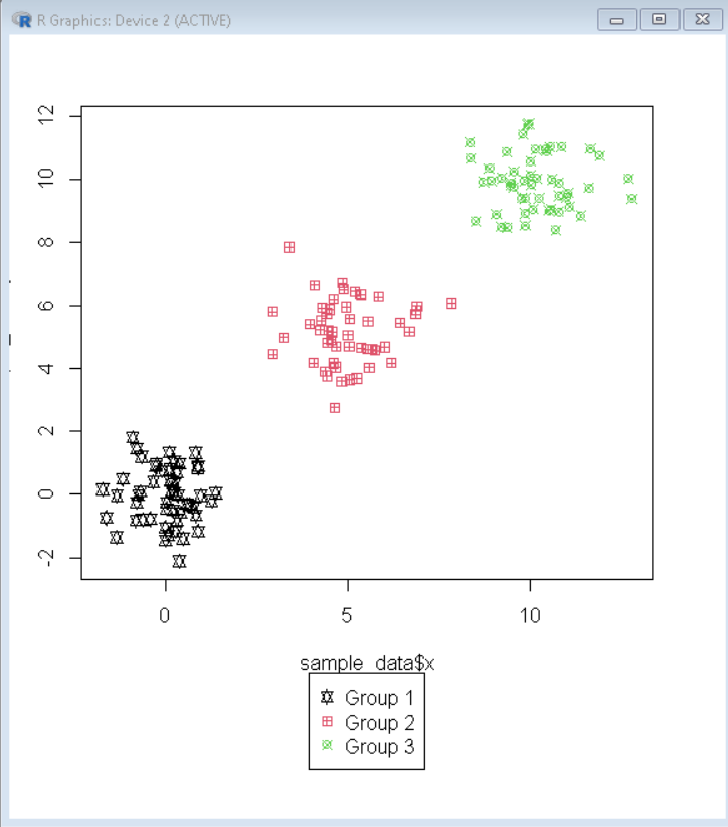
这里,是一个R语言的基本图,图例在图的底部。
# create sample data frame
sample_data <- data.frame(x = c(rnorm(50), rnorm(50, 5), rnorm(50, 10)),
                   y = c(rnorm(50), rnorm(50, 5), rnorm(50, 10)),
                   group = c(rep(1, 50), rep(2, 50), rep(3, 50)))

# create margin around plot
par(mar = c(10, 3, 3, 3), xpd = TRUE)

# Draw scatter plot
plot(sample_datax, sample_datay,
     pch = sample_datagroup+10,
     col = sample_datagroup)

# Draw legend
legend("topright", inset = c(0.4, 1.2),
       legend = c("Group 1","Group 2","Group 3"),
       pch = c(11,12,13), col = 1:3)
输出 。

 极客教程
极客教程