如何在OpenCV Python中对两个图像执行按位AND操作?
计算机视觉或图像处理中 按位AND 操作的一个非常重要的应用是创建图像的掩模(mask)。我们还可以使用该运算符在图像上添加水印。
图像的像素值表示为numpy ndarray。像素值使用8位无符号整数( uint8 ),其范围从0到255。两个图像之间的 按位AND 操作是在相应图像的这些像素值的二进制表示中进行的。
以下是执行两个图像的 按位AND 操作的语法 −
cv2.bitwise_and(img1, img2, mask=None)
img1 和 img2 是两个输入图像, mask 是一个掩模操作。
步骤
您可以按照以下步骤计算两个图像之间的 按位AND −
导入所需的库 OpenCV 。确保您已经安装了它。
import cv2
使用 cv2.imread() 方法读取图像。两张图片的宽度和高度必须相同。
img1 = cv2.imread('lamp.jpg')
img2 = cv2.imread('jonathan.jpg')
使用cv2.biwise_and(img1, img2)计算图像的 按位AND 。
and_img = cv2.bitwise_and(img1,img2)
显示按位AND图像。
cv2.imshow('Bitwise AND Image', and_img)
cv2.waitKey(0)
cv2.destroyAllWindows()
输入图像
我们将使用以下图像作为下面示例中的输入文件。


示例1
在下面的Python程序中,我们计算了两个彩色图像的 按位AND 。
# import required libraries
import cv2

# read two input images.
# The size of both images must be the same.
img1 = cv2.imread('lamp.jpg')
img2 = cv2.imread('jonathan.jpg')

# compute bitwise AND on both images
and_img = cv2.bitwise_and(img1,img2)

# display the computed bitwise AND image
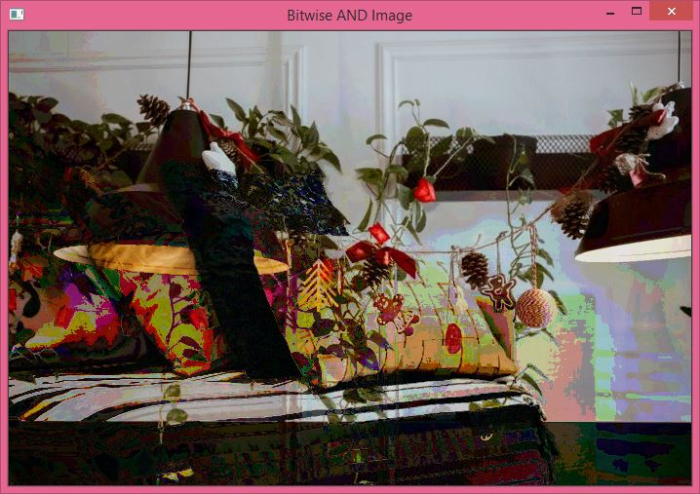
cv2.imshow('Bitwise AND Image', and_img)
cv2.waitKey(0)
cv2.destroyAllWindows()
输出
当您运行此Python程序时,它将生成以下输出 −

示例2
下面的python程序展示了对图像执行按位AND操作的应用。我们创建了一个掩模,然后使用它执行按位AND操作。
# 导入必要的库
import cv2
import matplotlib.pyplot as plt
import numpy as np

# 作为灰色图像读取输入图像
img = cv2.imread('jonathan.jpg',0)

# 创建一个掩模
mask = np.zeros(img.shape[:2], np.uint8)
mask[100:400, 150:600] = 255

# 使用掩模计算按位AND
masked_img = cv2.bitwise_and(img,img,mask = mask)

# 显示输入图像、掩模和输出图像
plt.subplot(221), plt.imshow(img, 'gray'), plt.title("原始图像")
plt.subplot(222), plt.imshow(mask,'gray'), plt.title("掩模")
plt.subplot(223), plt.imshow(masked_img, 'gray'), plt.title("输出图像")
plt.show()
输出
运行此Python程序,将生成以下输出−

 极客教程
极客教程