React.js蓝图HTML元素组件嵌套用法
React.js Blueprint 是一款前端UI工具包。它在构建复杂数据密集型桌面应用程序的界面方面非常优化和流行。
我们可以通过为父元素提供一个className {Classes.RUNNING_TEXT},将样式和React.js Blueprint HTML元素组件的功能添加到HTML元素中,这将改变所有嵌套元素的样式。
语法:
<div className={Classes.RUNNING_TEXT}>
    ...
</div>
前提条件:
- ReactJS的介绍和安装
- React.js蓝图HTML元素组件
创建React应用程序和模块安装:
步骤1: 使用以下命令创建一个React应用程序:
npm create-react-app project
步骤2: 创建项目文件夹(即project)后,使用以下命令进入该文件夹。
cd project
步骤3: 现在使用以下命令安装依赖项:
npm install @blueprintjs/core
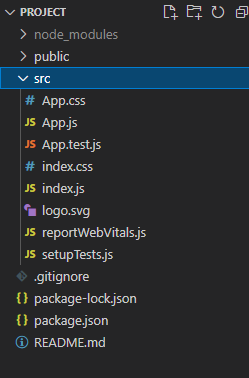
项目结构: 它将如下所示。

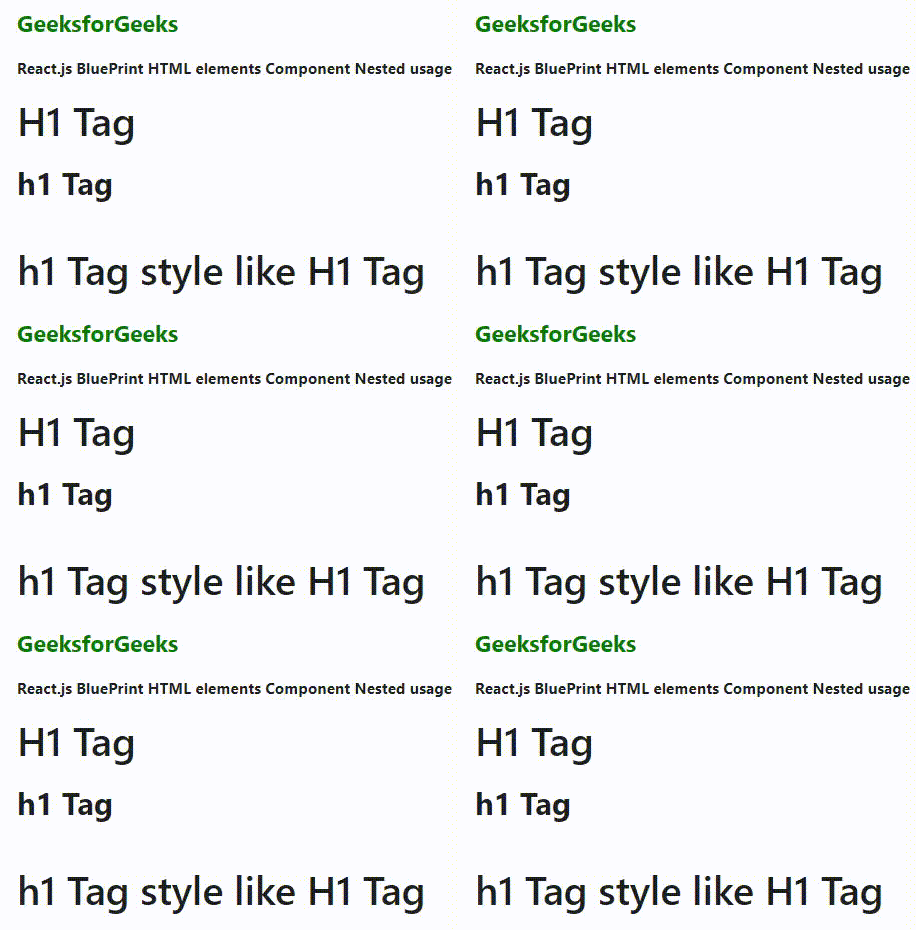
示例1: 我们从“@blueprintjs/core”导入了Classes和H1。为了应用这些组件的默认样式,我们还导入了“@blueprintjs/core/lib/css/blueprint.css”,并且按照下面的代码编写。
App.js
import { Classes, H1 } from '@blueprintjs/core';
import React from 'react'
import '@blueprintjs/core/lib/css/blueprint.css';
function App() {
    return (
        <div style={{
            margin: 50
        }}>
            <h2 style={{ color: "green" }}>
                GeeksforGeeks
            </h2>
            <h4>
                React.js BluePrint HTML elements
                Component Nested usage
            </h4>
            <H1 >
                H1 Tag
            </H1>
            <h1>h1 Tag</h1>
            <div className={Classes.RUNNING_TEXT}>
                <h1>h1 Tag style like H1 Tag</h1>
            </div>
        </div >
    );
}

export default App;
运行应用程序的步骤: 从项目的根目录中使用以下命令运行应用程序。
npm start
输出:

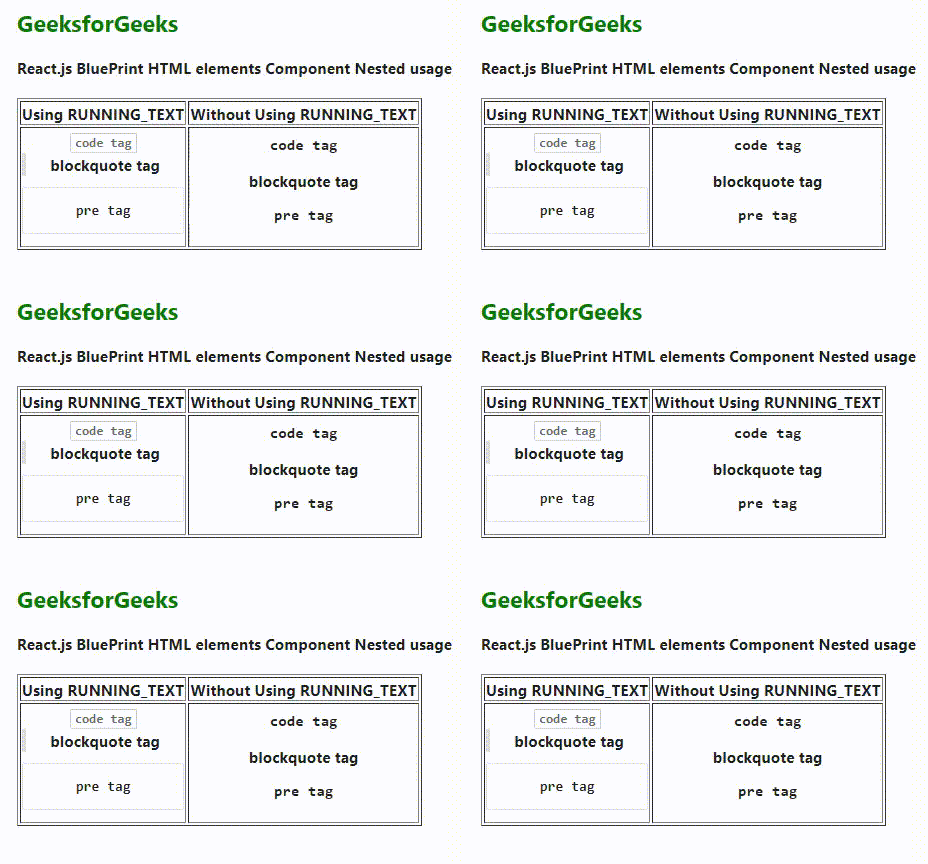
示例2: 我们正在创建一张表,区分HTML元素,并使用另一个使用Classes.RUNNING_TEXT的HTML元素。
App.js
import { Classes } from '@blueprintjs/core';
import React from 'react'
import '@blueprintjs/core/lib/css/blueprint.css';
function App() {
    return (
        <div style={{
            margin: 50
        }}>
            <h2 style={{ color: "green" }}>GeeksforGeeks</h2>
            <h4>
                React.js BluePrint HTML elements Component
                Nested usage
            </h4>

            <table border="1">
                <thead>
                    <tr>
                        <th>Using RUNNING_TEXT</th>
                        <th>Without Using RUNNING_TEXT</th>
                    </tr>
                    <tr>
                        <th>
                            <div className={Classes.RUNNING_TEXT}>
                                <code>code tag</code>
                                <blockquote>blockquote tag</blockquote>
                                <pre>pre tag</pre>
                            </div>
                        </th>
                        <th>
                            <div>
                                <code>code tag</code>
                                <blockquote>blockquote tag</blockquote>
                                <pre>pre tag</pre>
                            </div>
                        </th>
                    </tr>
                </thead>
            </table>
        </div >
    );
}

export default App;
运行应用程序的步骤: 从项目的根目录中使用以下命令运行应用程序。
npm start
输出:

参考: https://blueprintjs.com/docs/#core/components/html.nested-usage
 极客教程
极客教程