PyQt5 QCalendarWidget 设置移动事件
在这篇文章中,我们将看到如何实现QCalendarWidget的移动事件。这个事件处理程序可以在一个子类中重新实现,以接收在事件参数中传递的日历移动事件。当日历收到这个事件时,它已经在新的位置了。
下面是日历类的代码
# QCalendarWidget Class
class Calendar(QCalendarWidget):

    # constructor
    def __init__(self, parent=None):
        super(Calendar, self).__init__(parent)
        self.setMouseTracking(True)

    # override the move event
    def moveEvent(self, event):
        print("Calendar Moved")
实施步骤:
1.创建一个继承了QCalendarWidget的日历类
2.在日历类中覆盖moveEvent,并在该事件中打印文本
3.创建一个主窗口类
4.在主窗口中创建一个日历对象
5.为日历设置各种属性
下面是实现的过程
# importing libraries
from PyQt5.QtWidgets import *
from PyQt5 import QtCore, QtGui
from PyQt5.QtGui import *
from PyQt5.QtCore import *
import sys

# QCalendarWidget Class
class Calendar(QCalendarWidget):

    # constructor
    def __init__(self, parent = None):
        super(Calendar, self).__init__(parent)
        self.setMouseTracking(True)

    # override the move event
    def moveEvent(self, event):
        print("Calendar Moved")


class Window(QMainWindow):

    def __init__(self):
        super().__init__()

        # setting title
        self.setWindowTitle("Python ")

        # setting geometry
        self.setGeometry(100, 100, 500, 400)

        # calling method
        self.UiComponents()

        # showing all the widgets
        self.show()


    # method for components
    def UiComponents(self):

        # creating a QCalendarWidget object
        # as Calendar class inherits QCalendarWidget
        self.calendar = Calendar(self)

        # setting cursor
        self.calendar.setCursor(Qt.PointingHandCursor)

        # setting size of the calendar
        self.calendar.resize(300, 240)

        # move the calendar
        self.calendar.move(10, 10)


# create pyqt5 app
App = QApplication(sys.argv)

# create the instance of our Window
window = Window()

# start the app
sys.exit(App.exec())
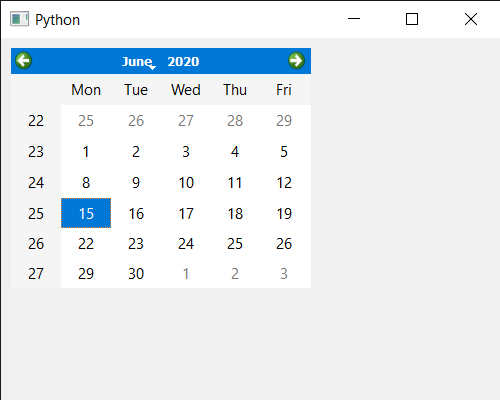
输出。
Calendar Move

 极客教程
极客教程