如何在Node.js服务器调用中验证recaptcha
Google reCAPTCHA: reCAPTCHA是一种验证码系统,可以帮助网站主区分人类用户和自动化访问。这项服务由Google提供。
Google提供了两个版本的reCAPTCHA:
- reCAPTCHA v3
- reCAPTCHA v2
本文将介绍reCAPTCHA v2。
方法:
- 在Google reCAPTCHA上注册您的网站
- 提交HTML表单
- 在Node.js服务器上获取响应密钥
- 重新验证密钥,并向用户端返回响应。
步骤1:在Google reCAPTCHA上注册您的网站
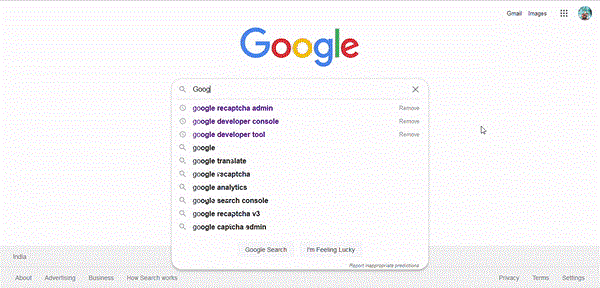
在Google reCAPTCHA平台上注册您的网站,以获取密钥,即站点密钥和密钥,在编写HTML表单时需要使用。
点击这里进入Google reCAPTCHA网站。
步骤2:在HTML中创建Google reCAPTCHA表单
在这里,我们将创建一个简单的HTML表单,其中action属性为/submit,包含一个输入字段和一个按钮。同时,我们需要在HTML文档中添加Google reCAPTCHA CDN,并在表单中添加一个div标签来获取HTML文档中的reCAPTCHA。
CDN: <script src="https://www.google.com/recaptcha/api.js" async defer></script>
DIV TAG: <div class="g-recaptcha" data-sitekey="your_site_key"></div>
注意: 您需要将“your_site_key”替换为您的站点密钥。
示例:
文件名:index.html
<!DOCTYPE html>
<html lang="en">

<head>
    <meta charset="UTF-8">
    <meta http-equiv="X-UA-Compatible" content="IE=edge">
    <meta name="viewport"
          content="width=device-width, initial-scale=1.0">

    <!-- CSS file -->
    <link rel="stylesheet" href="style.css">

    <!-- Google reCAPTCHA CDN -->
    <script src=
"https://www.google.com/recaptcha/api.js" async defer>
    </script>
</head>

<body>
    <div class="container">
        <h1>Google recaptcha</h1>

        <!-- HTML Form -->
        <form action="/submit" method="post">
            <input type="text" name="name" id="name"
                   placeholder="Enter Name" required>
            <br>

            <!-- div to show reCAPTCHA -->
            <div class="g-recaptcha"
                 data-sitekey="your_site_key">
            </div>
            <br>

            <button type="submit">Submit</button>
        </form>

    </div>
</body>

</html>
文件名: style.css
.container {
  border: 1px solid rgb(73, 72, 72);
  border-radius: 10px;
  margin: auto;
  padding: 10px;
  text-align: center;
}

h1 {
  margin-top: 10px;
}

input[type="text"] {
  padding: 10px;
  border-radius: 5px;
  margin: 10px;
  font-family: "Times New Roman", Times, serif;
  font-size: larger;
}

button {
  border-radius: 5px;
  padding: 10px;
  color: #fff;
  background-color: #167deb;
  border-color: #0062cc;
  font-weight: bolder;
  cursor: pointer;
}

button:hover {
  text-decoration: none;
  background-color: #0069d9;
  border-color: #0062cc;
}

.g-recaptcha {
  margin-left: 513px;
}
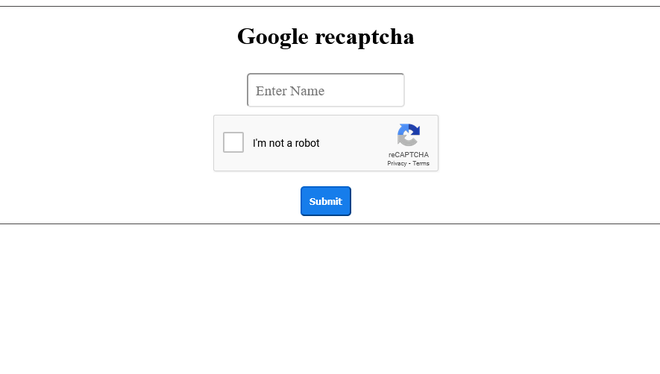
输出:
步骤3:Node.js 服务器:
我们已经准备好了表单,现在让我们来编写服务器文件。在服务器端,我们将使用两个包,一个是express用于作为Web框架的服务器,另一个是isomorphic-fetch用于进行http/https调用。
创建一个新的目录并在其中生成package.json文件。使用 npm init 命令来生成package.json文件,这是最佳实践。这是我的package.json文件供参考。
文件名:package.json
{
  "name": "google_recaptcha",
  "version": "1.0.0",
  "description": "Google recaptacha v2 demonstration.",
  "main": "app.js",
  "scripts": {
    "test": "echo \"Error: no test specified\" && exit 1"
  "author": "Asmit Sirohi",
  "license": "ISC",
  "dependencies": {
    "express": "^4.17.1",
    "isomorphic-fetch": "^3.0.0"
  }
}
现在,让我们来编写服务器文件,HTML表单将提交数据。
步骤4:验证验证码:
为了验证验证码,我们需要向以下URL发起POST请求。
- URL: https://www.google.com/recaptcha/api/siteverify?secret=
&response= - secret_key: 这个密钥您将从Google控制台获取,即秘密密钥。
- response_key: 这个密钥来自客户端,当用户提交表单时生成。
注意:
- g-recaptcha-response是浏览器在表单提交时生成的响应密钥的名称。如果它是空白或null,则表示用户未选择验证码,因此返回错误。
- 您需要用您的密钥替换“your_secret_key”。
文件名:app.js
// Importing express package
const express = require("express");
// Importing isomorphic-fetch package
const fetch = require("isomorphic-fetch");

// instantiating express package
const app = express();

// Making public folder static where index.html file is present
// By making it static, we can easily serve index.html page
app.use(express.static("public"));

// To accept HTML form data
app.use(express.urlencoded({ extended: false }));

// Here, HTML form is submit
app.post("/submit", (req, res) => {
  const name = req.body.name;
  // getting site key from client side
  const response_key = req.body["g-recaptcha-response"];
  // Put secret key here, which we get from google console
  const secret_key = "<your_secret_key>";

  // Hitting POST request to the URL, Google will
  // respond with success or error scenario.
  const url =
`https://www.google.com/recaptcha/api/siteverify?secret={secret_key}&response={response_key}`;

  // Making POST request to verify captcha
  fetch(url, {
    method: "post",
  })
    .then((response) => response.json())
    .then((google_response) => {

      // google_response is the object return by
      // google as a response
      if (google_response.success == true) {
        //   if captcha is verified
        return res.send({ response: "Successful" });
      } else {
        // if captcha is not verified
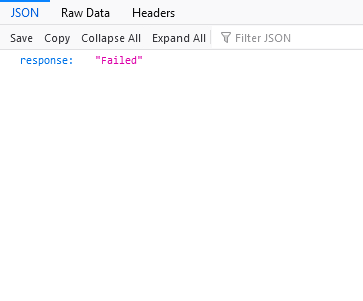
        return res.send({ response: "Failed" });
      }
    })
    .catch((error) => {
        // Some error while verify captcha
      return res.json({ error });
    });
});

// lifting the app on port 4000.
const PORT = 4000;
app.listen(PORT, () => console.log(`Server is running on PORT ${PORT}`));
运行应用程序:
要运行应用程序,请切换到项目文件夹并使用以下命令运行Node应用程序。
node app.js
前往 localhost:4000 查看应用程序。
输出:
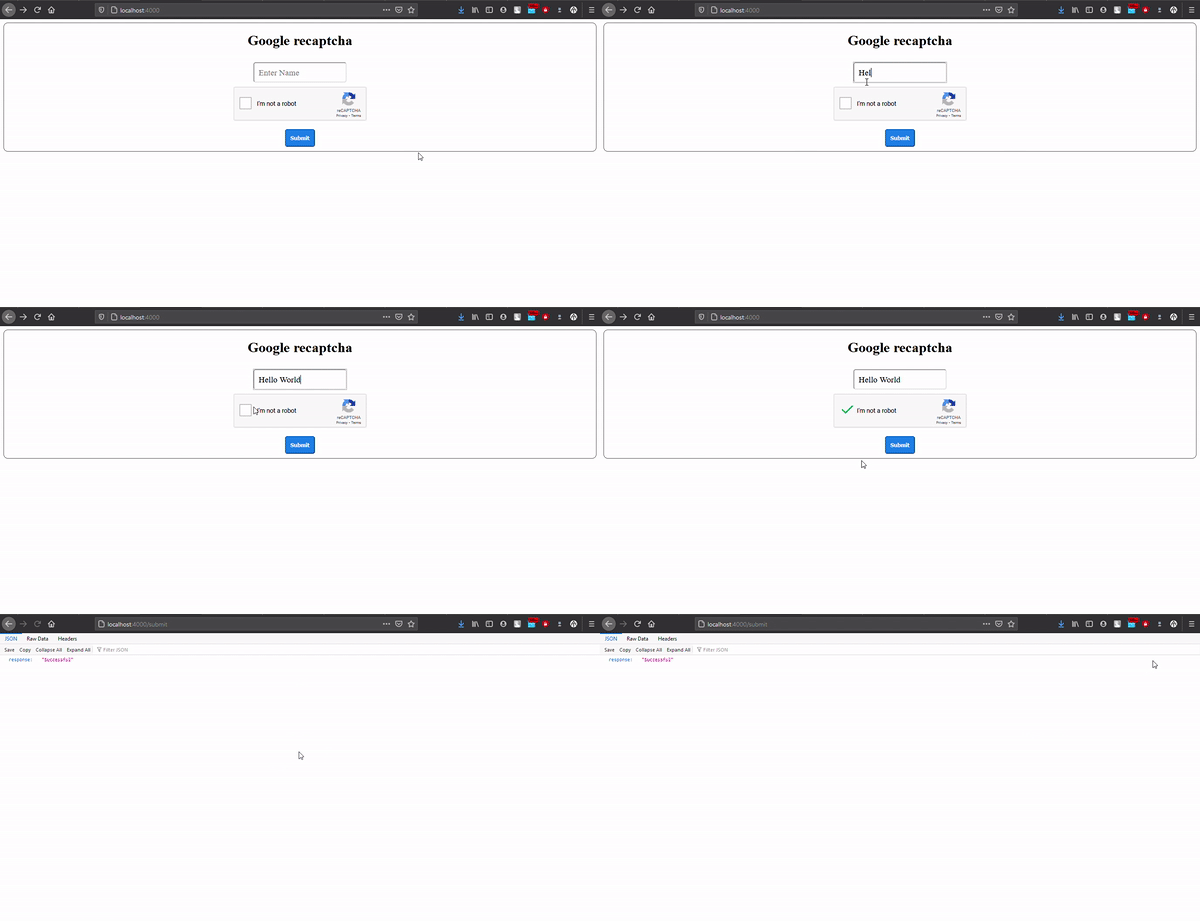
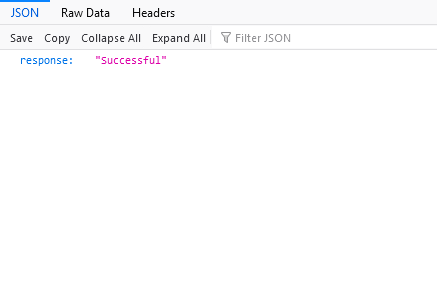
- 当验证码验证通过时
- 当验证码未验证时
 极客教程
极客教程