Node.js 什么是WebTorrent以及如何使用它
什么是WebTorrent?
WebTorrent是用于Node.js的流式传输种子客户端。WebTorrent是用Web的语言JavaScript编写的。不需要扩展和插件。只需使用npm安装。
要在浏览器中使用WebTorrent,需要WebRTC(Web实时通信)。
WebTorrent的特点:
- 它是Node.js和浏览器的种子客户端。
- 速度非常快。
- 可以高效地下载多个种子文件。
- 完全使用纯 JavaScript 编写。
步骤1: 创建一个项目文件夹:
mkdir Project
步骤2:转到创建的项目文件夹并运行npm init进行初始化:
npm init
步骤3:使用npm安装。
现在按照以下给出的命令来安装WebTorrent:
npm install webtorrent

在终端中运行上面的代码,例如Vscode终端。
此外,您还可以通过在软件包名称之前添加“-g”来全局安装它。
npm install -g webtorrent

或者您可以简单地包含下面给出的“webtorrent.min.js”脚本,以直接使用WebTorrent。
<script src="https://cdn.jsdelivr.net/npm/webtorrent@latest/webtorrent.min.js"></script>
项目结构: 项目结构应该如下所示:

步骤4:检查WebTorrent是否安装并查看WebTorrent的版本。
现在您可以在依赖项下的package.json文件中查看版本和已安装的包。
步骤5:安装Browserify。
Browserify是一个模块,它使我们能够在我们的Web项目中包含节点模块。Browserify将我们的所有依赖项捆绑在一起,让我们在浏览器中使用 require(‘modules’)。要安装Browserify,请按照以下命令进行操作。
npm install Browserify

示例1: 现在我们可以使用WebTorrent。为了测试它是否有效,我们来制作一个小型的种子视频播放器,只显示种子文件。
方法:
- 包含最新版本的WebTorrent,以便我们可以使用WebTorrent功能。
- 初始化WebTorrent。
- 使用磁力链接下载种子文件。
- 使用mp4作为文件格式。
- 通过将文件添加到DOM中的file.appendTo()来显示文件。
将Javascript代码视为 index.js ,将HTML代码视为 index.html 。
// Including modules
const WebTorrent = require('webtorrent');
// Initializing WebTorrent
const client = new WebTorrent()

// Using a magnet link
let NewMagnetTorrentId = 'Magnet Link'
// Starts downloading a new torrent file
client.add(NewMagnetTorrentId, function (torrent) {
    // Using the .mp4 file
    const file = torrent.files.find(function (Newfile) {
        // Returning filename ending with .mp4
        return Newfile.name.endsWith('.mp4')
    })

    // Display the file by adding it to the DOM.
    file.appendTo('body')
})
<!DOCTYPE html>
<html>
<head>
    <meta charset="UTF-8">
    <!-- title of the page -->
    <title>WebTorrent video player</title>
</head>

<body>
    <!-- Including script -->
    <script src="./app.js"></script>
</body>
</html>
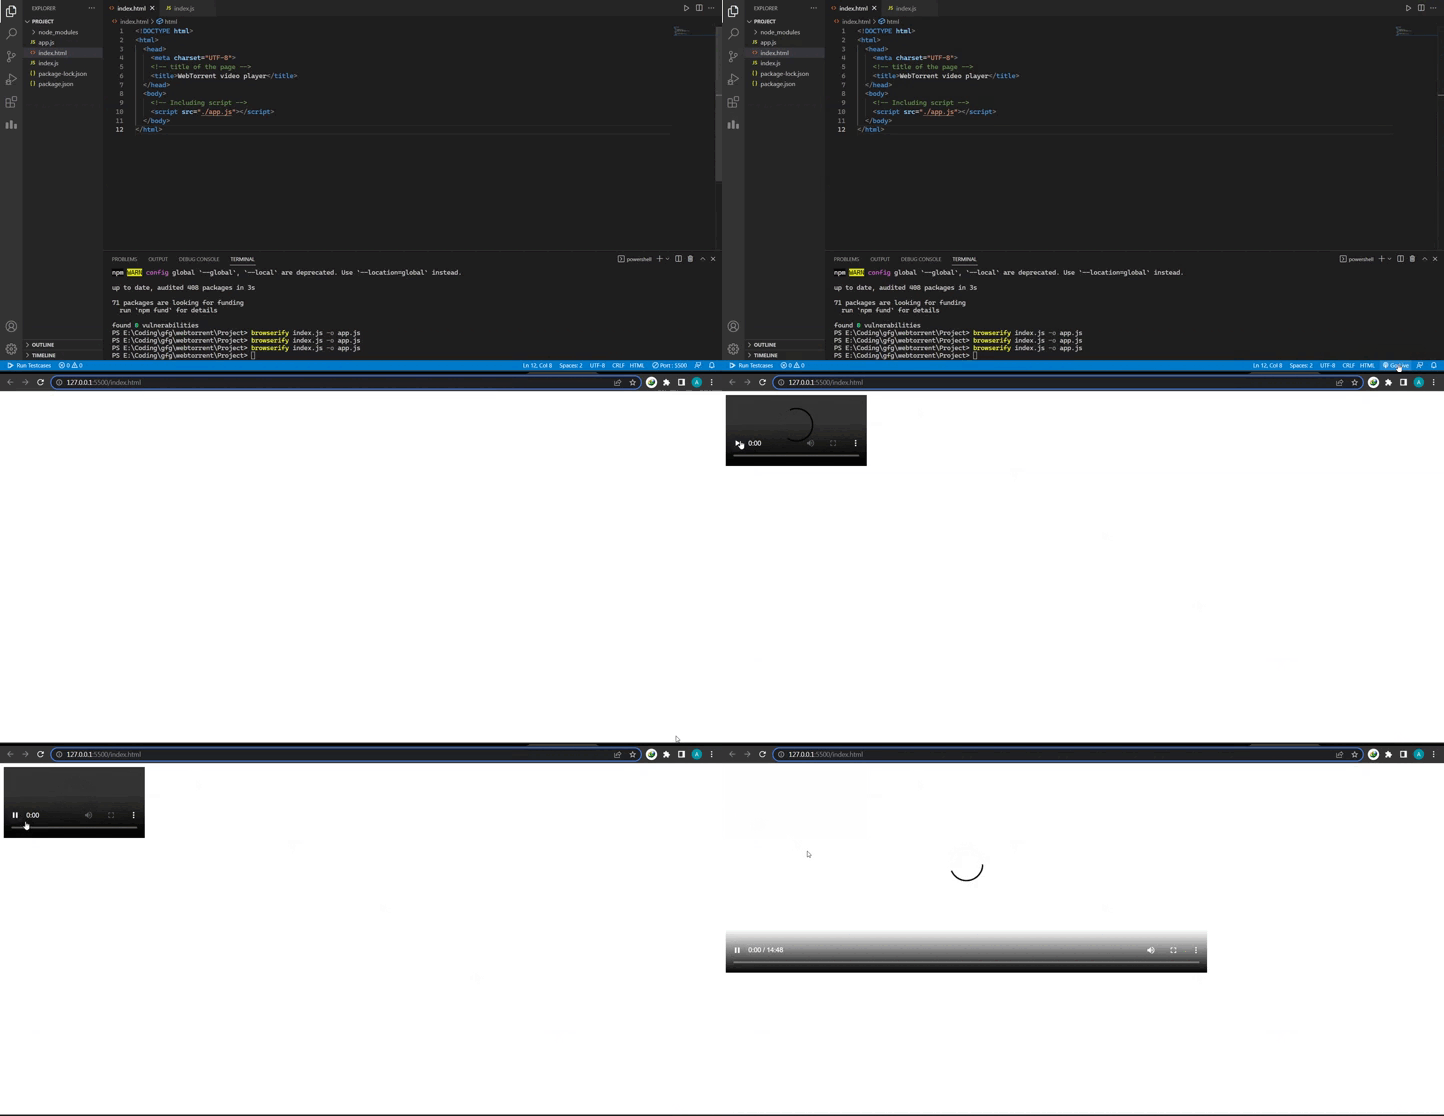
输出: 在终端中运行以下给定的命令。
在下面给定的命令中,’index.js’ 是当前文件,“app.js” 是转换后将要创建的文件的名称。
browserify index.js -o app.js

之后,创建了一个名为’app.js’的文件,该文件使用script标签与HTML文件链接。
现在你可以使用实时服务器打开HTML文件(我们只是用HTML文件来在屏幕上显示输出)或者直接打开下面显示的index.html文件。

示例2: 使用WebTorrent制作一个下载种子文件的种子文件下载器。
方法:
- 使用最新版本的WebTorrent,以便我们可以使用WebTorrent功能。
- 初始化WebTorrent。
- 使用磁力链接来下载种子文件。
- 使用preventDefault来防止页面刷新。
- 每隔10秒打印文件的下载进度。
- 将所有的文件渲染到同一个页面中。
- 显示已下载的文件。
将JavaScript代码视为 index.js 和HTML代码视为 index.html 。
const WebTorrent = require('webtorrent');

// Initializing WebTorrent
const client = new WebTorrent()

// queryselector selects the 'form' and
//addEventListener listen the submit event
document.querySelector('form').addEventListener('submit', function (e) {
    e.preventDefault() // As the submit event occur it prevent page refresh

    // selecting the form's input section
    const NewTorrentLink = document.querySelector(
                                    'form input[name=NewTorrentLink]').value

    // concatenate torrentId
    log('New Magnet Link: ' + NewTorrentLink)

    // starts downloading a new torrent
    client.add(NewTorrentLink, onTorrent)
})

// getting torrent metadata
function onTorrent(torrent) {
    log('<h3>Getting torrent metadata</h3>')
    log(

        // Info hash of the torrent string
        'Torrent Information: ' + torrent.infoHash
        // Magnet URI of torrent
    )

    // Showing the download progress every 10 second
    const NewInterval = setInterval(function () {
        log('Progress Reader: ' +
            (torrent.progress * 100).toFixed(1) + '%')
    }, 10000)

    // Emitted when all the files download 100%
    torrent.on('Completed The Process', function () {
        log('Progress: 100%')
        clearInterval(NewInterval)
    })

    // Render all files into to the page
    torrent.files.forEach(function (NewFile) {

        // Appending file with .Final
        NewFile.appendTo('.Final')

        // Getting a url that can be used to refer a file
        // and callback will be called once the file is ready
        NewFile.getBlobURL(function (errorfound, NewUrl) {
            if (errorfound) return log(errorfound.message)
            log('File Process done.')
            log('<a href="' + NewUrl + '">Download Complete File: '
                + NewFile.name + '</a>')
        })
    })
}
// Function log
function log(FinalString) {

    // Creating element 'p'
    const p = document.createElement('p')
    // setting HTML content
    p.innerHTML = FinalString

    // Selecting '.Final' and appending it to 'p'
    document.querySelector('.Final').appendChild(p)
}
<html>
<body>
    <h1>Download files using the WebTorrent</h1>
    <!-- creating a form the magnet link -->
    <form>
        <p>Download using magnet link: </p>
        <input name="NewTorrentLink" , value="">
        <!-- submit button to submit the magnet link -->
        <button type="submit">Download</button>
    </form>

    <h2>Logs for the downloading</h2>
    <!-- creating a class log -->
    <div class="Final"></div>
    <script src="./app.js"></script>
</body>
</html>
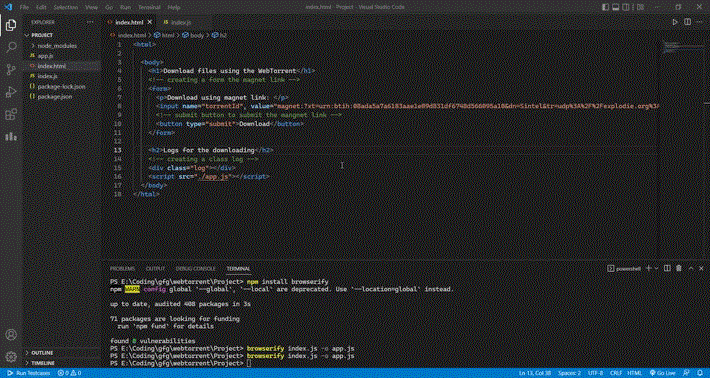
输出: 在终端中运行下面给出的命令。
在下面给出的命令中,’index.js’是当前文件,’app.js’是在转换后正在创建的文件的名称。
browserify index.js -o app.js

之后,创建了一个名为’app.js’的文件,它使用脚本标签链接到HTML文件。
现在,您可以使用live server打开HTML文件(我们仅在屏幕上显示输出时使用HTML文件),或者直接打开下面显示的index.html文件。

 极客教程
极客教程