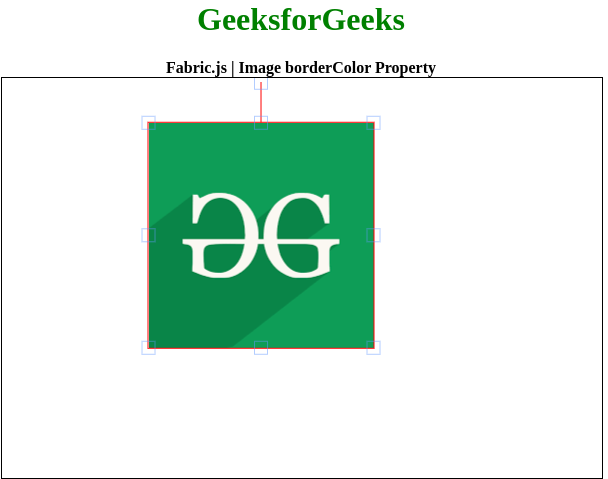
Fabric.js Image borderColor属性
在本文中,我们将看到如何使用FabricJS设置画布图像的边框颜色。画布意味着图像是可移动的,并且可以根据需求进行拉伸。此外,当涉及到角度、描边宽度、内边距等时,图像可以进行自定义配置。
为了实现这个目标,我们将使用一个叫做FabricJS的JavaScript库。在导入库之后,我们将在body标签中创建一个画布块,其中将包含我们的图像。此外,我们将创建一个包含要添加到画布内的图像的img元素,并将style属性设置为display: none;,因为我们不希望在画布外部看到该图像。然后,我们将使用FabricJS提供的Canvas和Image类的实例化对象,并将图像渲染到Canvas上,并使用borderColor属性设置画布图像的边框颜色,如下例所示。
语法:
fabric.Image({
    image,
    borderColor: string
});
参数: 此函数接受两个参数,如上所述并如下所述:
- image: 它指定图像对象。
- borderColor: 它指定图像的边框颜色。
示例: 此示例使用FabricJS设置画布图像的边框颜色。请注意,您必须点击图像对象才能看到边框颜色。
<!DOCTYPE html>
<html>

<head>
    <title>
        Fabric.js | Image borderColor Property
    </title>

    <!-- FabricJS CDN -->
    <script src=
"https://cdnjs.cloudflare.com/ajax/libs/fabric.js/3.6.2/fabric.min.js">
    </script>
</head>

<body>
    <div style="text-align: center;width: 600px;">
        <h1 style="color: green;">
            GeeksforGeeks
        </h1>
        <b>
            Fabric.js | Image borderColor Property
        </b>
    </div>

    <div style="text-align: center;">
        <canvas id="canvas" width="600" height="400"
                style="border:1px solid #000000;">
        </canvas>
    </div>

    <!-- Add the image to be used in the canvas and hide it here
         because only need it inside the canvas -->
    <img style="display: none;" src="https://media.geeksforgeeks.org/wp-content/uploads/20200327230544/g4gicon.png"
        id="my-image" alt="">

    <script>
        // Initiate a Canvas instance
        var canvas = new fabric.Canvas("canvas");

        // Get the image element
        var image = document.getElementById('my-image');

        // Initiate a Fabric instance
        var fabricImage = new fabric.Image(image, {
            borderColor: 'red'
        });

        // Add the image to canvas
        canvas.add(fabricImage);
    </script>
</body>

</html>
输出:

 极客教程
极客教程