React MUI纸面
React MUI 是一个UI库,提供了预定义的强大和可定制的组件,用于更轻松的React网络开发。Material-UI是一个用户界面库,提供了预定义和可定制的React组件,用于更快速和简单的网络开发,这些Material-UI组件基于Google的Material Design设计。
在本文中,我们将讨论 React MUI纸面 。纸面是一个实现纸张属性并将其转换到屏幕上的UI组件。
MUI纸面外观: 可用的变体。默认值是elevation。
- Outlined: 显示纸面的边框,可以是方形或圆角。
- Elevation: 可以用来在其他内容之间建立层次结构。它接受0到24之间的值(包括边界)。默认值为1。
方法: 让我们创建一个React项目并安装React MUI模块。然后我们将创建一个UI来展示React MUI纸面。
创建React项目:
步骤1: 要创建一个React应用程序,您需要通过npx命令安装React模块。
npx create-react-app project_name
步骤2: 创建完你的React项目后,进入文件夹执行不同的操作。
cd project_name
步骤3:
在创建ReactJS应用程序之后,使用以下命令安装所需模块:
npm install @mui/material @emotion/react @emotion/styled
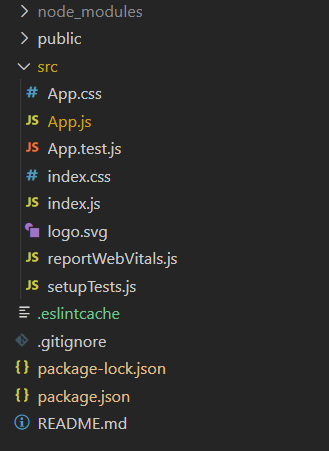
项目结构: 在执行上述步骤中提到的命令后,如果您在编辑器中打开项目,您可以看到类似下面所示的项目结构。新组件用户创建或代码更改将在源文件夹中执行。

运行应用程序的步骤: 从项目的根目录中使用以下命令运行应用程序:
npm start
示例1: 我们正在创建一个UI,展示不同的React MUI纸面表面。
文件名:App.js
import * as React from 'react';
import { Paper, Stack, Typography } from '@mui/material';

export default function Demo() {
    return (
        <div style={{
            margin: 100, padding: 20,
            backgroundColor: "grey"
        }}>
            <h1 style={{ color: 'green' }}>
                GeeksforGeeks
            </h1>
            <h3 style={{ color: 'white' }}>
                <u>React MUI Paper</u>
            </h3>
            <Stack direction="row" spacing={2}>
                <Paper variant='outlined' rounded
                    style={{
                        width: 200, height: 100,
                        textAlign: "center"
                    }}>
                    <br /><br />
                    <Typography>
                        Varaint Outlined Rounded
                    </Typography>
                </Paper>
                <Paper variant='outlined'
                    square style={{
                        width: 200, height: 100,
                        textAlign: "center"
                    }}>
                    <br /><br />
                    <Typography>
                        Varaint Outlined Square
                    </Typography>
                </Paper>
            </Stack>
            <br /><br />
        </div>
    );
}
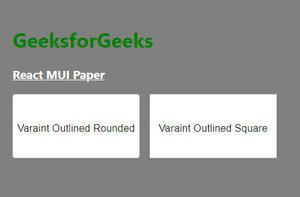
输出: 现在打开您的浏览器并访问 http://localhost:3000/,您将会看到以下输出:
示例2: 我们正在创建一个显示React MUI纸面表面的UI。
文件名:App.js
import * as React from 'react';
import { Paper, Stack, Typography } from '@mui/material';

export default function Demo() {
    return (
        <div style={{ margin: 100 }}>
            <h1 style={{ color: 'green' }}>GeeksforGeeks</h1>
            <h3><u>React MUI Paper</u></h3>
            <Stack direction="row" spacing={2}>
                <Paper elevation={0} style={{
                    width: 200, height: 100,
                    textAlign: "center"
                }}>
                    <Typography>Elevation 0</Typography>
                </Paper>
                <Paper elevation={4} style={{
                    width: 200, height: 100,
                    textAlign: "center"
                }}>
                    <Typography>Elevation 4</Typography>
                </Paper>
                <Paper elevation={12} style={{
                    width: 200, height: 100,
                    textAlign: "center"
                }}>
                    <Typography>Elevation 12</Typography>
                </Paper>
            </Stack>
        </div>
    );
}
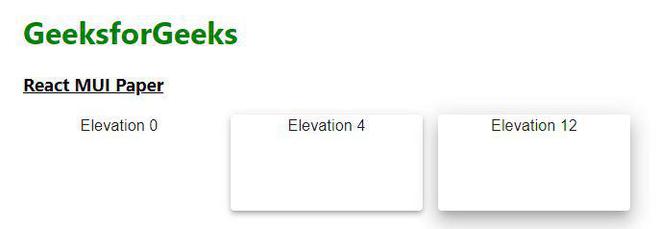
输出 : 现在打开您的浏览器并访问http://localhost:3000/,您将看到以下输出:
参考: https://mui.com/material-ui/react-paper/
 极客教程
极客教程
