如何在ReactJS中设置z-index值
在本文中,我们将学习在React中设置z-index属性,z-index属性是一种CSS属性,用于控制HTML元素的堆叠顺序。具有较高z-index值的元素会显示在具有较低值的元素前面,影响它们在网页上的可见性。在React中,您可以设置z-index属性来管理应用程序中元素的堆叠上下文。
语法:
element {
    z-index: value;
};
属性值:
- 元素: 要应用z-index的HTML元素。
- 值: 一个整数值,确定堆叠顺序。较高的值将元素置于前面。
前提条件
- 介绍: React
- React钩子
- NPM或NPX
创建React应用的步骤
步骤1: 使用以下命令创建一个React应用。
npx create-react-app <<My-Project>>
步骤2:在创建好的项目文件夹中,即reactProject-app中,使用以下命令进行导航:
cd <<My-Project>>
项目结构:

方法1:内联样式
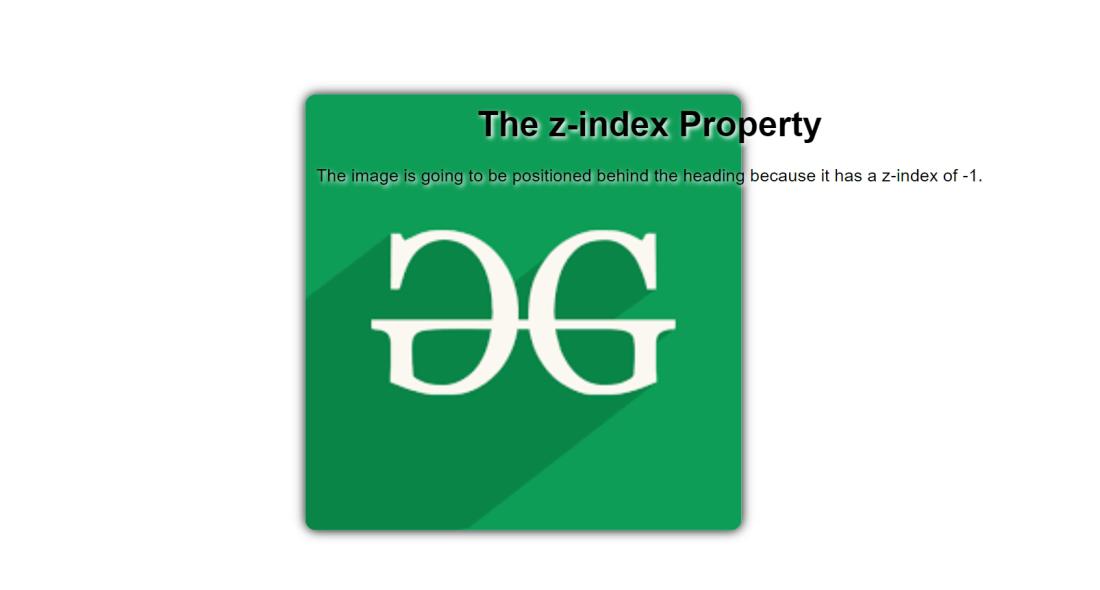
在这种方法中,我们使用React中的内联样式直接设置组件内的z-index属性。这种方法涉及创建一个包含所需z-index值的JavaScript对象,然后将其作为样式属性应用于相应的组件。
示例: 在这个示例中,我们使用了上述方法。
App.js
import React from 'react';

function App() {
    const containerStyle = {
        position: 'relative',
        textAlign: 'center',
        fontFamily: 'Arial, sans-serif',
        left: '30%',
        top: "30%",
        position: "absolute",
    };

    const imgStyle = {
        position: 'absolute',
        left: '0',
        top: '0',
        zIndex: -1,
        // Lower z-index value
        boxShadow: '0px 0px 10px 0px black',
        borderRadius: "10px",
        width: 400,
        height: 400,
    };

    const headingStyle = {
        zIndex: 1,
        // Higher z-index value
        padding: '10px',
        borderRadius: '5px',
        margin: '0',
        textShadow: '2px 2px 4px white',
    };

    const textStyle = {
        margin: '10px',
        textShadow: '2px 2px 4px white',
    };

    return (
        <div style={containerStyle}>
            <h1 style={headingStyle}>
                The z-index Property
            </h1>
            <img
                src=
"https://media.geeksforgeeks.org/wp-content/uploads/20230816223829/geeksgforgeeks-logo-1.png"
                width="100"
                height="140"
                style={imgStyle}
                alt="Image"
            />
            <p style={textStyle}>
                The image is going to be positioned
                behind the heading because it has
                a z-index of -1.
            </p>
        </div>
    );
}

export default App;
步骤3: 运行应用程序:打开终端并输入以下命令。
npm start
输出:

方法2:CSS模块
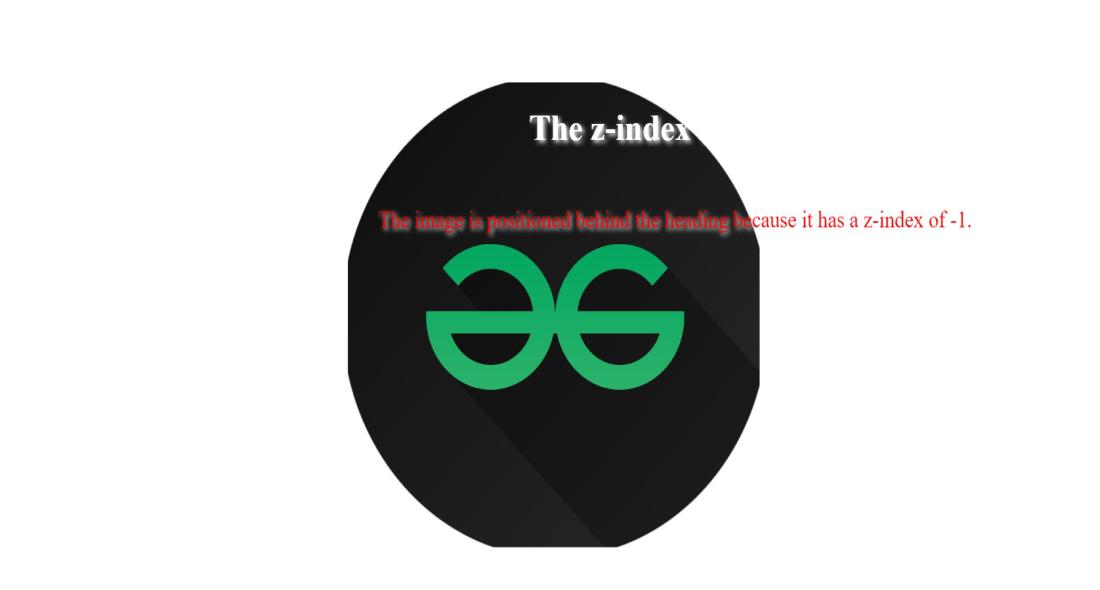
在这种方法中,CSS模块将样式与组件逻辑分离。样式在专用的CSS文件中定义,React组件导入这些样式,并使用动态生成的CSS类名应用它们。这种特定的方法通过封装样式和防止与全局CSS冲突来支持模块化和可维护性。
示例: 在这个示例中,我们使用了上述解释的方法。
App.js
import React from 'react';
import styles from './MyComponent.module.css';

function App() {
    return (
        <div className={styles.container}>
            <h1 className={styles.heading}>
                The z-index Property
            </h1>
            <img
                src=
"https://media.geeksforgeeks.org/wp-content/uploads/20230816223732/geeksgforgeeks-logo.jpg"
                className={styles.image}
                alt="Image"
            />
            <p className={styles.text}>
                The image is positioned behind
                the heading because it has a
                z-index of -1.
            </p>
        </div>
    );
}

export default App;
创建 MyComponent.module.css 文件,然后粘贴以下代码
CSS
/* MyComponent.module.css */
.container {
    position: absolute;
    text-align: center;
    font-family: 'Arial, sans-serif';
    left: 30%;
    top: 30%;
}

.image {
    position: absolute;
    left: 0;
    top: 0;
    z-index: -1;
    width: 410px;
    height: 400px;
}

.heading {
    z-index: 1;
    padding: 20px;
    border-radius: 5px;
    margin: 0;
    text-shadow: 2px 2px 4px white;
    color: white;
}

.text {
    margin: 10px;
    text-shadow: 2px 2px 4px white;
    color: red;
    padding: 20px;
    font-size: 20px;
}
输出:

 极客教程
极客教程