Mongoose Schema API
Mongoose 是为了在NodeJS中处理查询、构建模式和使用MongoDB拓展业务逻辑而提供的一个包。Mongoose可以连接到MongoDB实例,可以是本地实例或基于云的实例。
Mongoose 提供了一系列API来与数据库进行工作和通信。其中之一就是 Schema API 。每当我们想要将任何类型的数据存储到数据库中时,我们都需要按照特定的模式来存储我们的数据。例如,用于存储锻炼的模式将包含以下字段:锻炼名称、锻炼描述和锻炼时长。
在使用Schema API时,最重要的函数如下:
- Schema(): 此函数帮助我们定义要存储在数据库中的实体的模式。该函数以所有实体的字段作为输入,如用户名、年龄、电子邮件等。
- model(): 此函数帮助我们创建要插入到数据库中的实体记录的模型/实例。创建模型后,我们可以使用所有数据库操作,如插入、更新、查找、删除等。该函数以模型的名称和要存储在数据库中的实体的模式作为输入。
使用Schema API创建新模式的语法如下:
const newEntity = new mongoose.Schema({
    field1: type of field(String/Number/Boolean and more)
    field2: type of field
    ...
})
刚刚创建的模式存储在变量newEntity中。
让我们来看一些示例,了解Mongoose模式API。
步骤1: 创建一个名为mongoose_examples的新文件夹。打开命令提示符并导航至该文件夹。现在输入以下命令:
npm init -y
这将为我们设置 package.json 文件,以便我们可以安装所有必要的包。现在,请打开您的命令提示符,并输入以下命令-
npm install mongoose express
这将为我们安装mongoose和express包。现在,在mongoose_examples文件夹中创建一个名为index.js的新文件。您最终的文件夹结构应该如下所示。
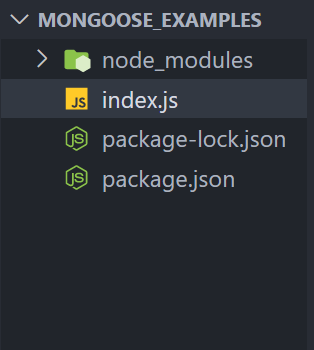
步骤2: 打开index.js。在第一个示例中,我们正在创建一个exercise模式,在其中插入一些数据,最后读取数据并在网页上显示。
文件名: index.js
const express = require('express');
const mongoose = require('mongoose');
const app = express();
const port = 5000;

const uri =
    'mongodb://127.0.0.1:27017/?directConnection=true&serverSelectionTimeoutMS=2000&appName=mongosh+1.5.4';

mongoose.connect(uri);
const connection = mongoose.connection;

connection.once('open', () => {
    console.log('Connected to MongoDB successfully.');
});

const Schema = mongoose.Schema;

const newExercise = new Schema({
    name: { type: String },
    description: { type: String },
    duration: { type: Number }
});

const Exercise = mongoose.model('Exercise', newExercise);

app.post('/insertExercise', (req, res) => {
    Exercise.create({
        name: 'Cycling',
        description: 'Cycling on the road',
        duration: 30
    });

    res.send('Exercise inserted successfully.');
});

app.get('/findExercises', (req, res) => {
    Exercise.find()
        .then((exercise) => res.send(exercise))
        .catch((error) => res.send('Error' + error));
});

app.get('/', (req, res) => {
    res.send('Mongoose Schema API');
});

app.listen(port, () => {
    console.log(`Server is listening on the port ${port}.`);
});
打开终端并输入以下命令:
node index.js
你应该在终端中看到类似这样的内容:
Server is listening on the port 5000.
Connected to MongoDB successfully.
步骤3: 前往URL http://localhost:5000/insertExercise 执行一个POST请求来插入一个练习。我们将使用Thunderclient进行操作,它是一个用于执行GET、POST、DELETE请求的VS Code扩展程序。你将得到如下输出。
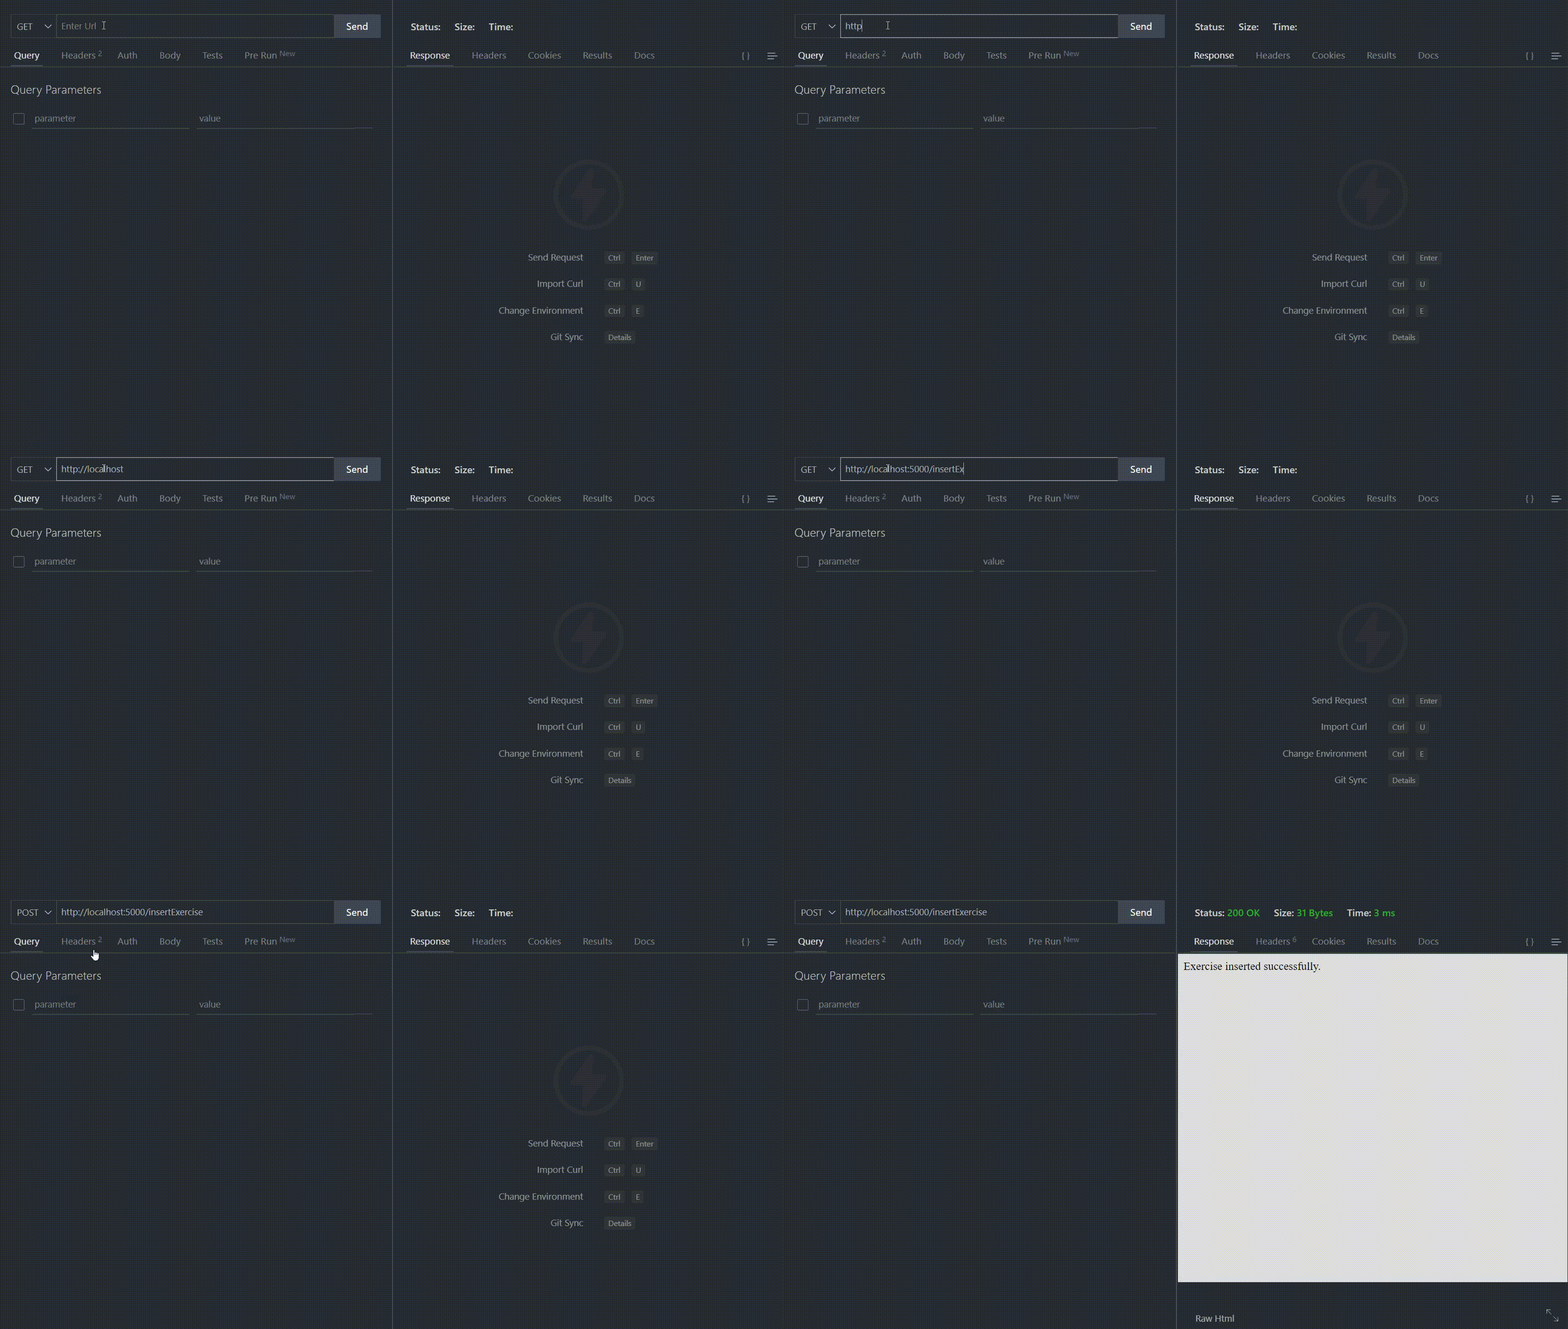
现在,转到URL http://localhost:5000/findExercises 来显示我们刚刚插入的练习。您将获得以下输出。
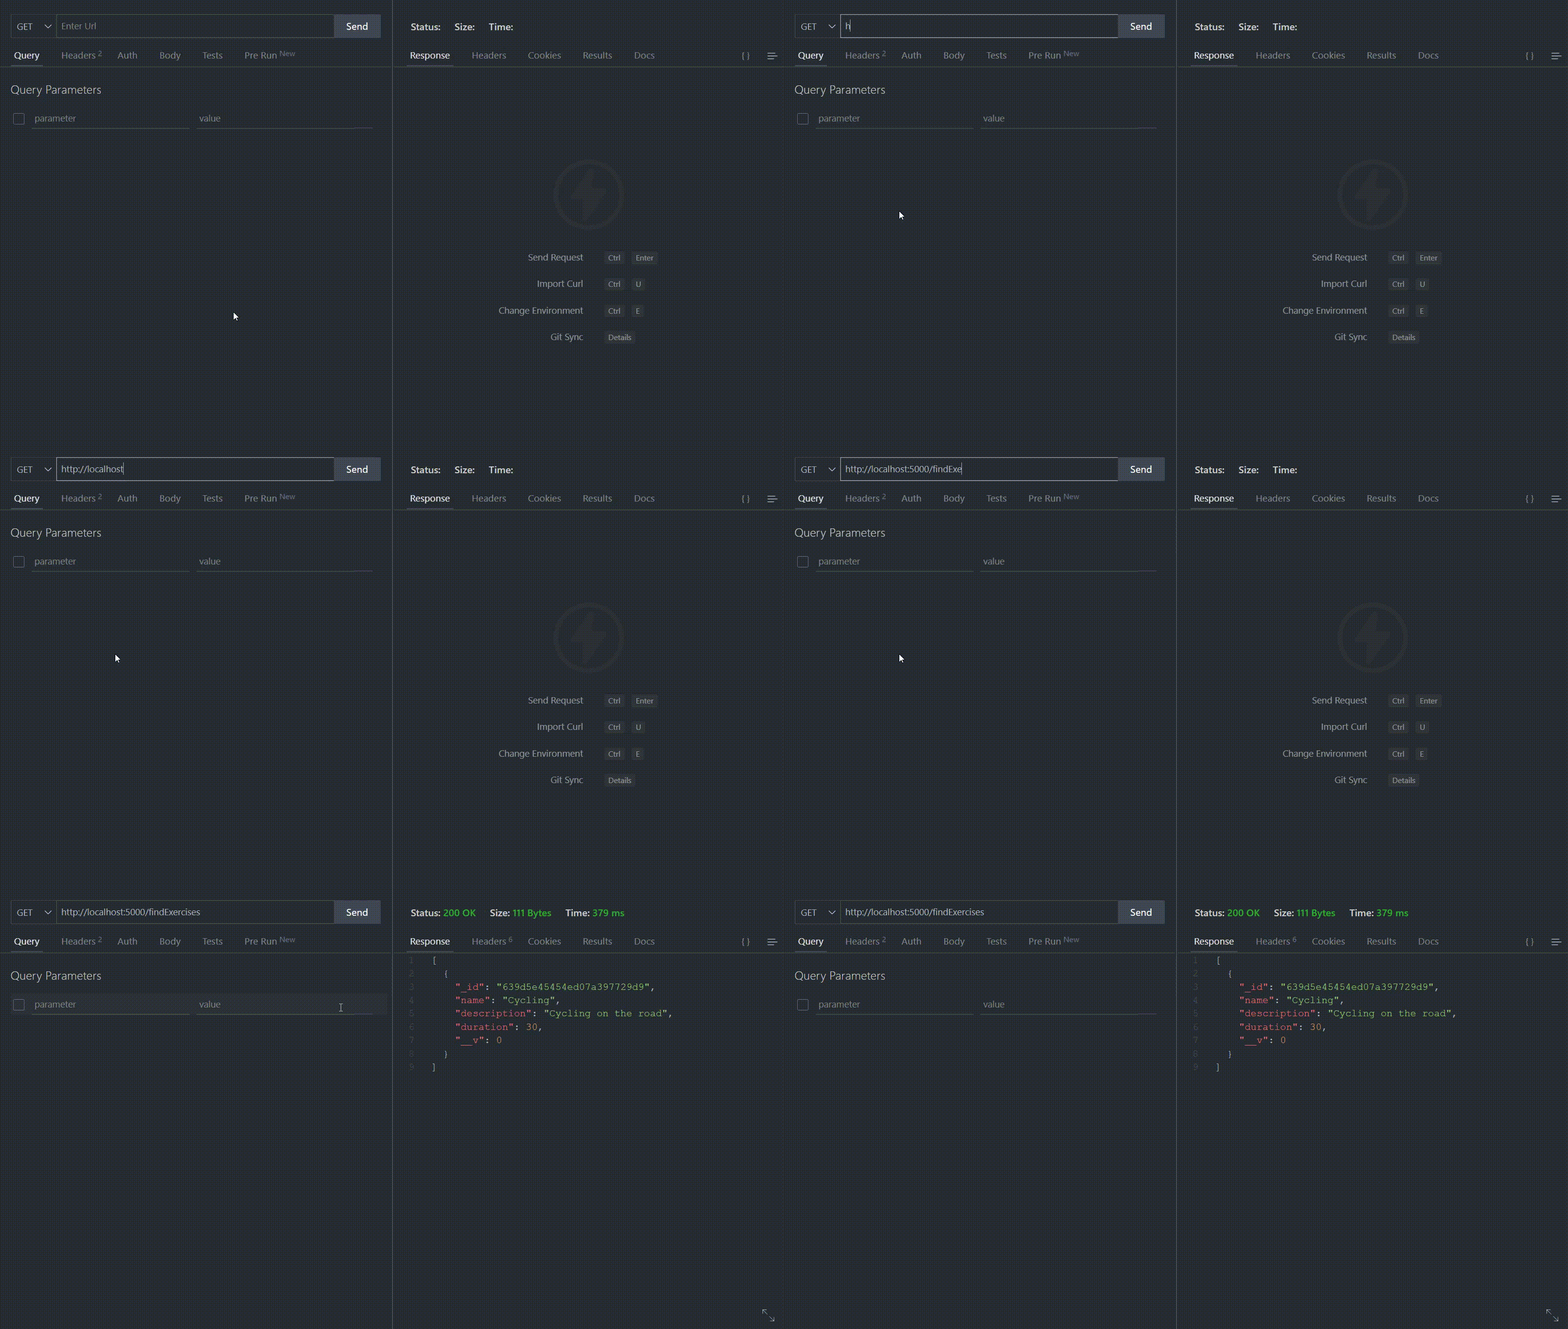
步骤4: 在下一个示例中,我们将使用Mongoose执行更新操作。为此,我们已经创建了以下示例数据库。
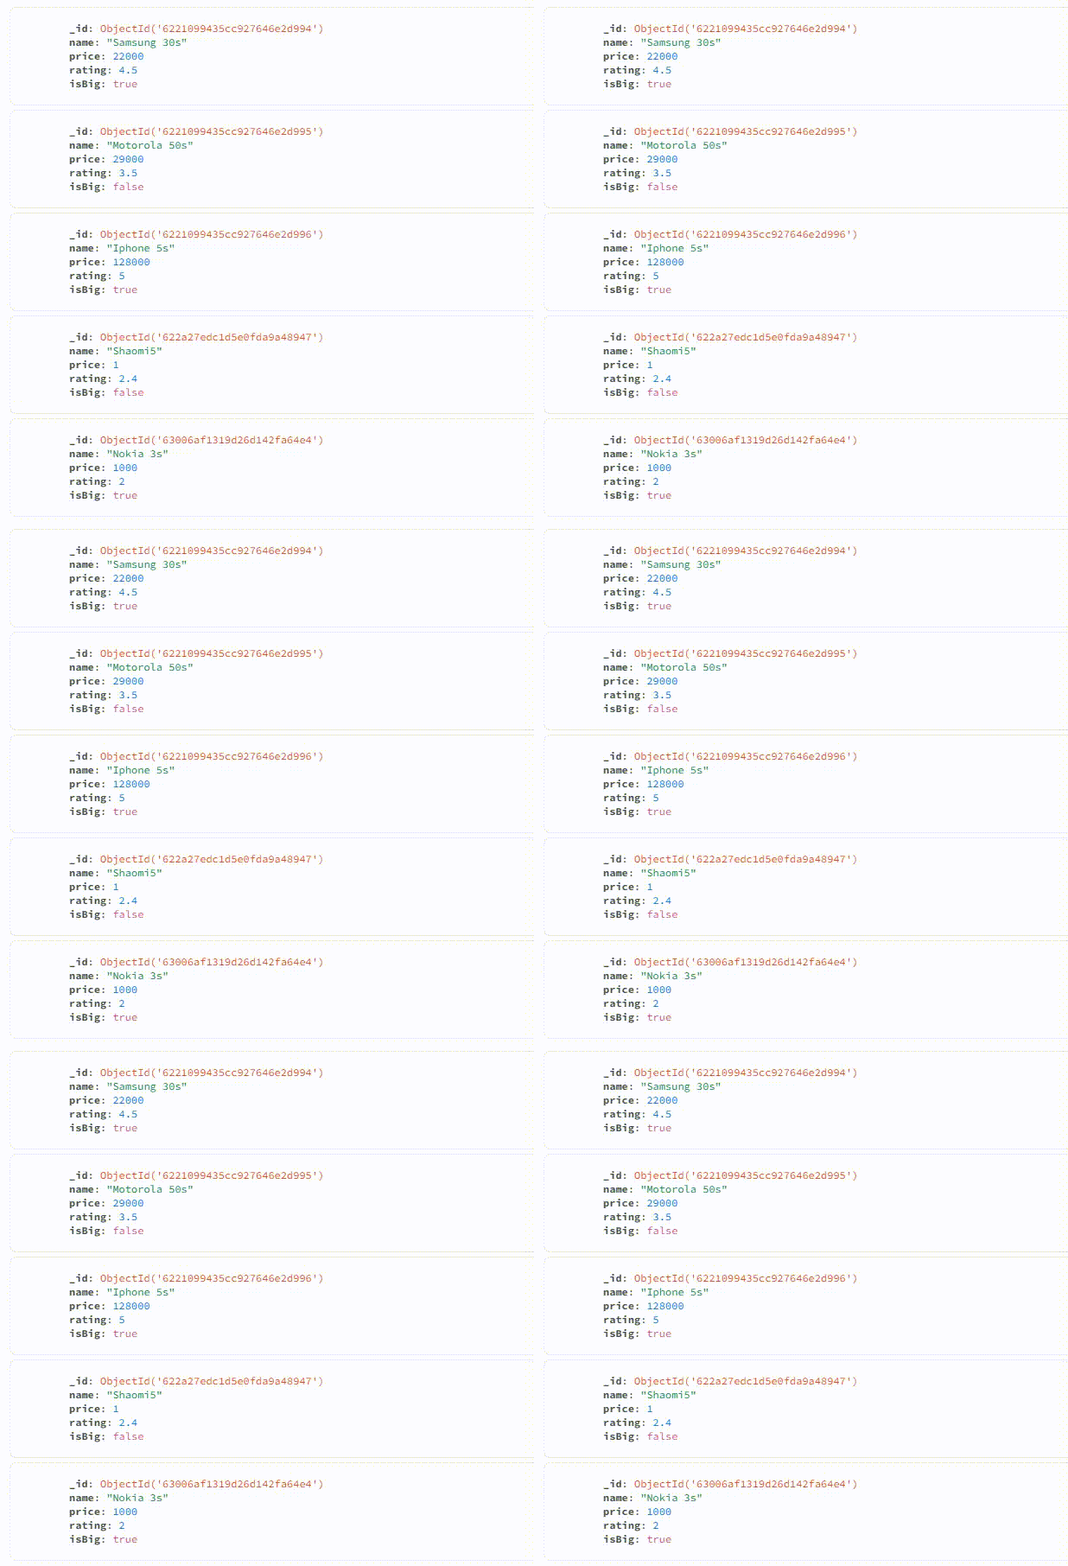
步骤5: 打开index.js文件。我们在这里要做的是将Samsung 30s的价格从22000更新为30000。我们将使用Mongoose提供的 updateOne函数 来进行更新。
文件名: index.js
const express = require('express');
const mongoose = require('mongoose');
const app = express();
const port = 5000;

const uri =
    'mongodb://127.0.0.1:27017/pranav?directConnection=true&serverSelectionTimeoutMS=2000&appName=mongosh+1.5.4';

mongoose.connect(uri);
const connection = mongoose.connection;

connection.once('open', () => {
    console.log('Connected to MongoDB successfully.');
});

const Schema = mongoose.Schema;

const newMobile = Schema({
    name: { type: String },
    price: { type: Number },
    rating: { type: Number },
    isBig: { type: Boolean }
});

const Item = mongoose.model('Item', newMobile);

app.post('/updateMobile', (req, res) => {
    Item.updateOne(
        { name: 'Samsung 30s' },
        { price: 30000 },
        (err, docs) => {
            if (err) {
                res.send(err);
            }
            else {
                res.send('Document updated successfully.');
            }
        })
});

app.get('/findUpdatedMobile', (req, res) => {
    Item.findOne({ name: 'Samsung 30s' })
        .then((mobile) => res.send(mobile))
        .catch((err) => res.send(err));
});

app.get('/', (req, res) => {
    res.send('Mongoose Schema API');
});

app.listen(port, () => {
    console.log(`Server is listening on the port ${port}.`);
});
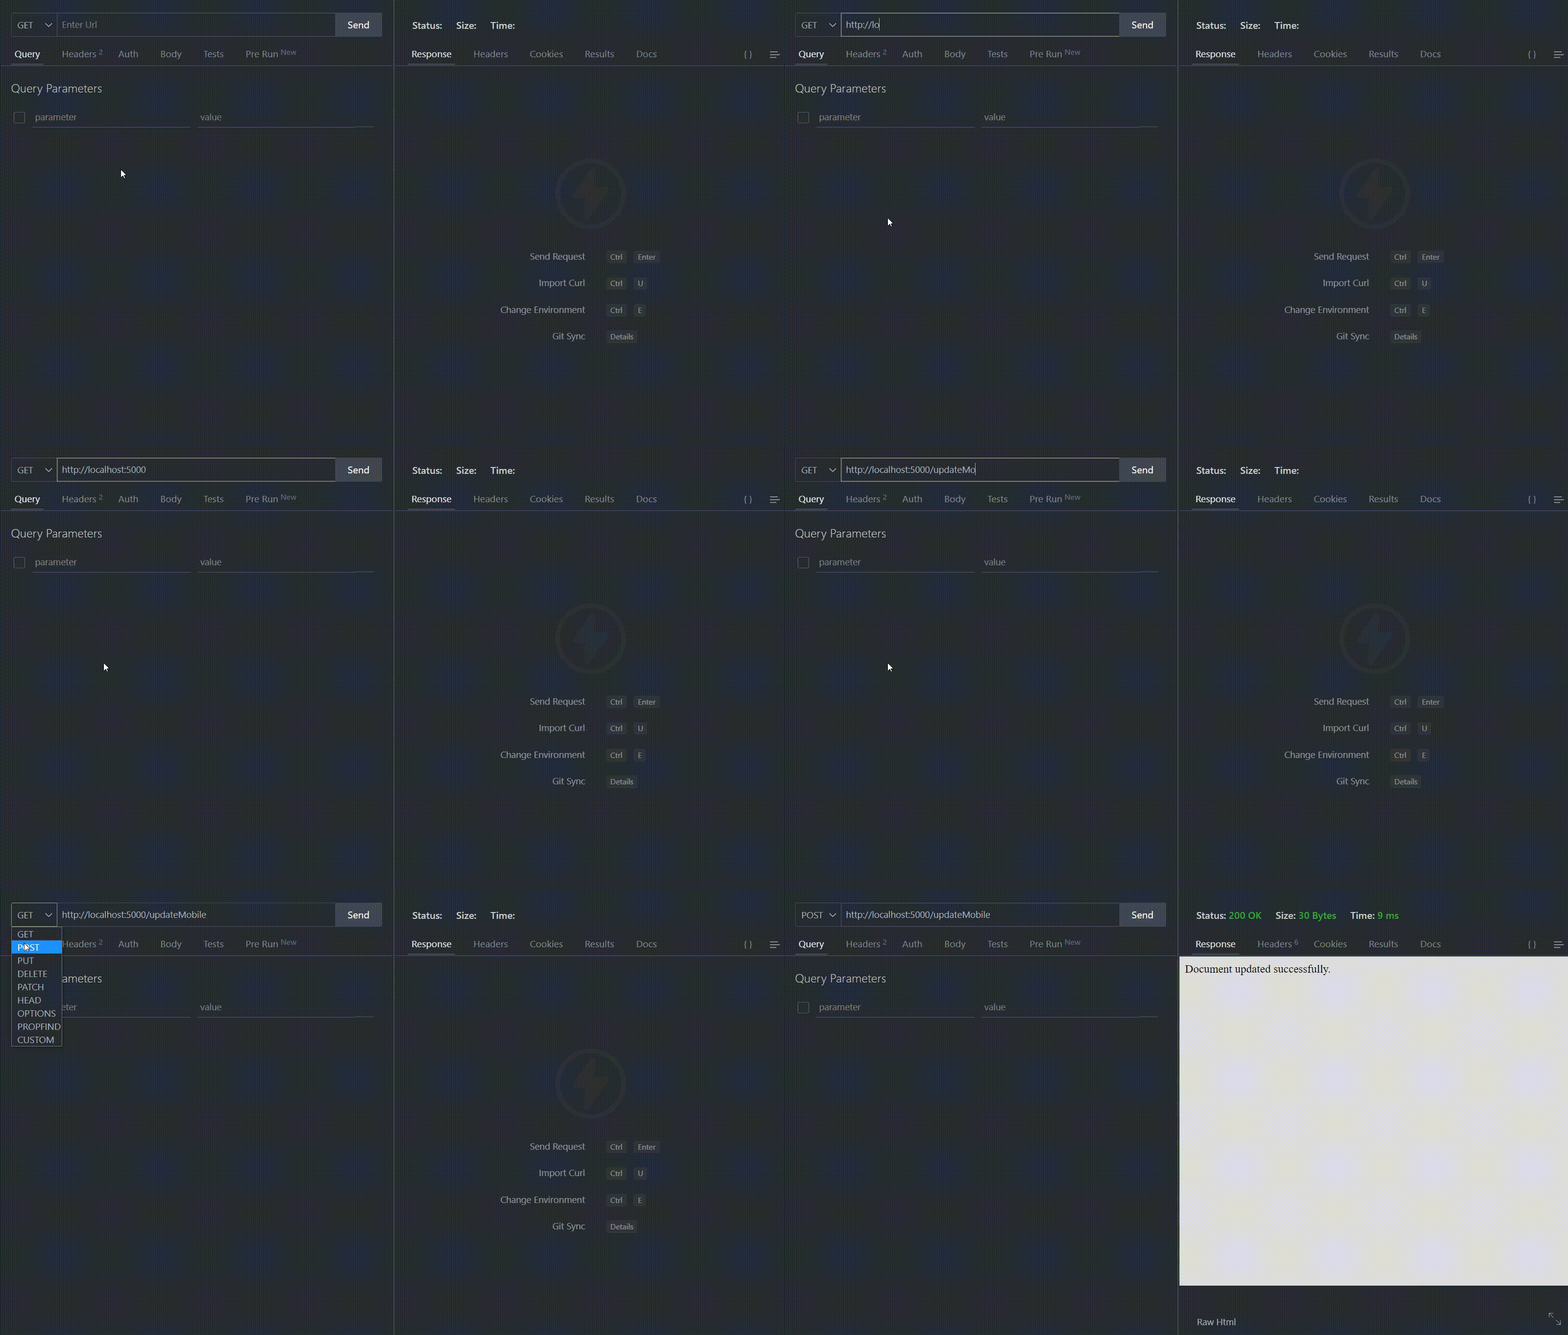
步骤6: 现在转到您的ThunderClient。在URL中键入 http://localhost:5000/updateMobile 并执行post请求。您将看到以下输出:
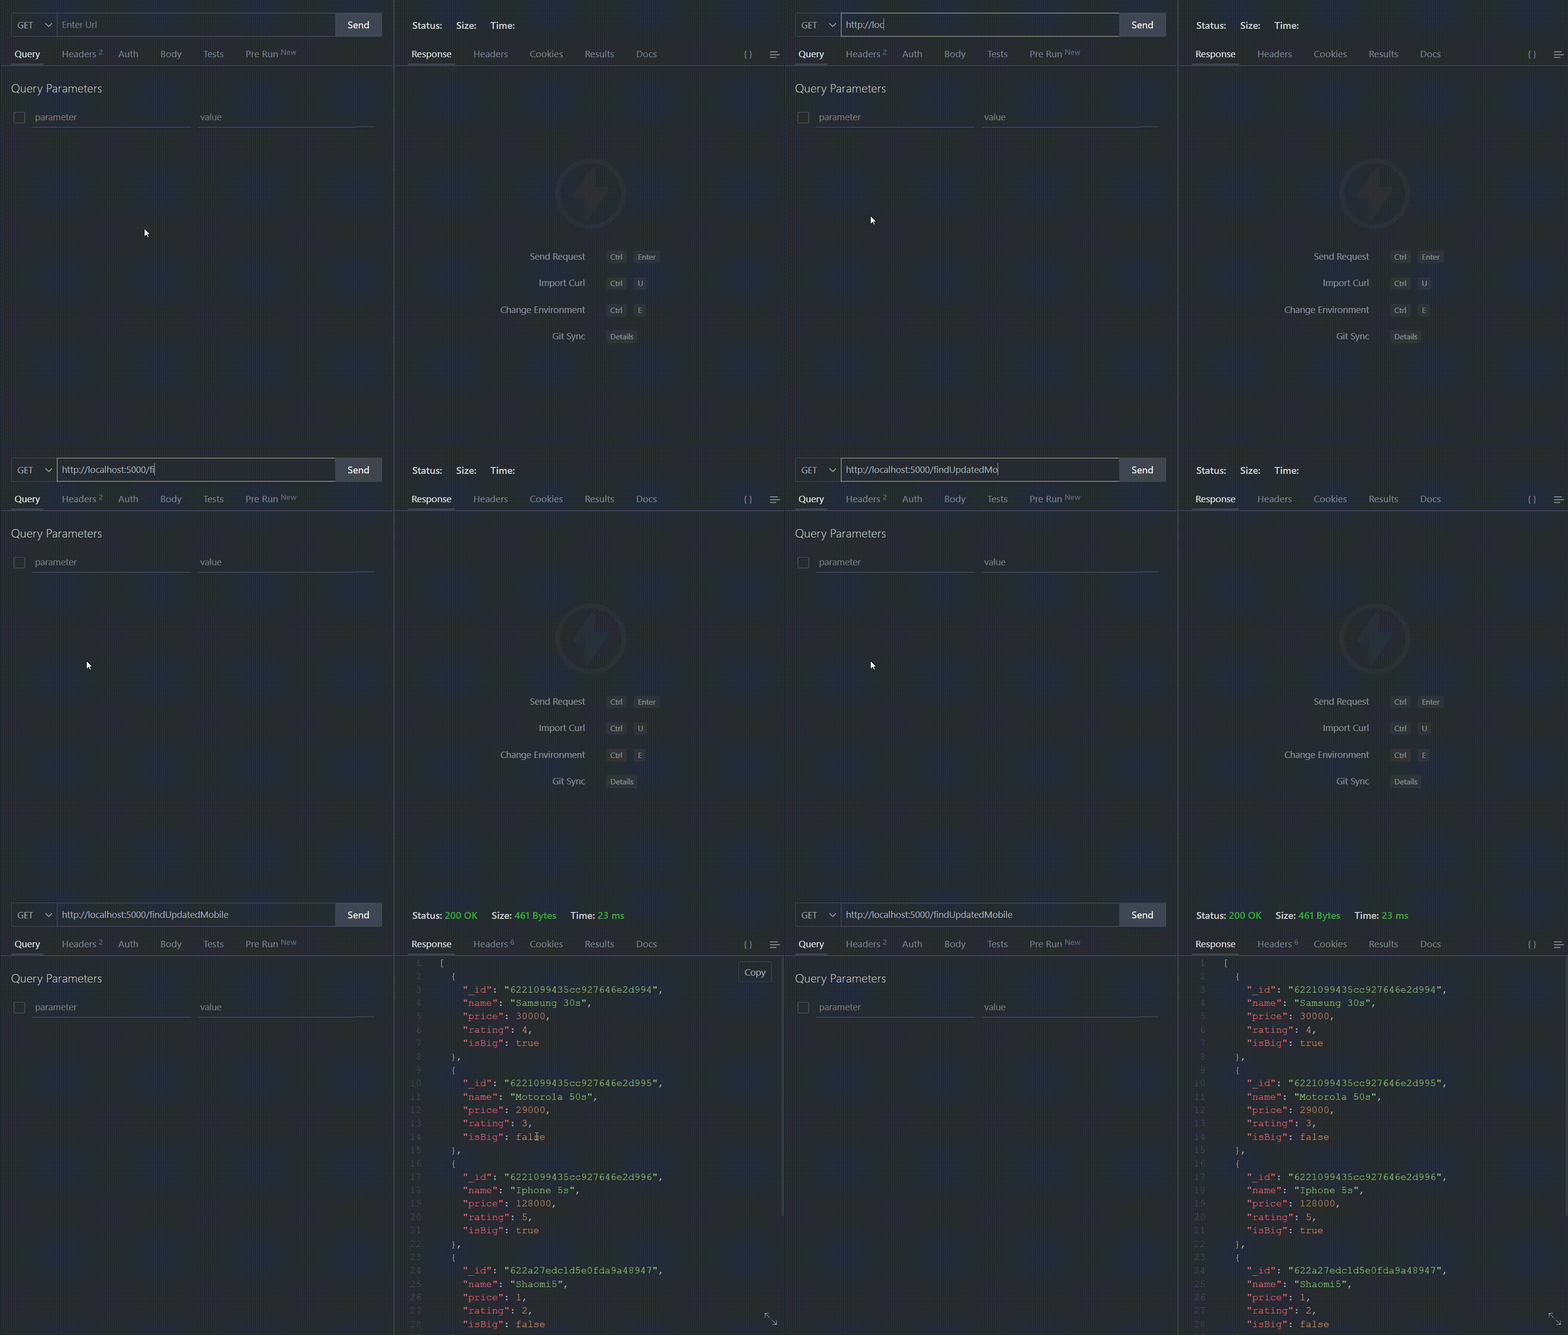
步骤7: 现在,在网址栏中键入 http://localhost:5000/findUpdatedMobile 然后您将得到更新的文档。您将看到以下输出。
参考链接: https://mongoosejs.com/docs/
 极客教程
极客教程